AWS IAM roles
Overview
To use the Matillion agent in AWS, two IAM roles may need to be configured to ensure the component parts of an Agent installation have required access. If you use Matillion ETL already, you may use the same role with some changes mentioned below.
AWS ECS Fargate
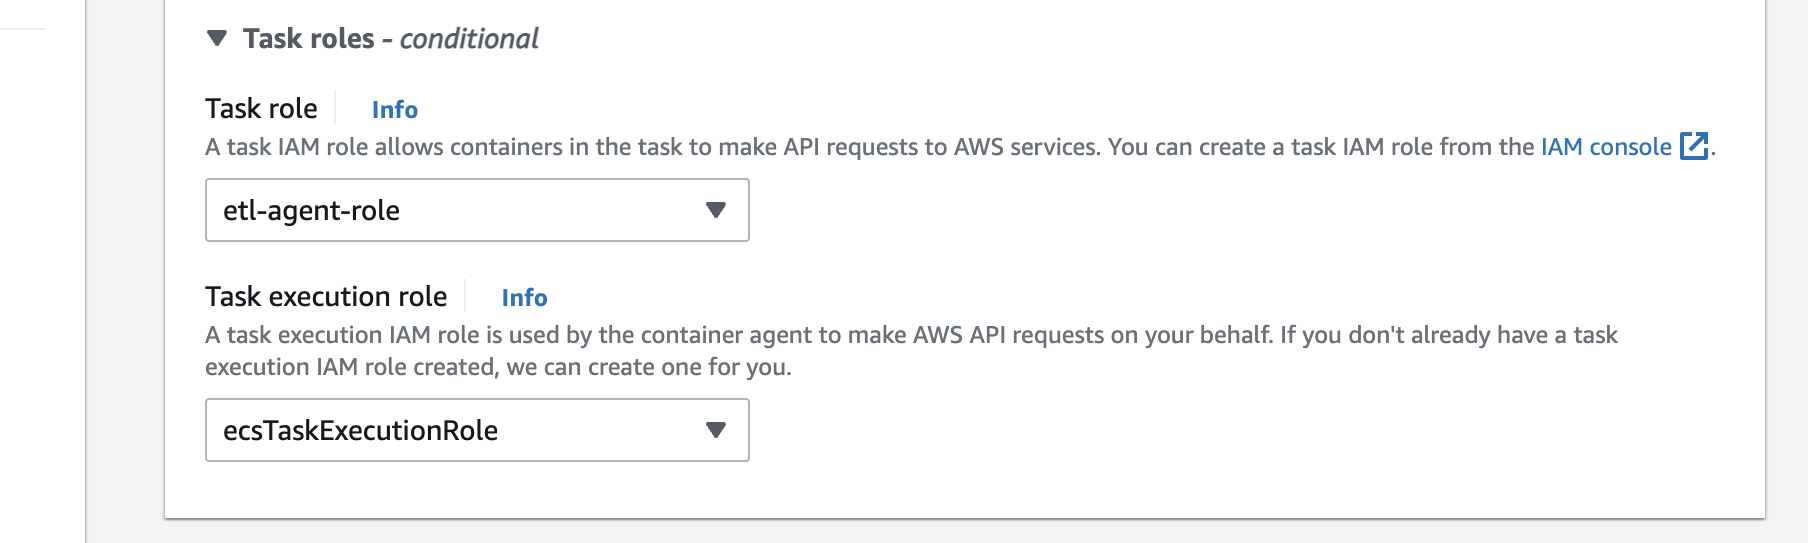
Task role
This is the role that a running instance of an agent will use. Use an IAM role that has similar permissions to a Matillion ETL role. If you're using the same IAM role, you might need to add ecs-tasks.amazonaws.com to the Service section in the Trust Relationship section of your IAM role to allow the role to work with the ECS service. An example trusted entity can be found beneath this table. Please see IAM Roles & Permissions for more information on creating IAM roles.
Example trusted entity:
{
    "Version": "2012-10-17",
    "Statement": [
        {
            "Effect": "Allow",
            "Principal": {
                "Service": [
                    "ecs-tasks.amazonaws.com",
                    "ec2.amazonaws.com"
                ]
            },
            "Action": "sts:AssumeRole"
        }
    ]
}
Task execution role
This role grants the ECS container and Fargate agents permission to make AWS API calls. If you don't have an existing ECS task execution role, you will get the option to create one when creating a Task definition.
For the agent credentials to be accessed when they are stored in AWS secrets manager, then the ECS task execution role will need to be given permission to AWS Secrets manager.
To make this addition, navigate to 'Roles' in AWS management console, and locate your ECS task execution role. (Note - if you don't yet have this IAM role, this will be created after you have selected 'Create new role' when creating your task definition. You may need to come back to this step when this is complete).
Go to Add permissions and select Create inline policy
Choose the JSON tab and you then replace the json with the block below, with your secret ARNs instead.
{
    "Version": "2012-10-17",
    "Statement": [
        {
            "Effect": "Allow",
            "Action": [
                "secretsmanager:GetSecretValue"
            ],
            "Resource": [
                "arn:aws:secretsmanager:eu-west-1:<your-aws-account>:secret:your-secret-arn-1>",
                "arn:aws:secretsmanager:eu-west-1:<your-aws-account>:secret:<your-secret-arn-2>"

            ]
        }
    ]
}
{
    "Version": "2012-10-17",
    "Statement": [
        {
            "Effect": "Allow",
            "Action": [
                "secretsmanager:GetSecretValue"
            ],
            "Resource": "*"
        }
    ]
}
When this is done, click on Review policy to check the results and give your inline policy a name. Click on Create policy to complete this and have it added to your role.