Collibra integration🔗
Introduction
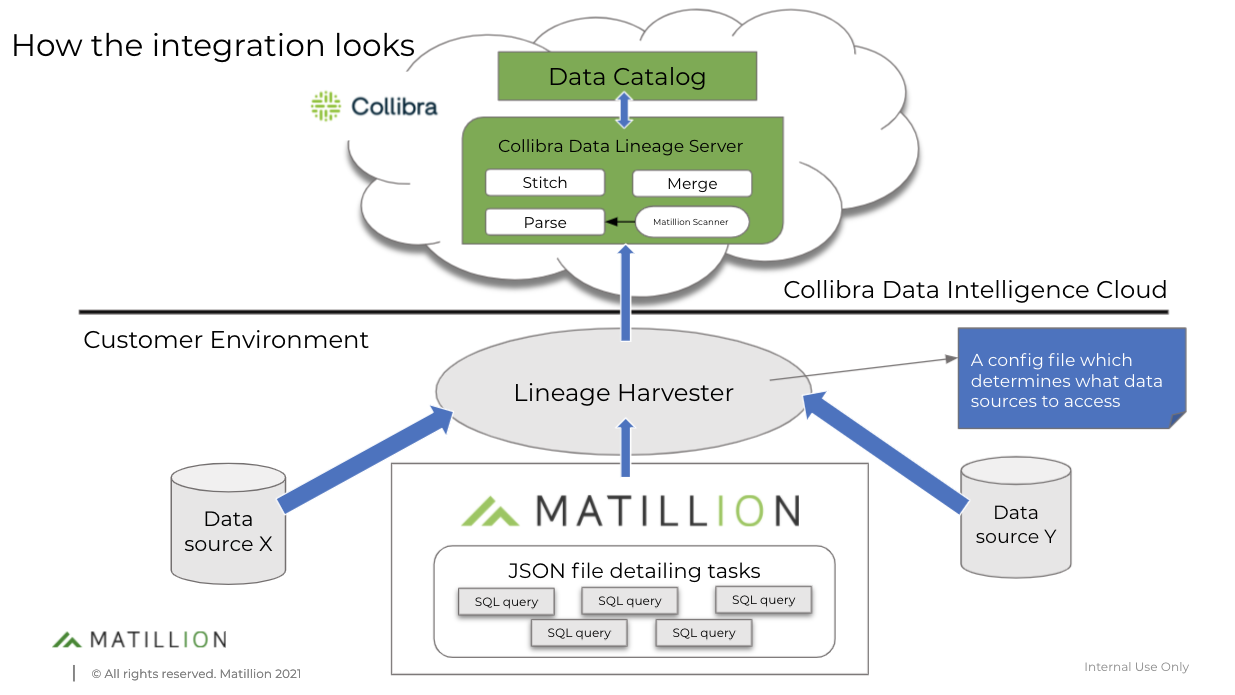
Collibra provides data lineage from the SQL generated from METL. The integration works by way of running a harvester on the customer environment which maps out lineage information from Matillion ETL jobs and the data sources you have provided in the Collibra UI.
Video Instructions
Integration Step-By-Step
Prerequisites
- You must have a Matillion ETL Enterprise License
- Matillion only supports Snowflake and Redshift for Collibra.
- You must have a Collibra Data Intelligence Cloud subscription
- Ensure you have the following permissions in Collibra:
- Catalog experience is enabled (this is the default, but if it's disabled, you can change it in the console)
- Catalog global permission
1. Prepare the Data Catalog physical data layer in Collibra
The physical data layer in Collibra enables the data catalog to automatically stitch data objects in your technical lineage to the assets you will create within the Collibra UI.
Register a data source
First, you must register a data source. You should register any data sources you expect technical lineage to be reported.
Steps:
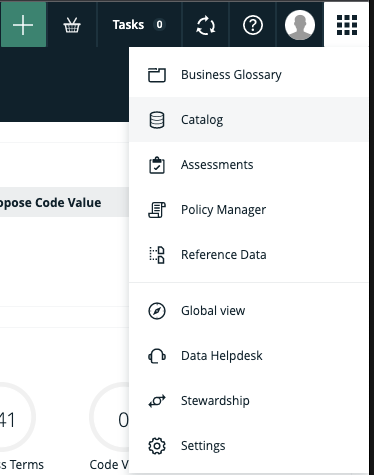
- In the Collibra Dashboard, click the far right drop-down and select catalog:
- Then, on the same nav bar, click the green + button to reveal the create modal:
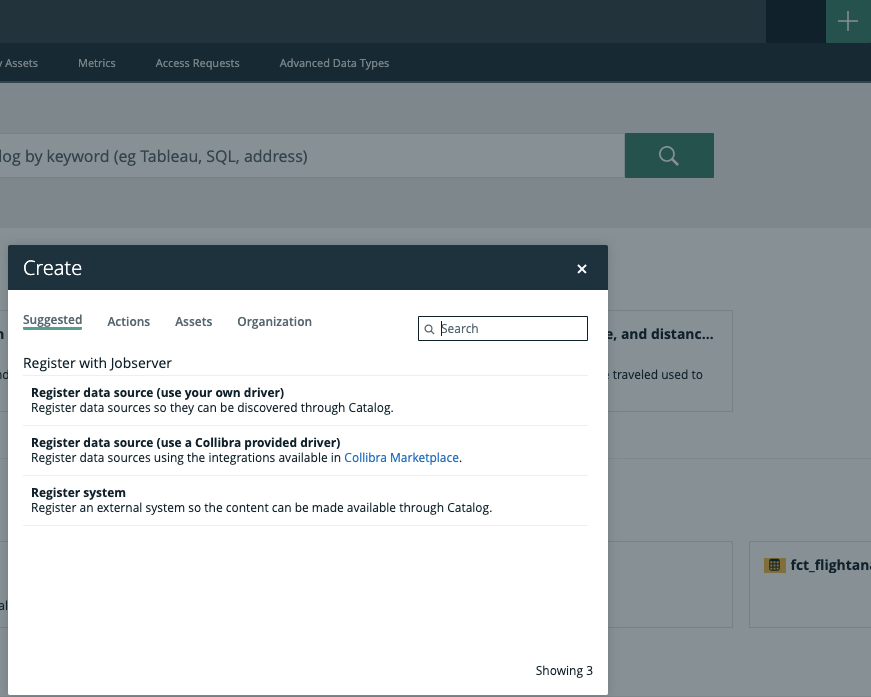
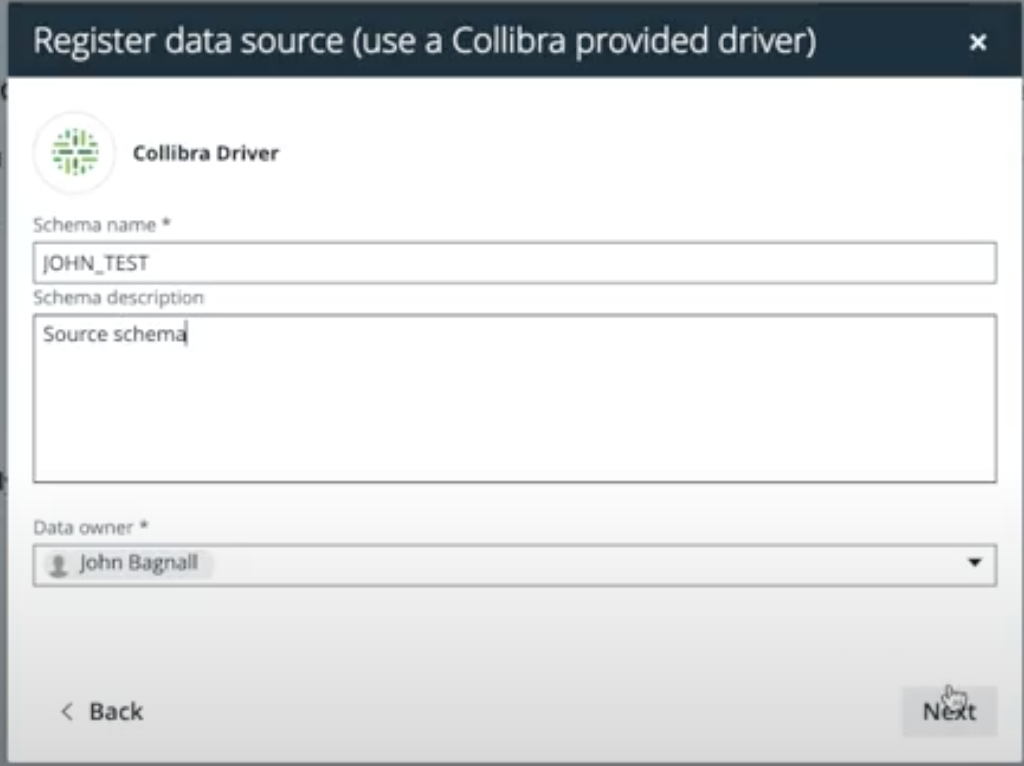
- Here, you can choose to either register your own driver or use a Collibra provided driver from their marketplace. Whichever you choose, you will be asked to provide a schema name and fill in your credentials:
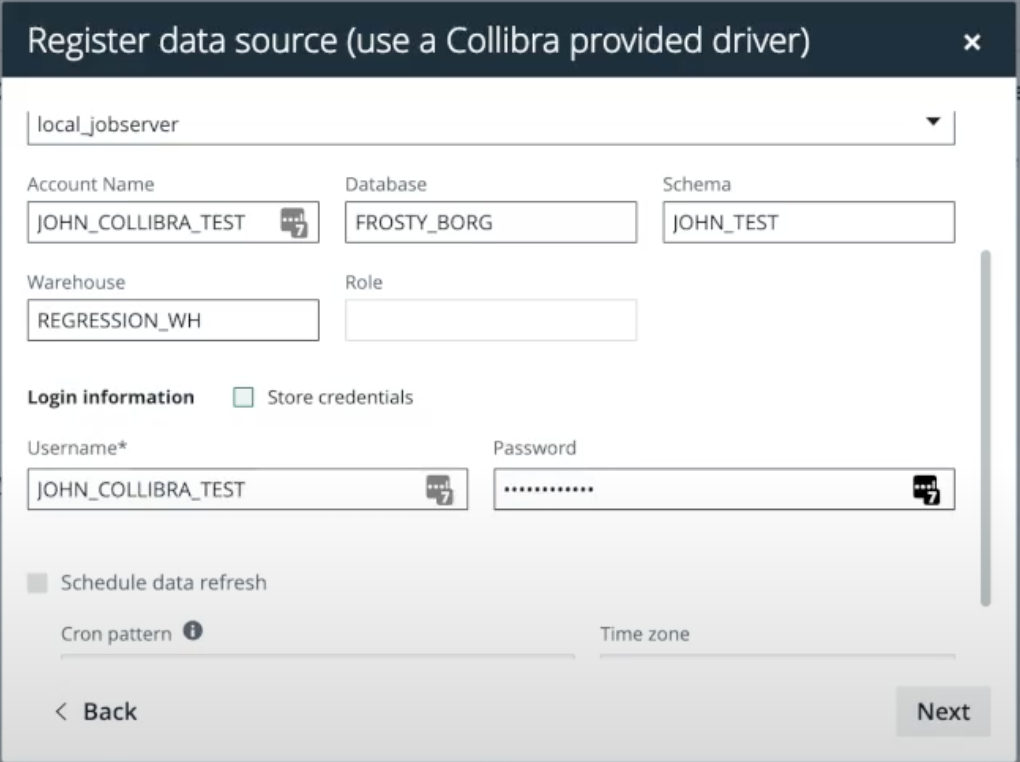
You should add as many data sources you require here.
- Once you have provided credential information, you will be asked if you would like to select profiling options. Here we have selected all of the options as it provides a great view into what data is being ingesting at a high level before delving into the technical lineage.
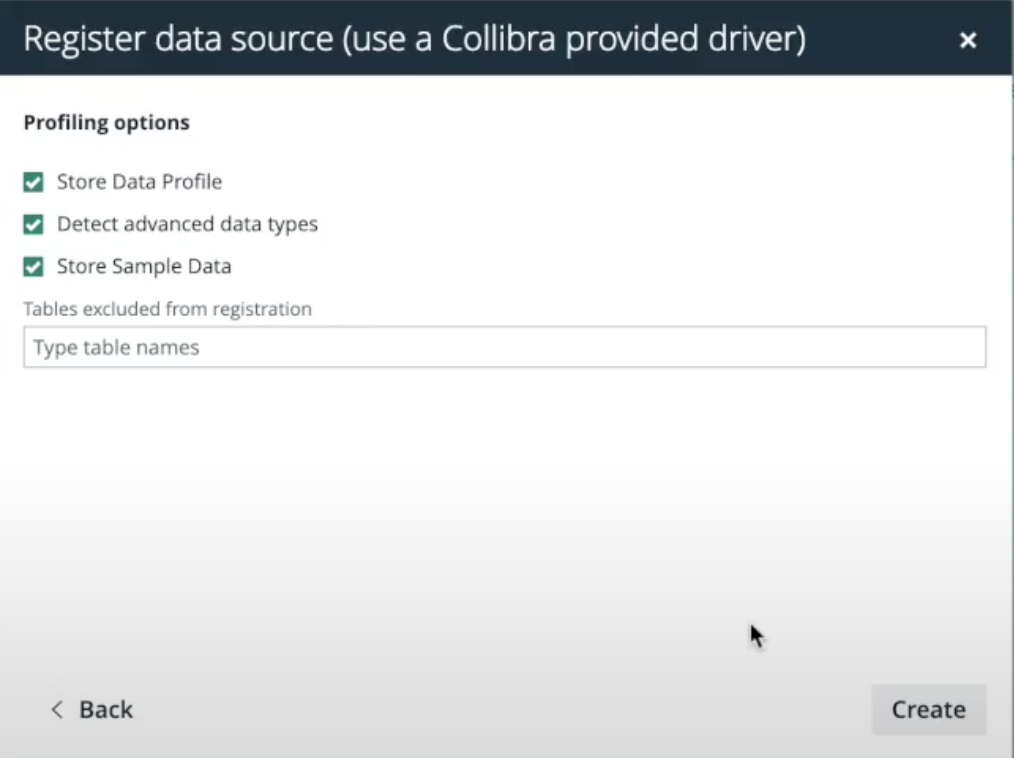
Click Create and a data source will be registered.
- Confirm your data sources have successfully been registered by clicking the data sources tab
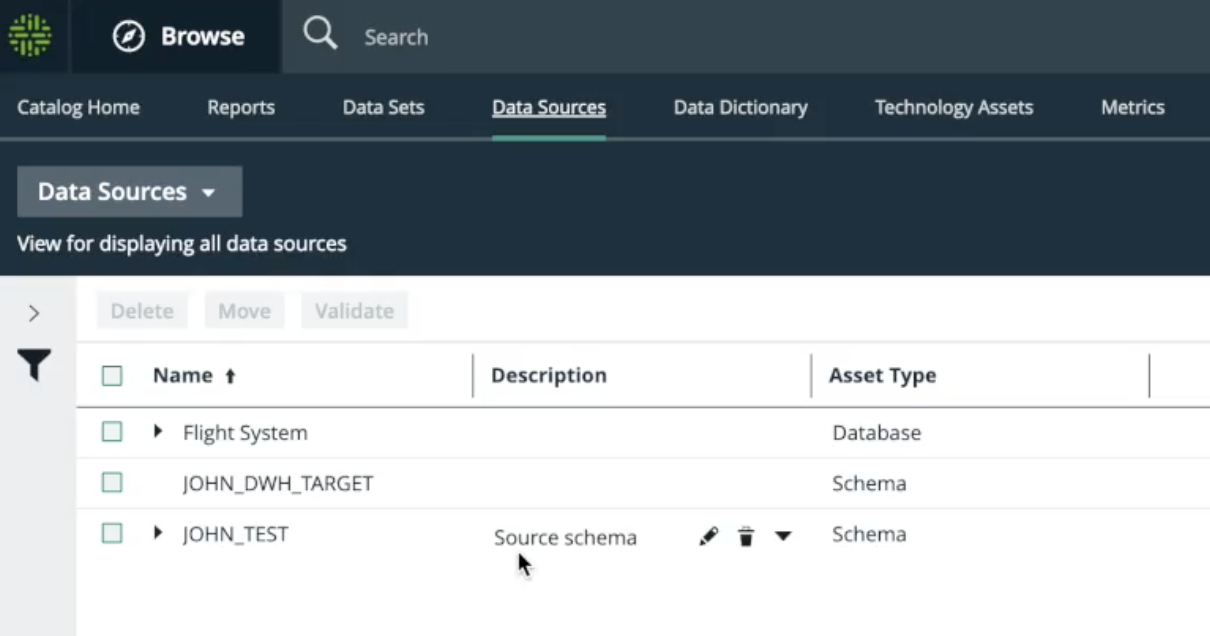
You should be able to see the schemas and any tables associated with them.
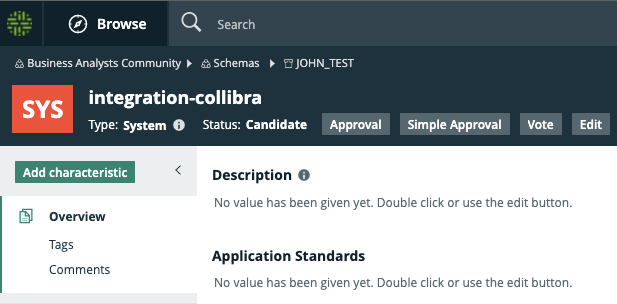
Create a System Asset
The system asset in Collibra is a container which organises how systems are connected. This is a manual process which allows customers visualize their separate systems by grouped data sources and targets.
Steps:
- Click into the catalog again and in the nav select the green + button to reveal the create modal
2.Click on the assets tab
-
Select System and a create System modal will appear
-
Enter the required information:
| Field | Description |
|---|---|
| Type | The asset type of the asset that you are creating, in this case System. |
| Domain | The domain to which the new asset will belong. You can only create a System asset in any domain of a domain type that is assigned to a System asset type. |
| Name | The name of the System asset. This has to match the exact name of the system that you register in the configuration file as collibraSystemName.
You can create multiple assets in one go.
To do this, press Enter after typing a value and then type the next. Depending on the settings, asset names may have to be unique in their domain. If you type a name that already exists, it will appear in strike-through style.
|
- Click Create
Create a relationship between the System asset and the Database asset
Create a relation between the System asset and the Database asset using the "Technology Asset groups / is grouped by Technology Asset" relation type.
Steps
- Navigate to the System asset you have created by clicking the Technology Assets tab in the sub-menu
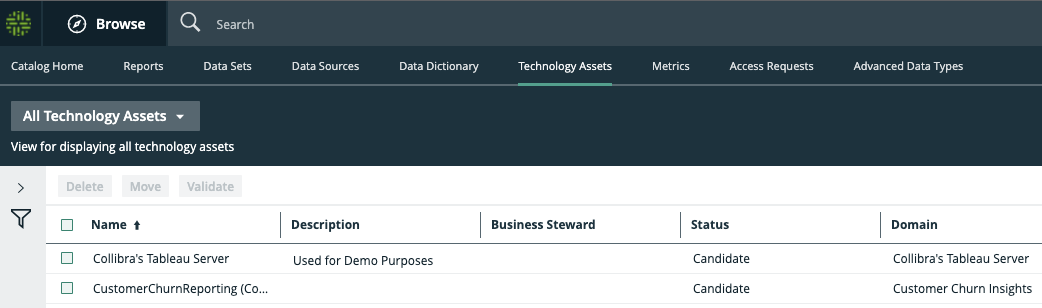
Select the System asset you need.
- Once in the System asset view, in the tab pane, click Add Characteristic
An Add Characteristic modal will appear.
-
Click relations
-
Search for and click groups Technology asset and an Add groups Technology asset modal will appear.
-
Enter the required information:
| Option | Description |
|---|---|
| Assets | The name of the database. |
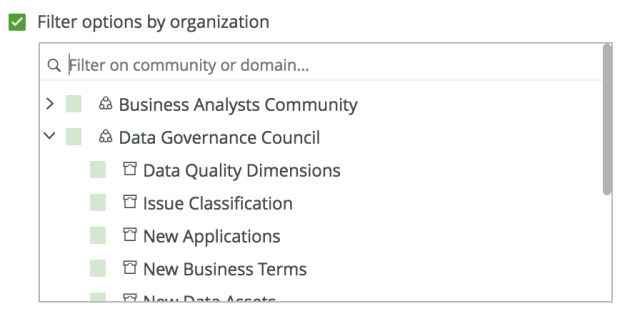
| Filter suggested assets by organization | Option to filter the suggestions based on selected communities and domains.
If this option is selected, the organization tree appears. You can then filter and select domains and communities. |
| Start Date | Optionally enter the date on which the relation between the assets becomes applicable. Leave this field empty to create a permanent relation. |
| End Date | Optionally enter the date on which the relation between the assets is no longer applicable. Leave this field empty to create a permanent relation. |
- Click Save
Create a relationship between the Database asset and the Schema asset
Create a relation between the Database asset and the Schema asset using the "Technology Asset has / belongs to Schema" relation type.
Steps:
-
Click into the Database asset you have created by clicking the Technology Assets tab in the sub-menu
-
Select the Database asset you need.
-
Once in the Database asset view, in the tab pane, click Add Characteristic and a modal will appear
-
Click relations
-
Search for and click has Schema and a modal will appear.
-
Enter the required information:
| Option | Description |
|---|---|
| Assets | The name of the schema. |
| Filter suggested assets by organization | Option to filter the suggestions based on selected communities and domains.
If this option is selected, the organization tree appears. You can then filter and select domains and communities. |
| Start Date | Optionally enter the date on which the relation between the assets becomes applicable. Leave this field empty to create a permanent relation. |
| End Date | Optionally enter the date on which the relation between the assets is no longer applicable. Leave this field empty to create a permanent relation. |

- Click Save
2. Set up the lineage harvester
The lineage harvester is a software application that is needed to create a technical lineage and import metadata into Data Catalog. Before you can test the lineage harvester integrations in preview mode, you have to install the lineage harvester and add the necessary properties to the configuration file.
Steps:
-
Download the Collibra Harvester
-
Unzip the archive - you will now be able to see the lineage harvester folder
-
Run the following commands in your command line tool to begin the lineage harvester:
a. Windows: .\\bin\\lineage-harvester.bat
b. Other operating systems: chmod +x bin/lineage-harvester and then bin/lineage-harvester
c. An empty config file is now created in the lineage harvester folder
d. >> The lineage harvester is installed automatically. You can check the installation by running ./bin/lineage-harvester --help.
- Open the config file (found in the lineage harvester folder) and fill out the necessary values. Here is an example of the config file for either Redshift or Snowflake
Redshift
{
  "general" : {
    "techlin": {
     "userKey": ""
    },
    "catalog" : {
      "url" : "https://.collibra.com",
      "username" : ""
    },
    "useCollibraSystemName" : false
  },

  "sources": [{
            "id": "",
            "type": "Matillion",
            "url": "",
            "groupName": "",
            "projectName": "",
            "environmentName": "",
            "dialect": "",
            "username": "",
            "collibraSystemName": ""
        },
        {
            "id": "testing-source",
            "type": "Database",
            "username": "",
            "hostname": "",
            "port": ,
            "dialect": "",
            "databaseNames": [""],
            "collibraSystemName": "",
            "schema": ""
        }
    ]
}
Snowflake
{
  "general" : {
    "techlin": {
     "userKey": "56001c6d-e47c-43cc-b3f1-26ec99dc4183"
    },
    "catalog" : {
      "url" : "https://matillion-partner.collibra.com",
      "username" : "Admin"
    },
    "useCollibraSystemName" : false
  },

  "sources": [{
            "id": "my-matillion-techlin",
            "type": "Matillion",
            "url": "63.33.51.230",
            "groupName": "john-group",
            "projectName": "john-collibra",
            "environmentName": "john-env",
            "dialect": "snowflake",
            "username": "ec2-user",
            "collibraSystemName": "Matillion-system"
        },
        {
            "id": "testing-source",
            "type": "DatabaseSnowflake",
            "username": "JOHN_COLLIBRA_TEST",
            "dialect": "snowflake",
            "databaseNames": ["FROSTY_BORG"],
            "hostname": "matillion.eu-central-1.snowflakecomputing.com",
            "collibraSystemName": "Matillion-system",
            "schema": "JOHN_TEST"
        }
    ]
}
In the above examples within the "general" object, you are providing the harvester Collibra credentials and where to look for lineage.
In the sources object, the first entry is providing Collibra the API endpoint, the db you are using and the collibraSystemName which must match the system name you provide in Collibra during the setting up a physical data layer process. Here is an example endpoint:
https://matillion-server/rest/v1/group/name/
Full Collibra documentation is available here.
3. Getting Technical Lineage in Collibra
Once you have the config file filled out, now you can run the technical lineage harvester.
Start the lineage harvester again and do one of the following:
- To process data from all data sources in the configuration file, run the following command:
a. For windows:
.\\bin\\lineage-harvester.bat full-sync
b. For other operating systems:
./bin/lineage-harvester full-sync
- To process data from specific data sources in the configuration file, run the following command:
a. For windows:
.\\bin\\lineage-harvester.bat full-sync -s "ID of the data source"
b. For other operating systems:
./bin/lineage-harvester full-sync -s "ID of the data source"
- The lineage harvester sends the data source information to a Collibra Data Lineage server using Collibra REST API, where it is parsed and analyzed. As a result, the technical lineage is created and shown in Data Catalog.
4. Finish and view Technical Lineage in Collibra
Once the harvester has finished running, you will get a command line with the following confirmation:

After this, if you navigate to your Collibra dashboard and you will see the Technical Lineage tab where you can view all the lineage you have registered!