Jira Query example🔗
In this example, we will be outlining some very basic data loading pipelines using the Jira Query component in Designer. These examples will result in a table that gives only Jira issues for a specific project.
The Jira Query component is available in the Add component dialog when adding a component to an orchestration pipeline. This component will connect to your Jira account using a username/password or username/API token, stage the data in a storage area, and then load that data into a Snowflake table.
Authentication🔗
The Jira Query component can take a username/password as authentication or a username/API token. We'll be using username/API token for this example and this means registering our Jira API token as a secret on the AWS Secrets Manager. The general process for this is given below.
Note
This example assumes a Hybrid SaaS solution, which uses your AWS Secrets Manager to store secrets. If you are using a Full SaaS solution, the process will be different. Read Secrets and secret definitions for more details.
- Log in to the AWS account that houses your Maia runner.
- Browse to the Secrets Manager service.
- Ensure you're in the same AWS Region as your Maia runner.
- Click Store a new secret.
- Click Other type of secret.
- Enter a memorable key name and then your Jira API token as the value.
- Click Next until the secret creation is completed.
You then need to register a Secret definition in Designer. Follow these steps:
- Navigate to Designer in Maia.
- Select your Project. Secret definitions are project-specific.
- Click the Secret definitions tab.
- Click Add secret definition.
- Configure your secret definition.
- Secret definition name: A name for the secret definition. Any whitespace added to the start or end of the secret definition name is automatically trimmed.
- Description: An optional, referential description for the secret. Max 256 characters.
- Runner: Select the Maia runner that will be used by the pipelines that use this secret.
- Secret name: Select the secret you created previously in AWS Secrets Manager.
- Secret key: Select a named secret key tied to your secret name.
- Click Create secret.
The value of the selected key will be used when this definition is referenced inside Designer. For example, when this definition is selected as the password for connector authentication.
Secret definitions don't create secrets, they create a reference to an existing secret for use within Designer.
Loading using the Jira Query component🔗
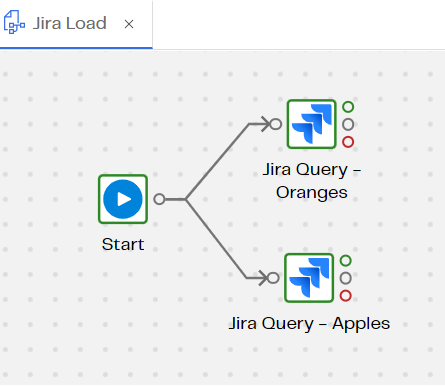
Our first option to create project-specific Jira datasets is to use the Filter property on the Jira Query component. The component can be called multiple times in a single pipeline with each pointing to a different table.
To filter the data, click the Jira Query component and click to configure the Data Selection property. Ensure the ProjectName column is being loaded by moving it to the Selected Data Selection panel. Next, click the Data Source Filter property and configure with the following details:
| Input Column | Qualifier | Comparator | Value |
|---|---|---|---|
| ProjectName | Is | Equal to | [YourProjectName] |
Only rows that match this criteria will be kept in the data load.
Filtering with the Filter component🔗
Alternatively, the Jira Query component can be used with no filter included to load all Jira issues data with a single load, and then we can let a transformation pipeline do the filtering by using the Filter component and then outputting to different tables using Rewrite Table.
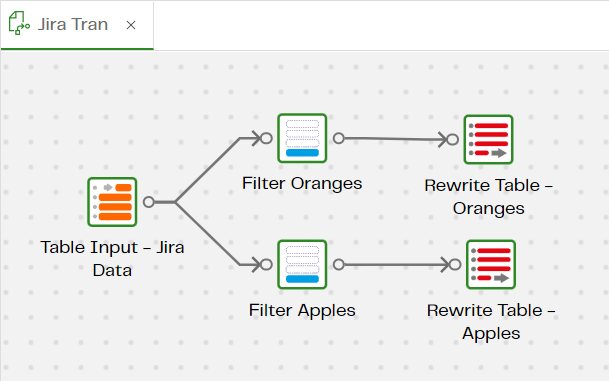
If the Filter component does not validate as expected, try re-validating the pipeline so Designer can acknowledge your columns from the Table Input component.