SAP NetWeaver Query - add new data sources🔗
Overview
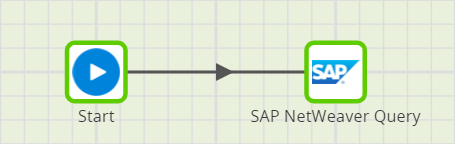
This guide explains how to add data sources to the SAP Netweaver Query component. The guide presumes that you already have a Matillion ETL instance up and running, with an Orchestration Job that includes a configured (see green border) SAP Netweaver Query component on the canvas.
Important Information and Links
Please ensure you have configured the following properties in the SAP Netweaver Query component: Host, Username, Password, and Client.
Adding New Data Sources
The first four steps of this guide explain how to add a new API Profile in Matillion ETL.
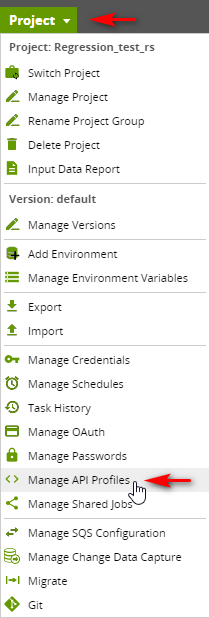
1. Click Project in the top-left of the graphical user interface (GUI).
2. In the Project drop-down, click Manage API Profiles.
3. In the Manage API Profiles window, click the  button to add a new API profile.
The API Profile Location is where new data source .rsd files should be stored.
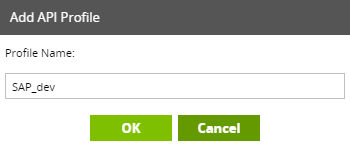
4. Give your new API profile a name. In this example, we have called our new API profile "SAP_dev". Once you are happy with the name of your new API Profile, click OK.
Steps 5 and 6 explain how to add the correct Connection Option.
5. Click on the SAP Netweaver Query component and then click the Connection Options property.
6. Ensure a connection option is present specifying the location of the API profile.
The Connection Option's "Value" is your API Profile Location:
/usr/share/tomcat/api_profiles/the_name_of_the_API_profile_you_provided_in_step_4
/usr/share/tomcat/api_profiles/the_name_of_the_API_profile_you_provided_in_step_4
To exit the Connection Options window, click OK.

The remaining steps in this guide explain how to add new data sources.
7. Next, right-click on the SAP Netweaver Query component. A menu will appear.
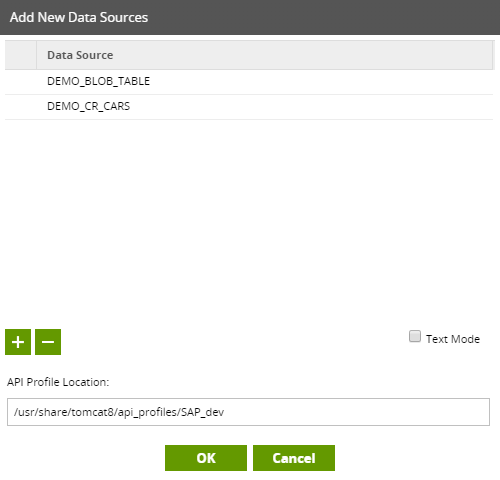
8. Click the option at the bottom of this menu: Add New Data Sources. This action will load a configuration window named Add New Data Sources.

9. Click the button to add a new data source.

10. Type the name of the data source you wish to add. Clicking the button again will generate another row for you to add the next data source.
11. In the field labeled API Profile Location, input your API Profile Location just as you did in step 6.
12. Click OK to add the new data sources. If all data sources are added successfully, the following message will appear:

Note: Any recognized data sources will be added despite any data sources that fail and error.
13. Lastly, click into the Data Sources property and select your newly added data sources.

Contact Support
If you require assistance adding new data sources, visit our Getting Support page.