Managed identities
This article explains how to create a user-assigned managed identity. Creating a managed identity is a prerequisite and must be completed before a Streaming agent is deployed in Azure.
There are two types of managed identities:
- System-assigned managed identities.
- User-assigned managed identities. This is preferred for the Streaming agent deployment process.
Prerequisites
- If you don't already have an Azure account, create on via the Azure portal before continuing.
- An existing Azure virtual machine (VM). If you don't already have a virtual machine, you can build one using the guidance at Create virtual machine.
Create a managed identity
To create and configure a managed identity in Azure:
- Sign in to the Azure portal.
- In the search field, enter Managed Identities. Under Services, click Managed Identities.
-
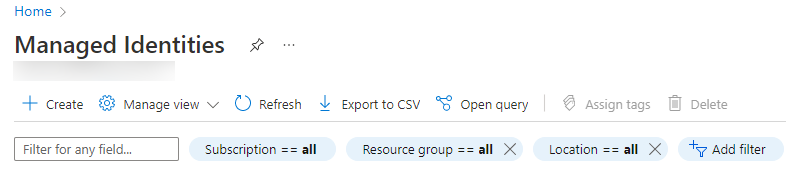
Select the first option for managed identities. Once you are on the Managed Identities page, click the Create button from the top navigation.
-
On the Create User Assigned Managed Identity page, select the subscription, the resource group, and the location. Finally, give the managed identity a name.
- Click Review + create.
- After validation has passed, click Create to provision the managed identity.
Assign identities to a virtual machine
To assign a user-assigned identity to a virtual machine, your account needs the Virtual Machine Contributor and Managed Identity Operator role assignments.
- Log in to the Azure portal to connect to your virtual machine.
- Navigate to the desired virtual machine, and click Identity → User assigned → +Add.
- Click the user-assigned identity you want to add to the virtual machine, then click Add.
Next: Blob storage.