Okta and SAML🔗
Note
This document covers step two of the Single sign-on (SSO) setup process, and shouldn't be completed independently.
-
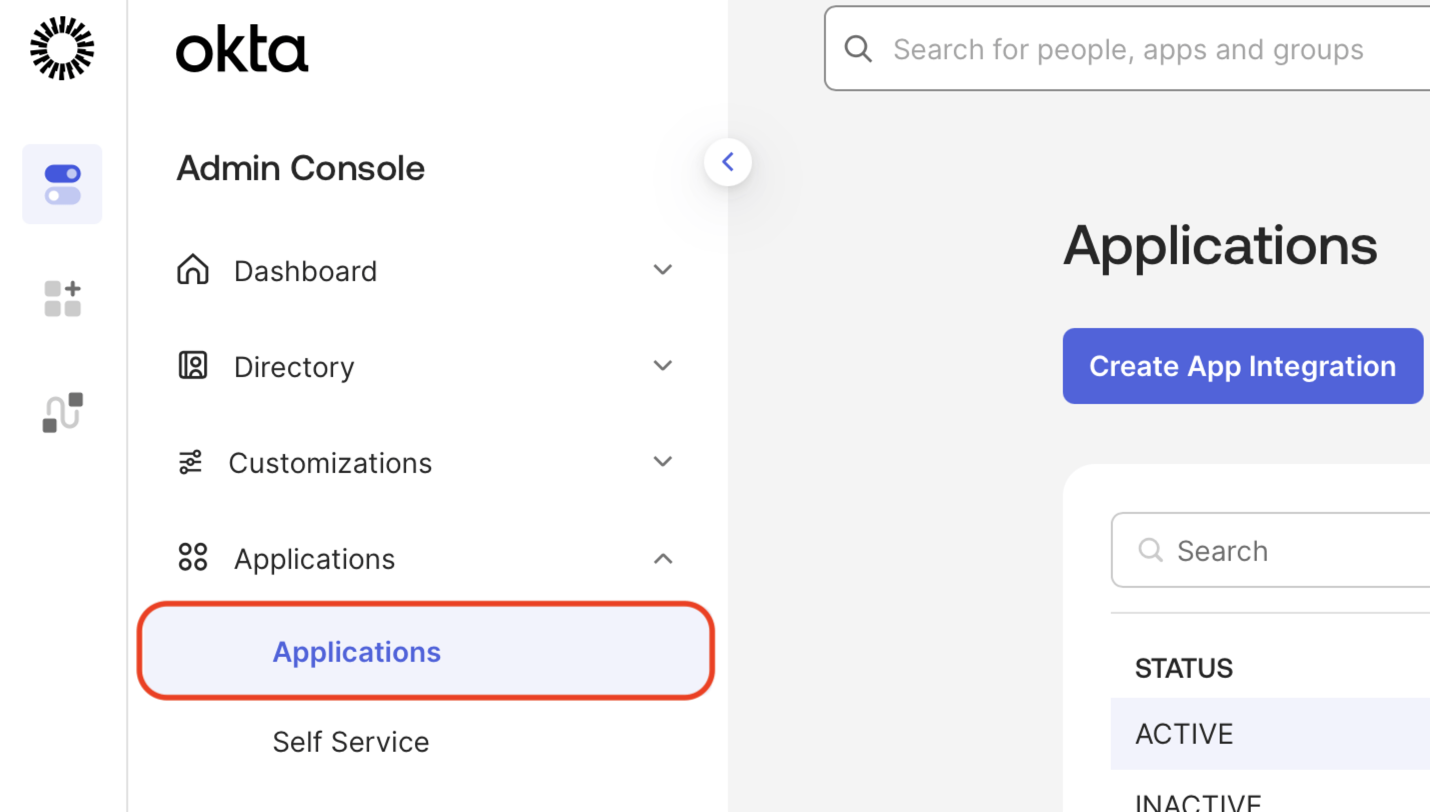
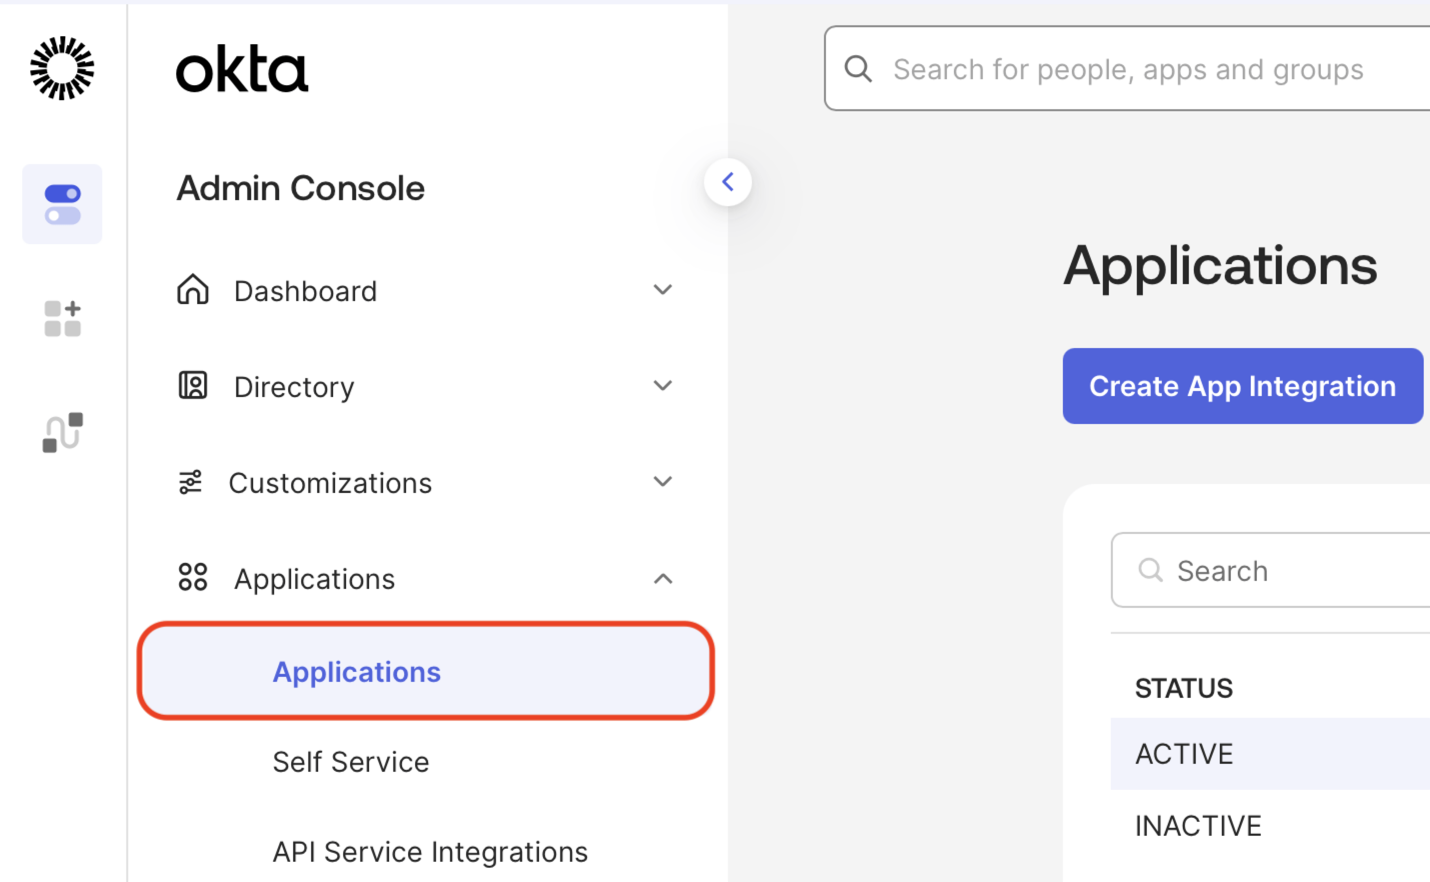
Log in to Okta, then click Applications.
-
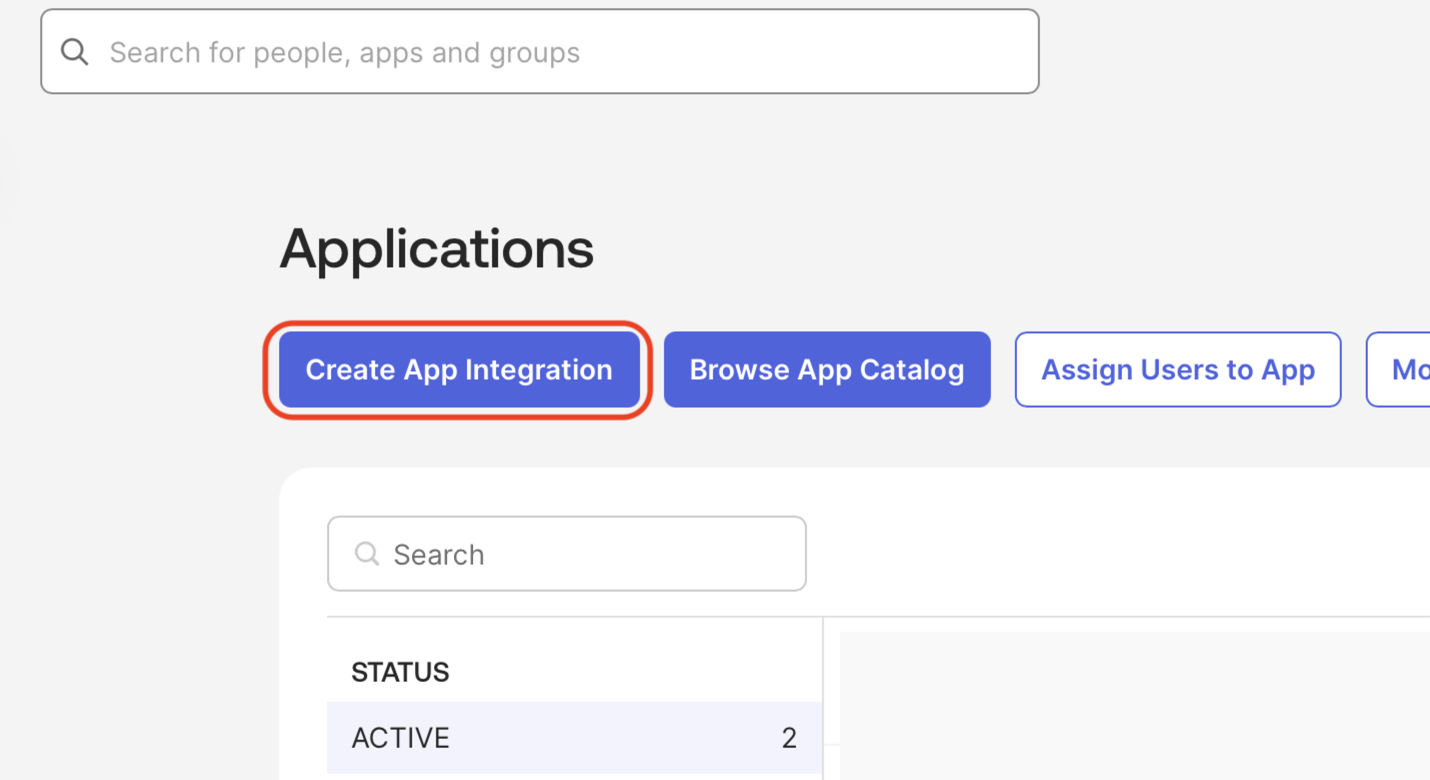
Click the Create App Integration button at the top.
-
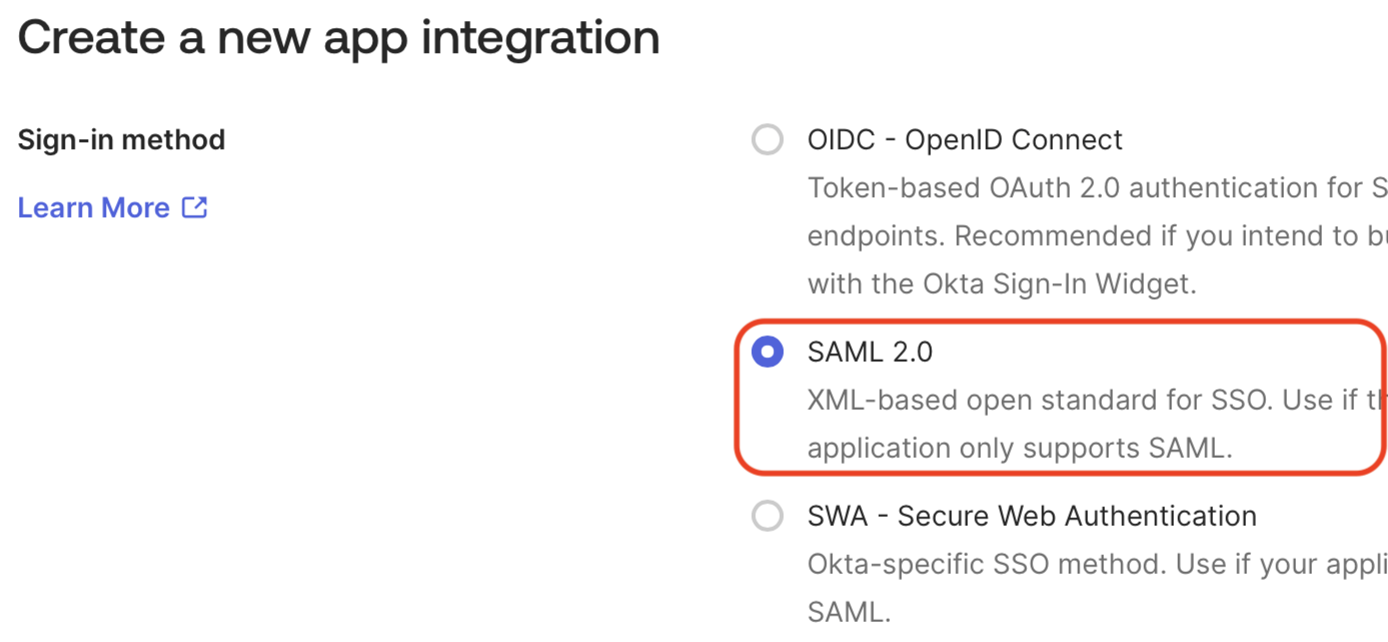
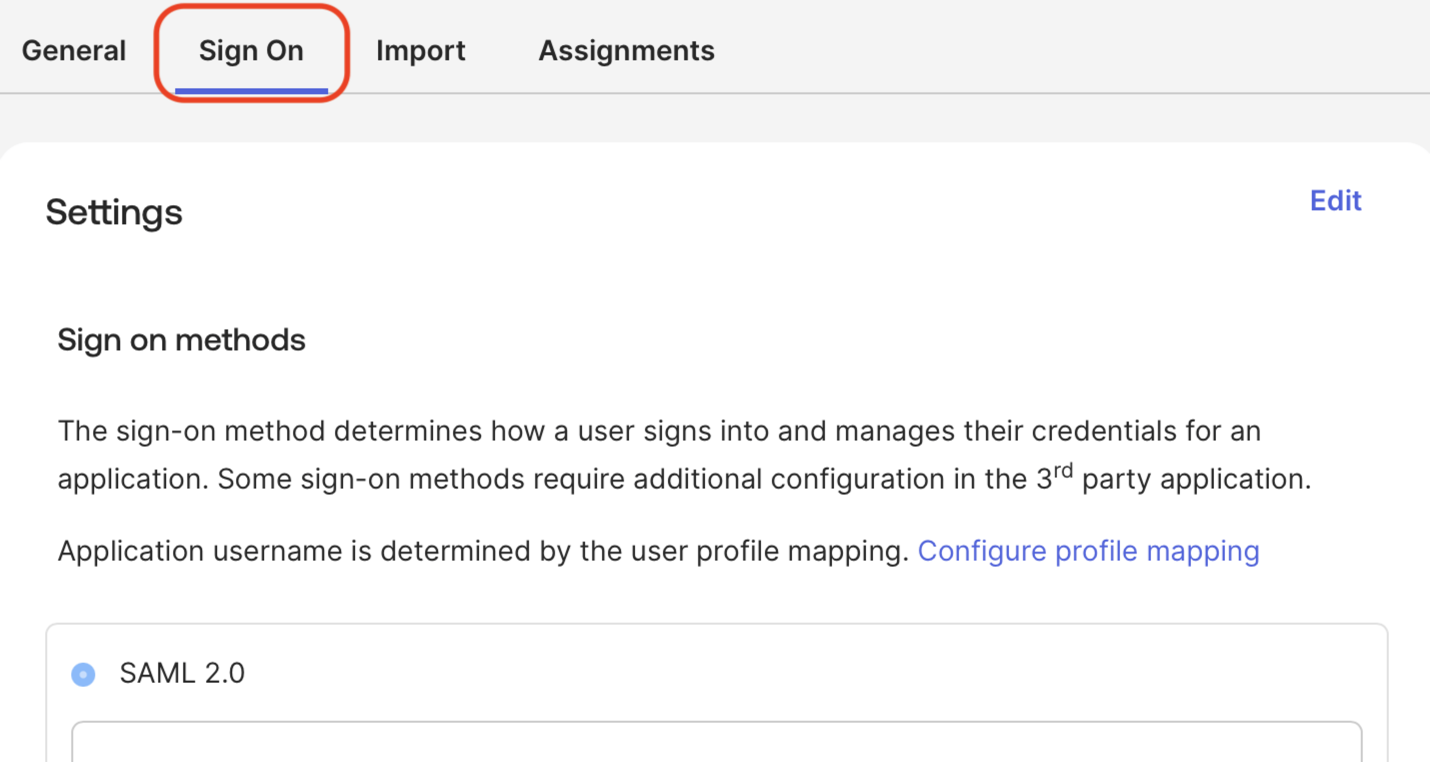
Select the SAML 2.0 radio button as the sign-on method.
-
Enter a name for the application, such as
Matillion SSO, tick Do not display application icon to users, and click Next.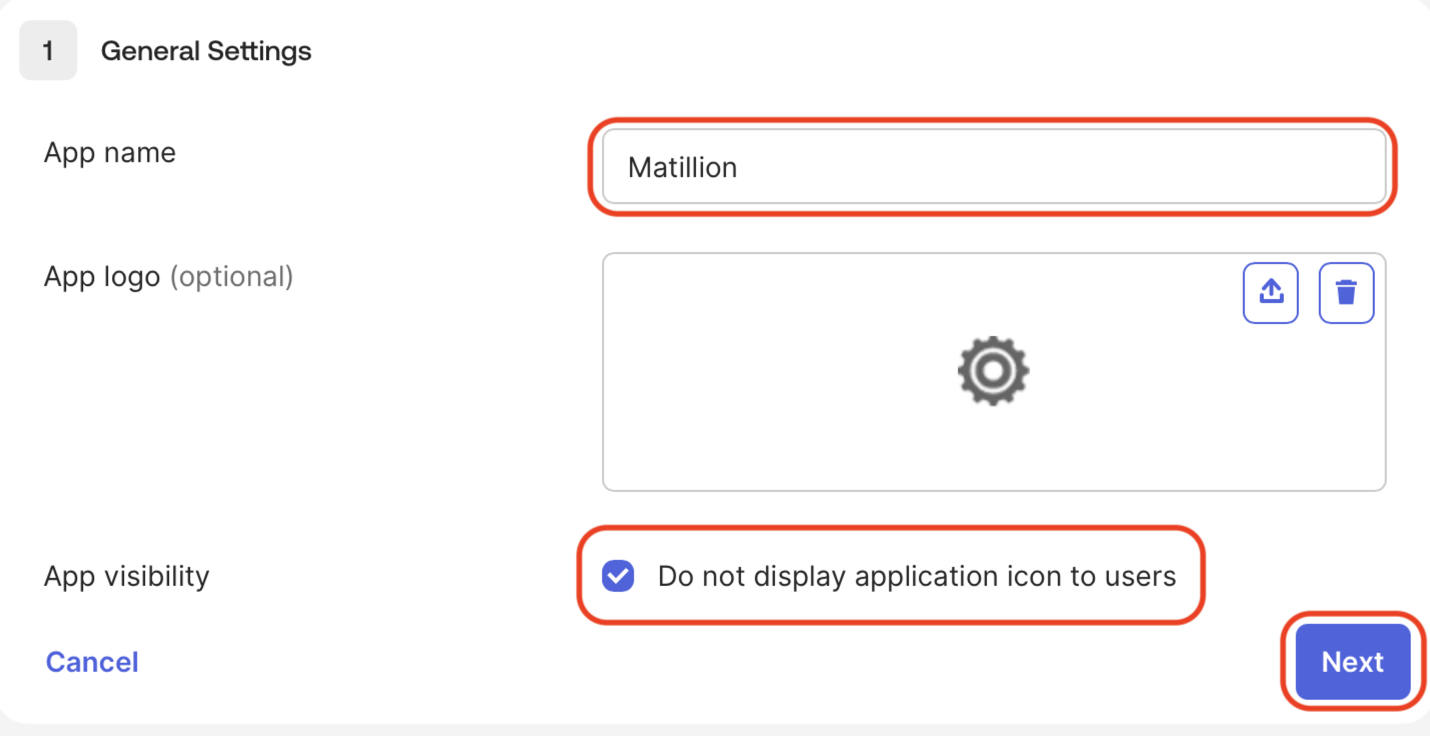
Note
There are optional steps at the end of this document if you wish to add an icon for users. The icon for the application itself must always be hidden, as using it will attempt an IdP Initiated connection, which we do not allow for security reasons.
-
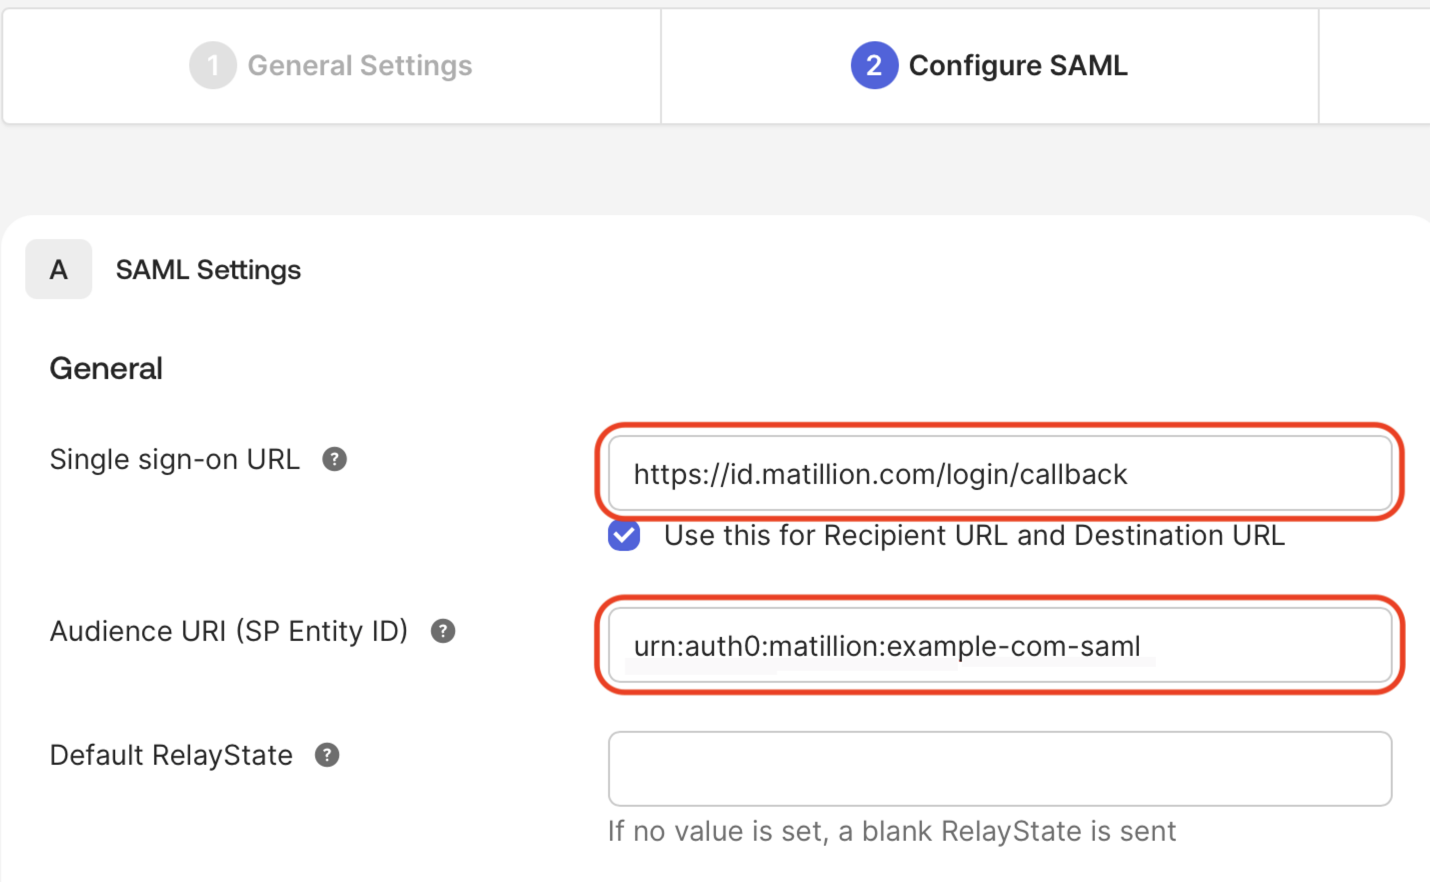
Enter the following:
- Single sign on URL:
https://id.matillion.com/login/callback. - Audience URI (SP Entity ID):
urn:auth0:matillion:[domain]-samlreplacing[domain]with your primary email domain, and converting any special characters to dashes. For instanceexample.comwould becomeurn:auth0:matillion:example-com-saml. - Leave the other fields blank, and click Next.
Note
The Relay State will be provided by Matillion later, and will be added here before testing. No other configuration should be changed at that stage.
- Single sign on URL:
-
Ensure the Application username is mapped to a value that is unique to each user and immutable.
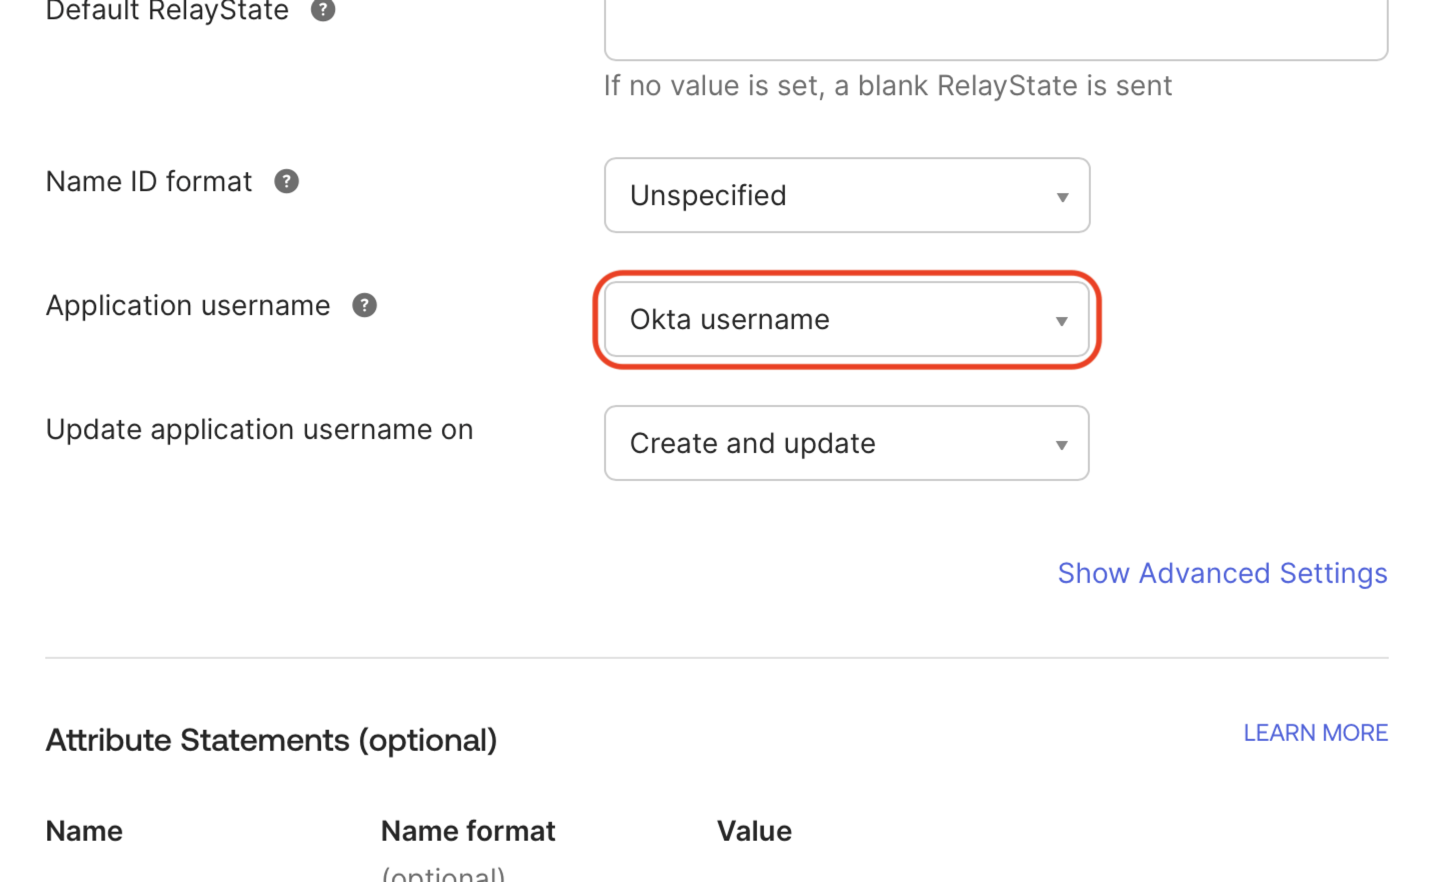
Warning
The default value, Okta username, is usually an email address and should not be used. The value chosen here is used internally by the identity provider as the NameID to uniquely identify users. It is never visible in either system, and users will always sign in using their email address regardless of this setting.
Leaving the default value unchanged can cause problems if it is modified in the future. If that happens, Matillion will treat the user as a new account, which results in the loss of the original user profile.
Any value that is unique to each user and guaranteed to remain unchanged can be used. Because every configuration is different, Matillion cannot provide guidance on creating a unique attribute in Okta. However, you can verify the exact value being sent during the testing phase, before the configuration is activated and impacts user logins.
-
Add the following five entries in the Attribute Statements (optional) section:
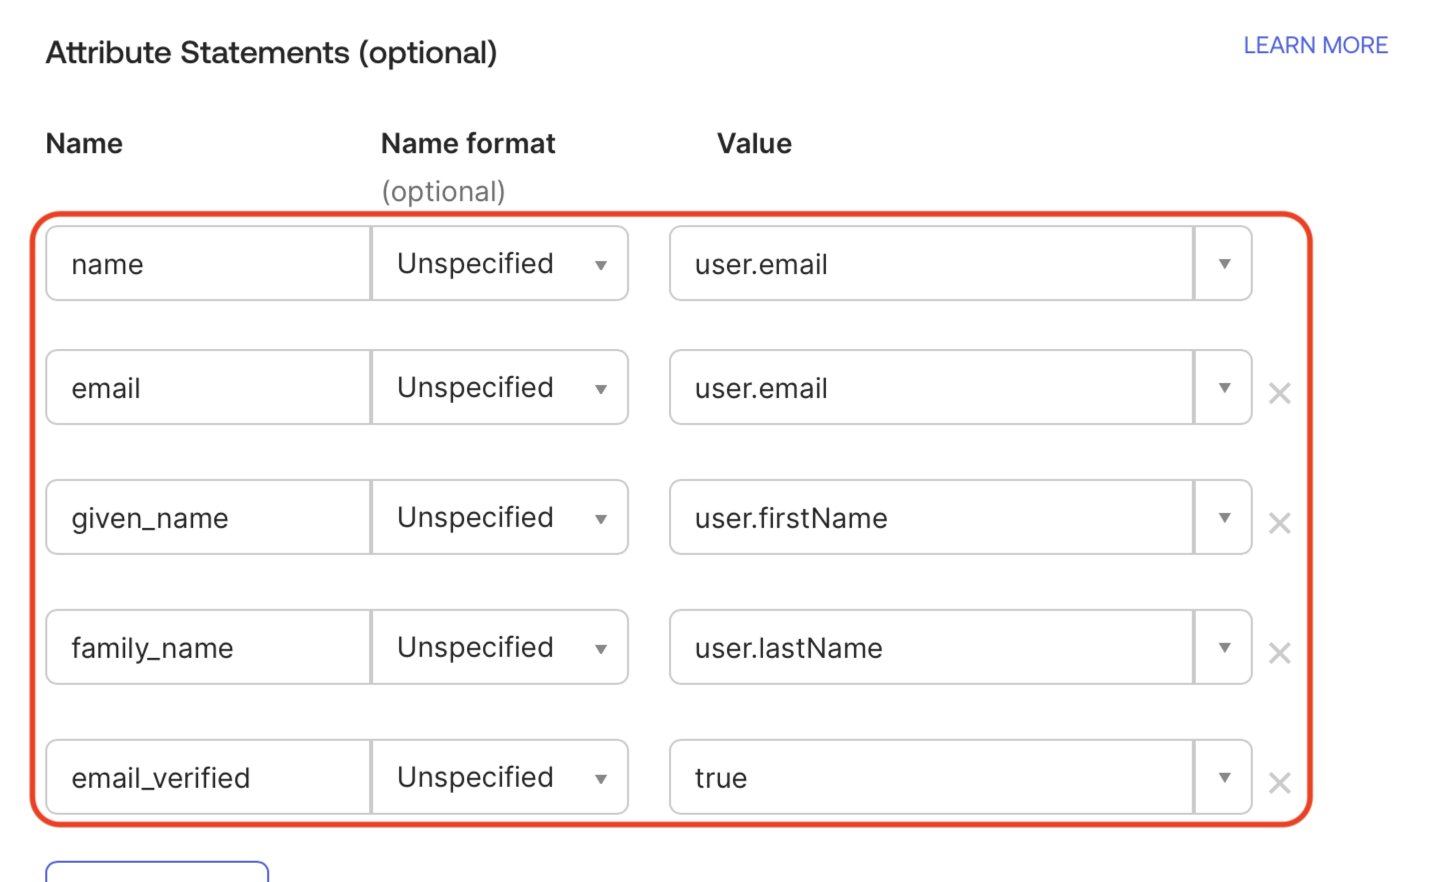
The email_verified attribute ensures that users aren't prompted to verify their email address with Matillion.
-
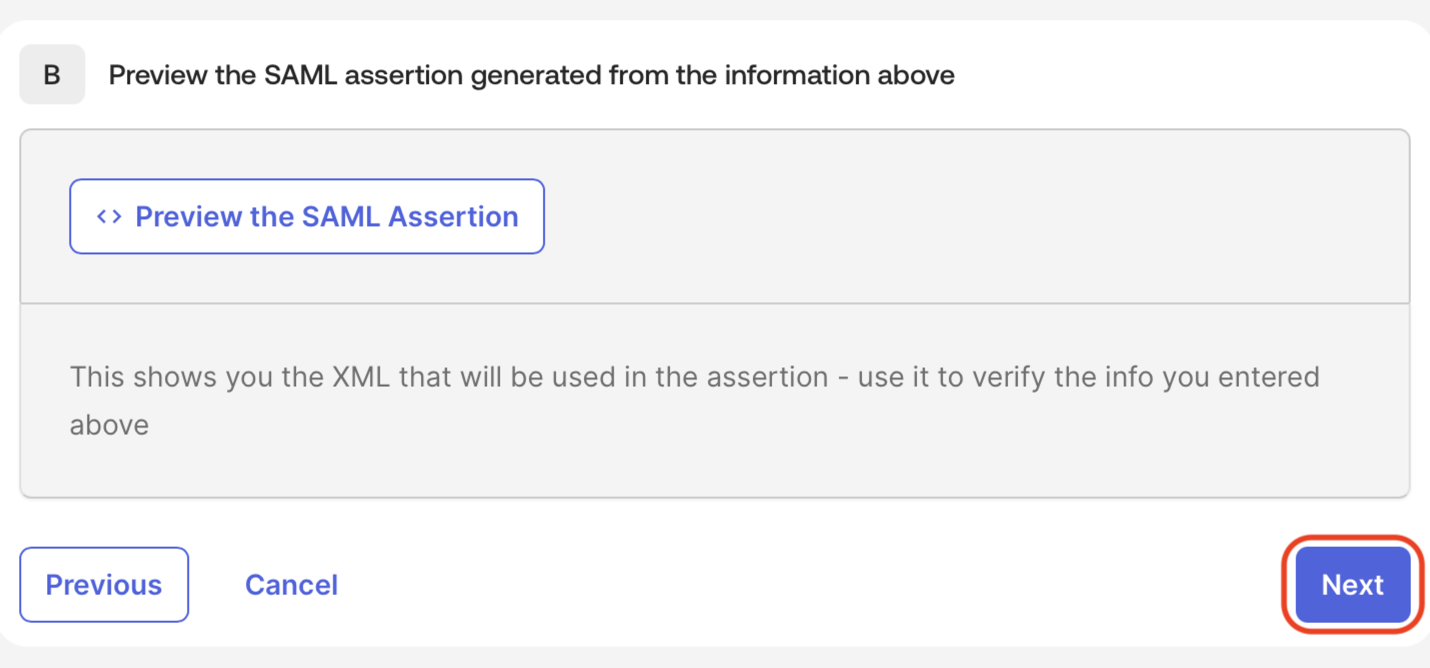
Scroll down to the bottom, and click Next.
-
If requested, complete the Okta feedback form, and click Finish.
-
Ensure the Sign On tab is open.
-
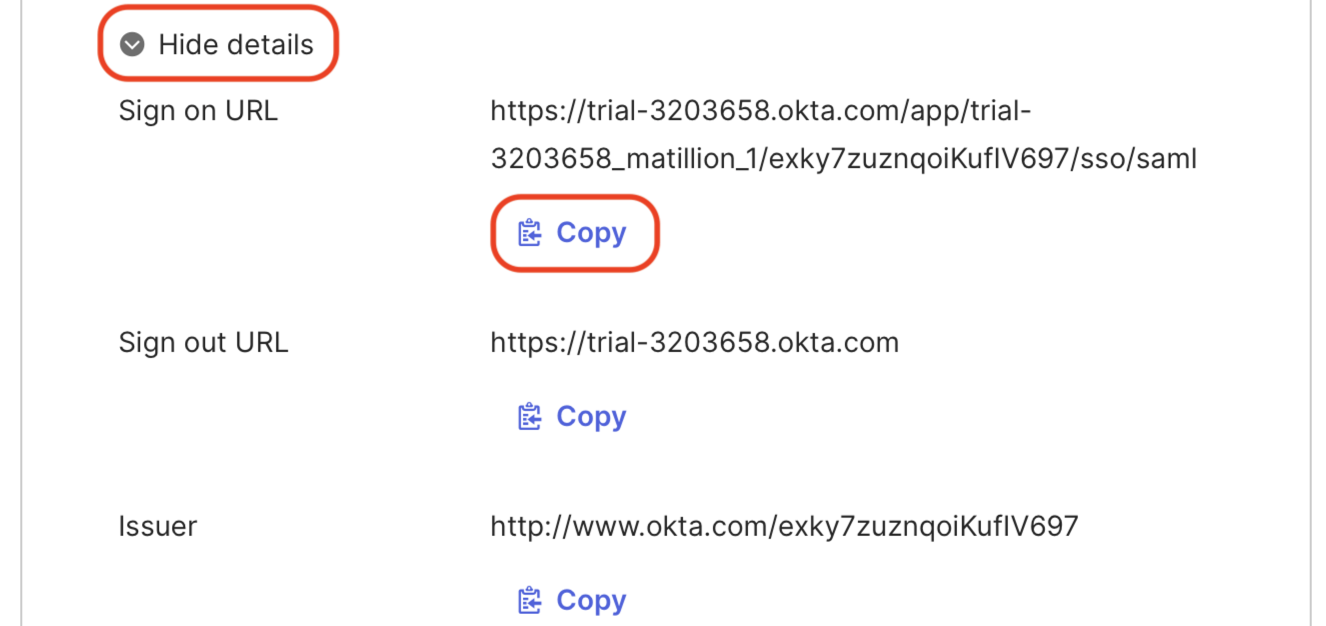
Click More details, click the Copy button under Sign on URL, and make a note of this for later.
-
Scroll down to the bottom of the page, click on the Actions menu next to the Active certificate, and click Download certificate.
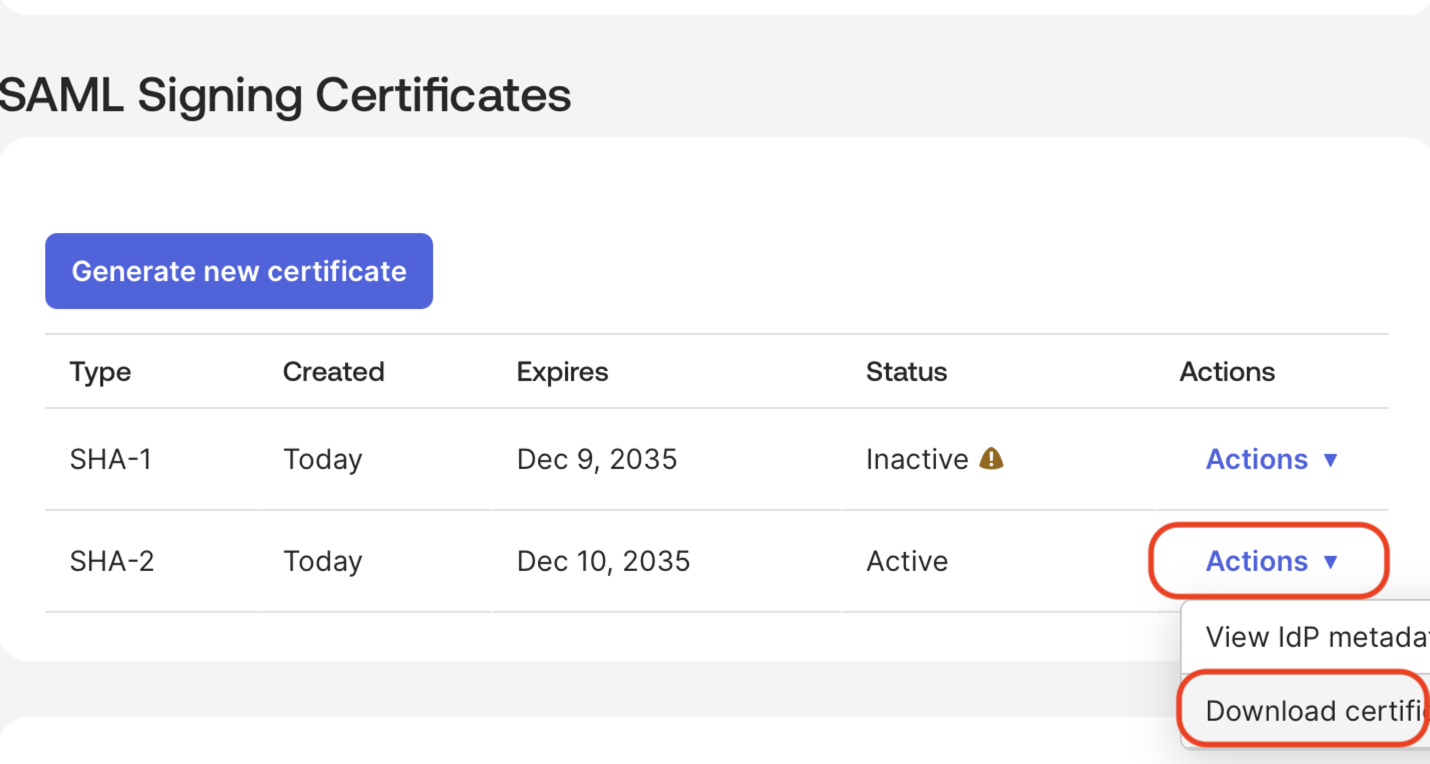
Note
This is not the same as the signing certificate available for download above.
-
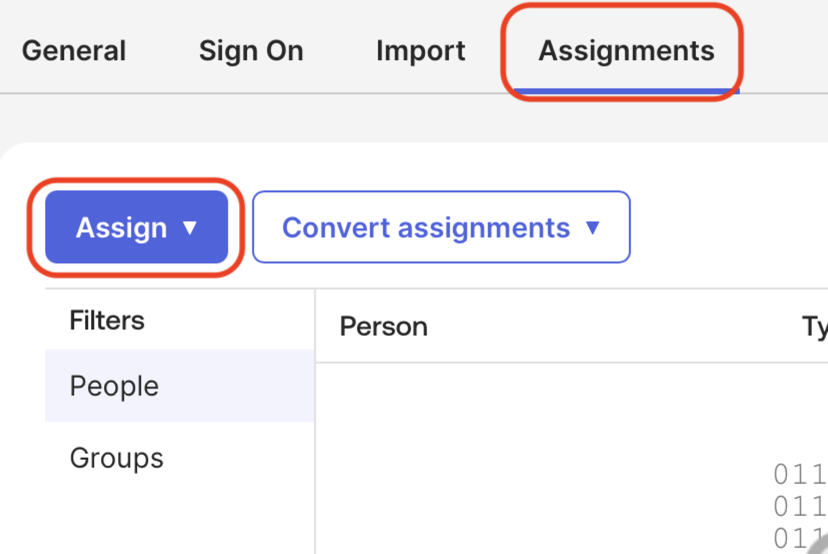
Open the Assignments tab, click Assign, and follow the prompts to assign users or groups to the application as needed.
-
Continue the steps in Single sign-on (SSO) setup.
Configure an Okta application icon (optional)🔗
Follow these steps to add an application icon so users can access Matillion from their Okta dashboard. If you don't require an application icon, skip this section, and continue with Single sign-on (SSO) setup.
-
Click Applications.
-
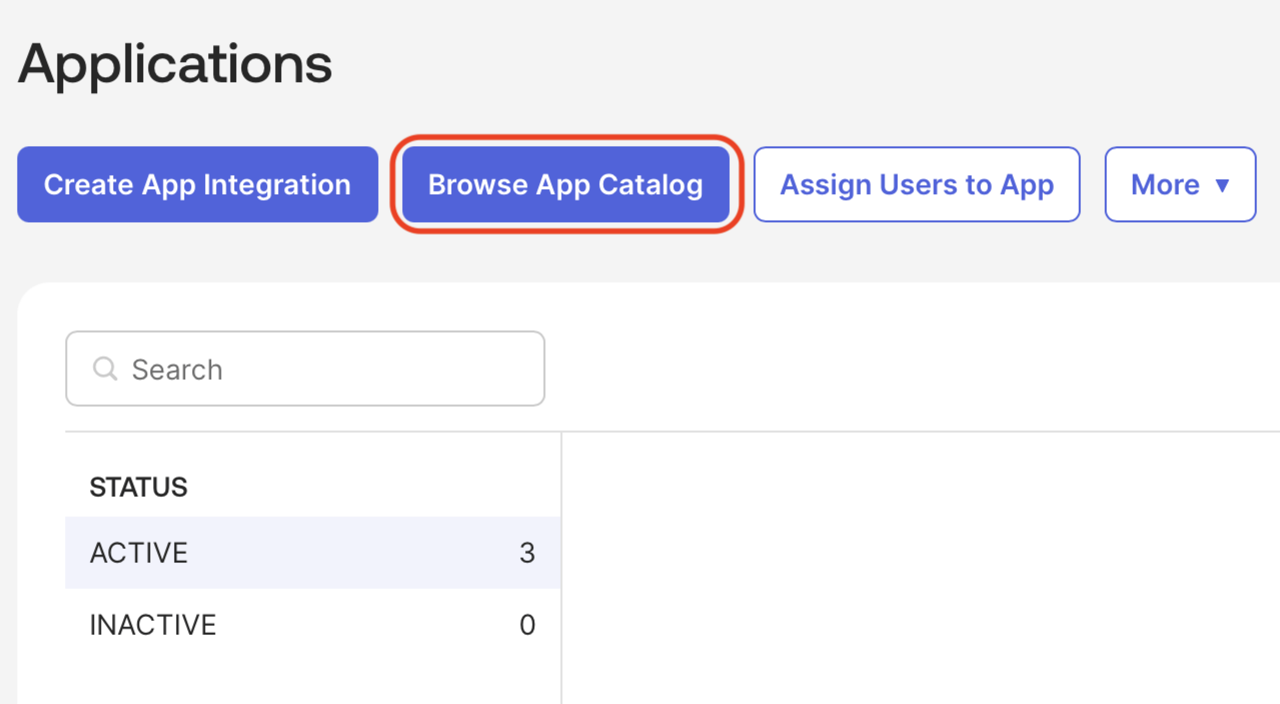
Click Browse App Catalog.
-
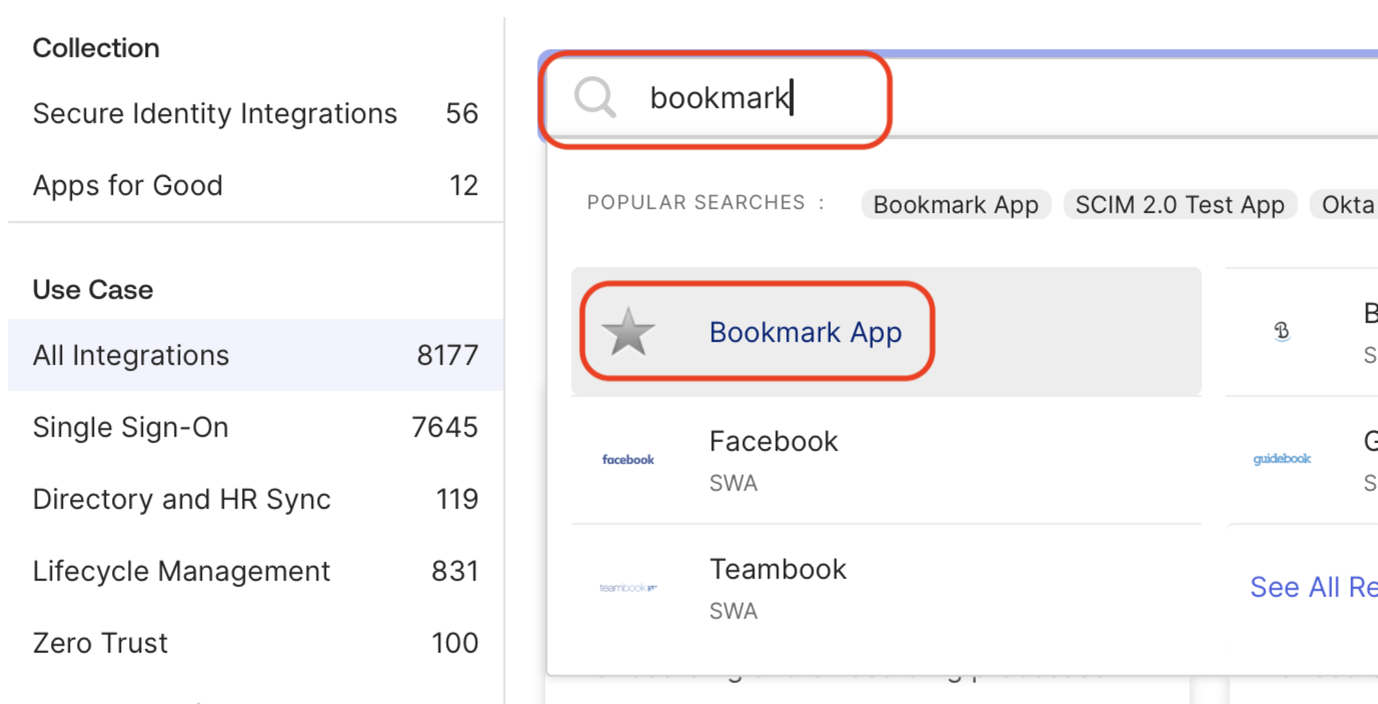
Enter bookmark in the search field, and click Bookmark App.
-
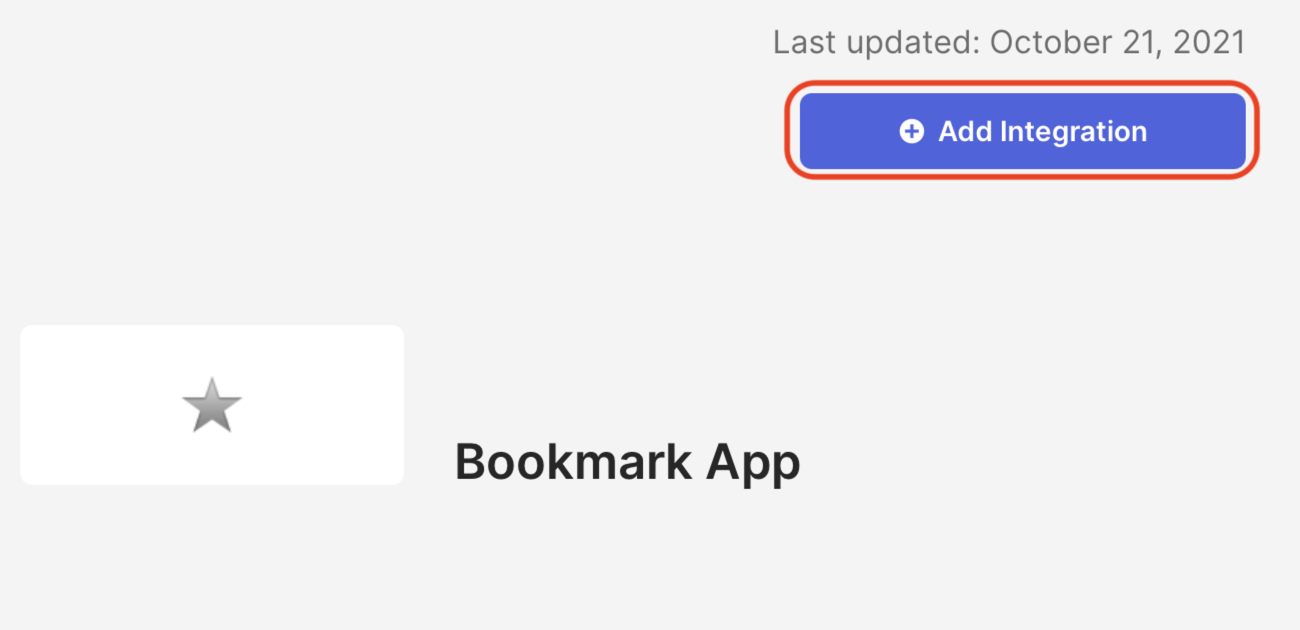
Click Add Integration.
-
Enter an Application label and the URL
https://app.matillion.com.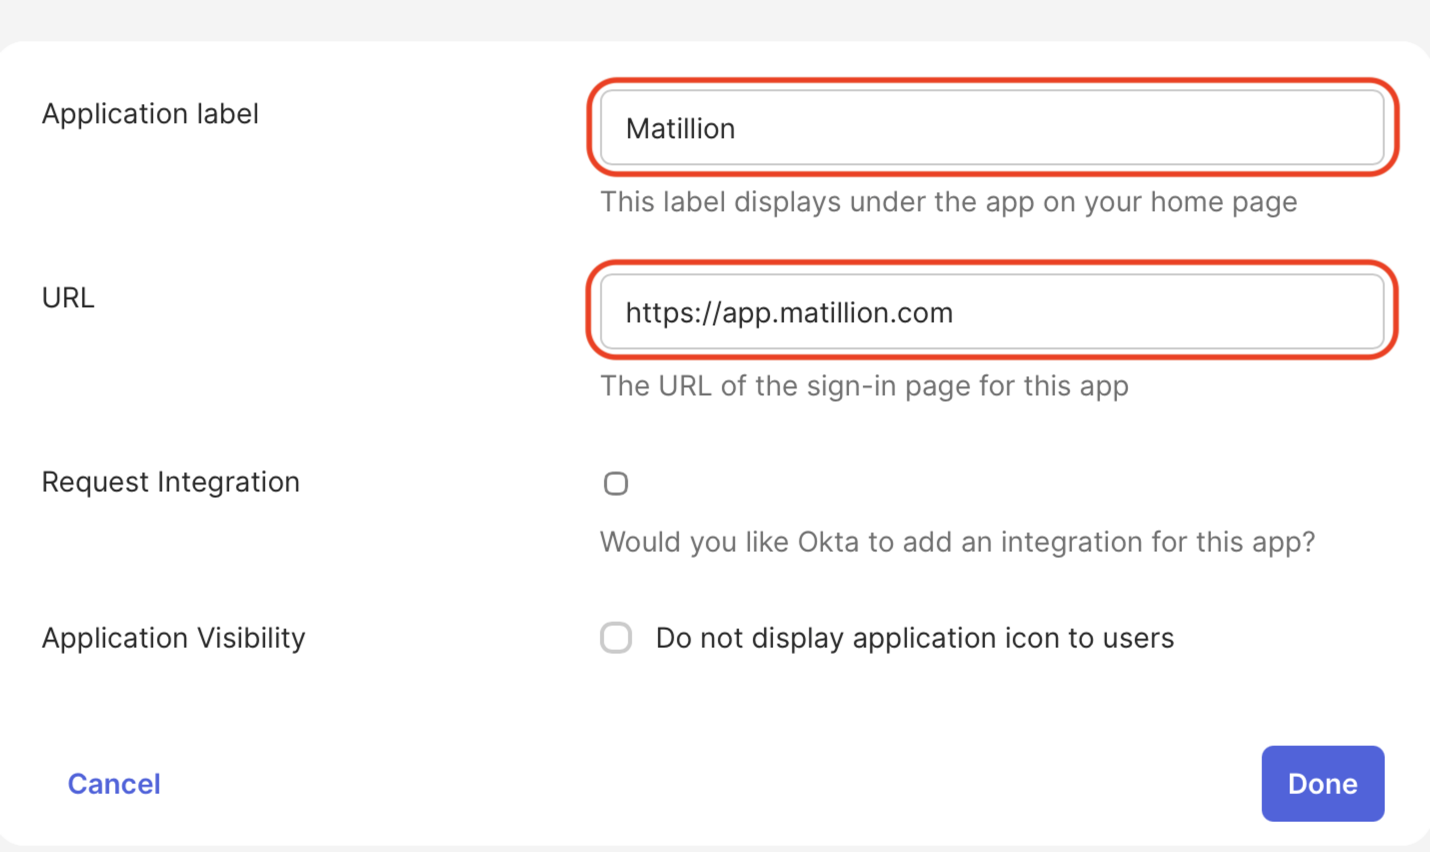
-
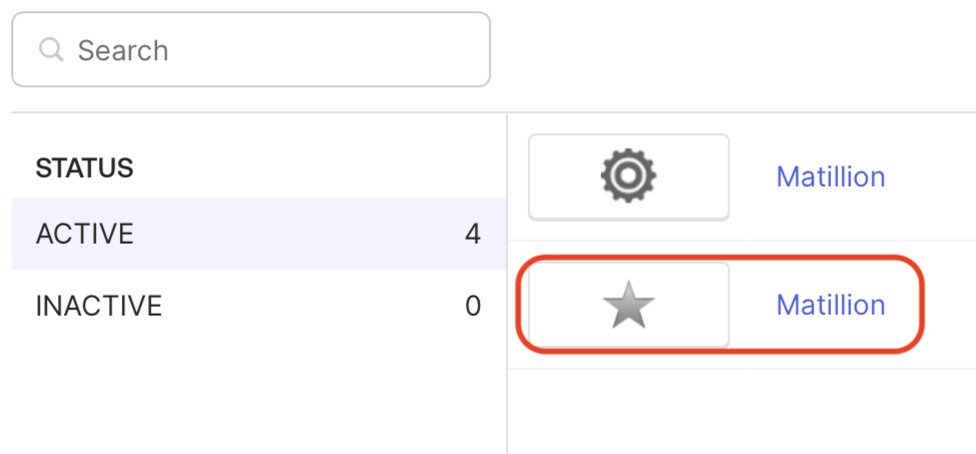
Select the bookmark from the list of applications, which will be shown with a star icon.
-
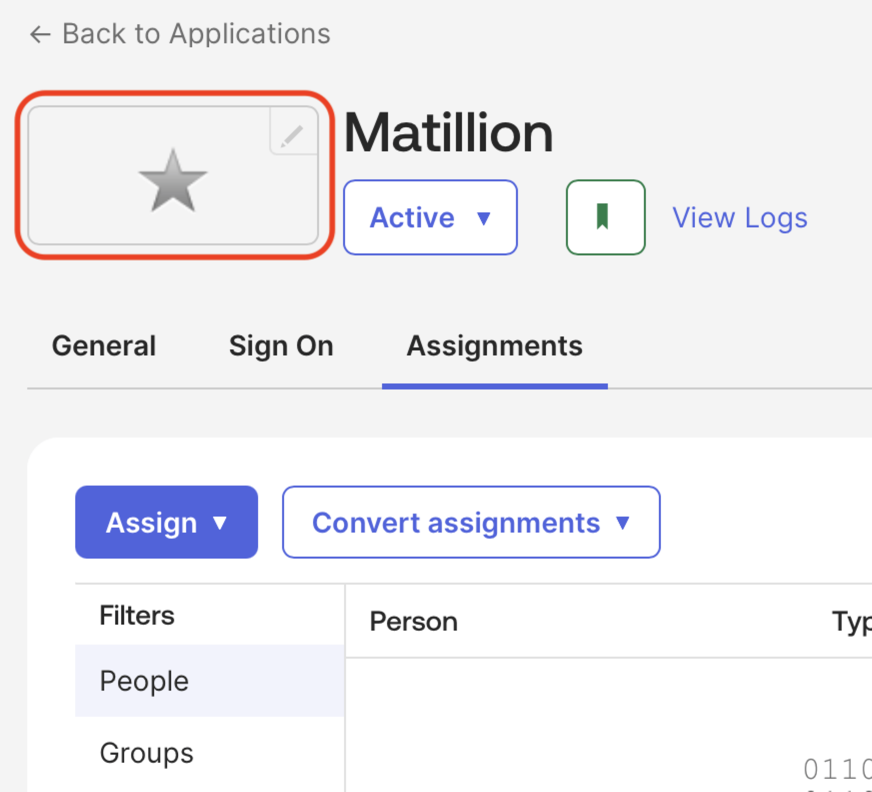
Click on the icon.
-
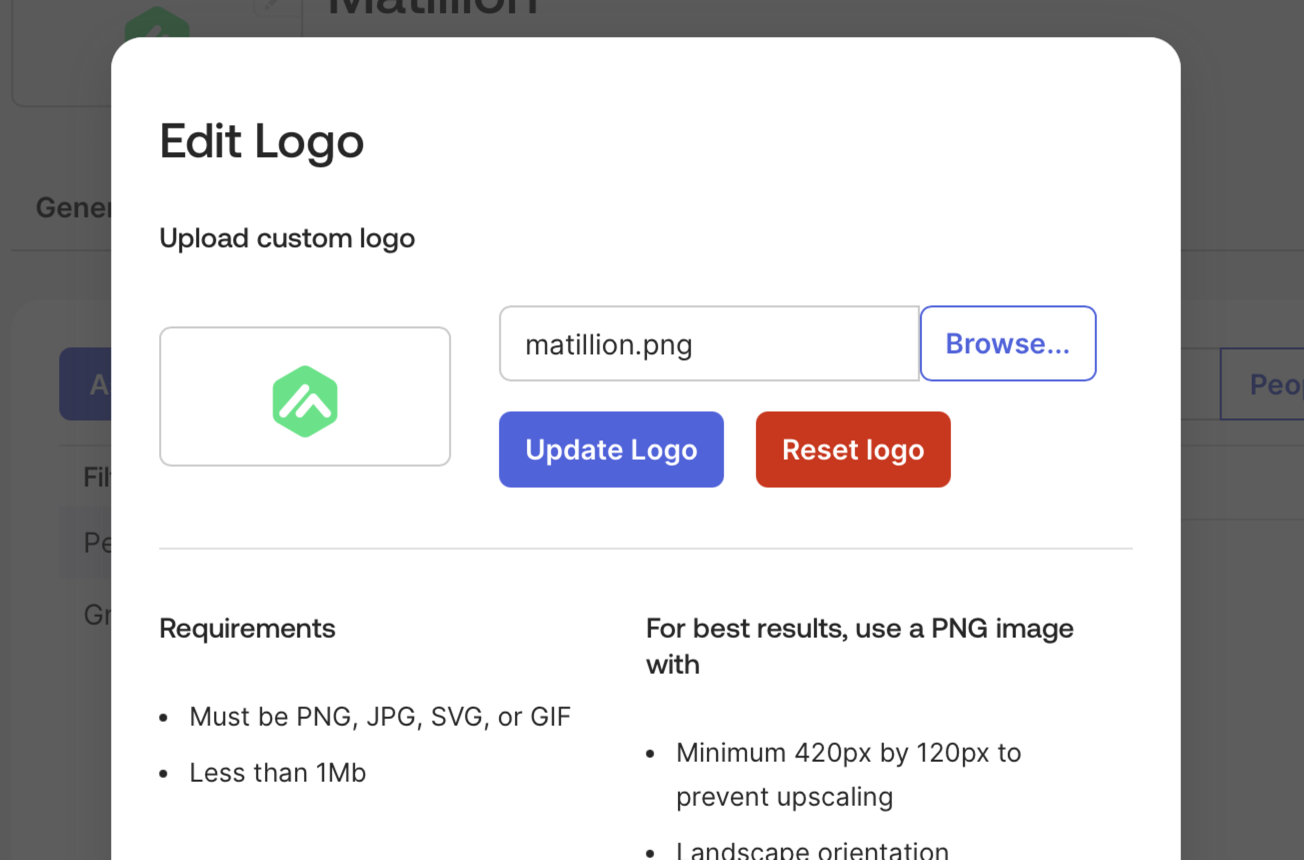
Upload an icon for the application, such as matillion.png.
-
Continue the steps in Single sign-on (SSO) setup.