Okta and OpenID Connect🔗
Note
This document covers step two of the Single sign-on (SSO) setup process, and shouldn't be completed independently.
-
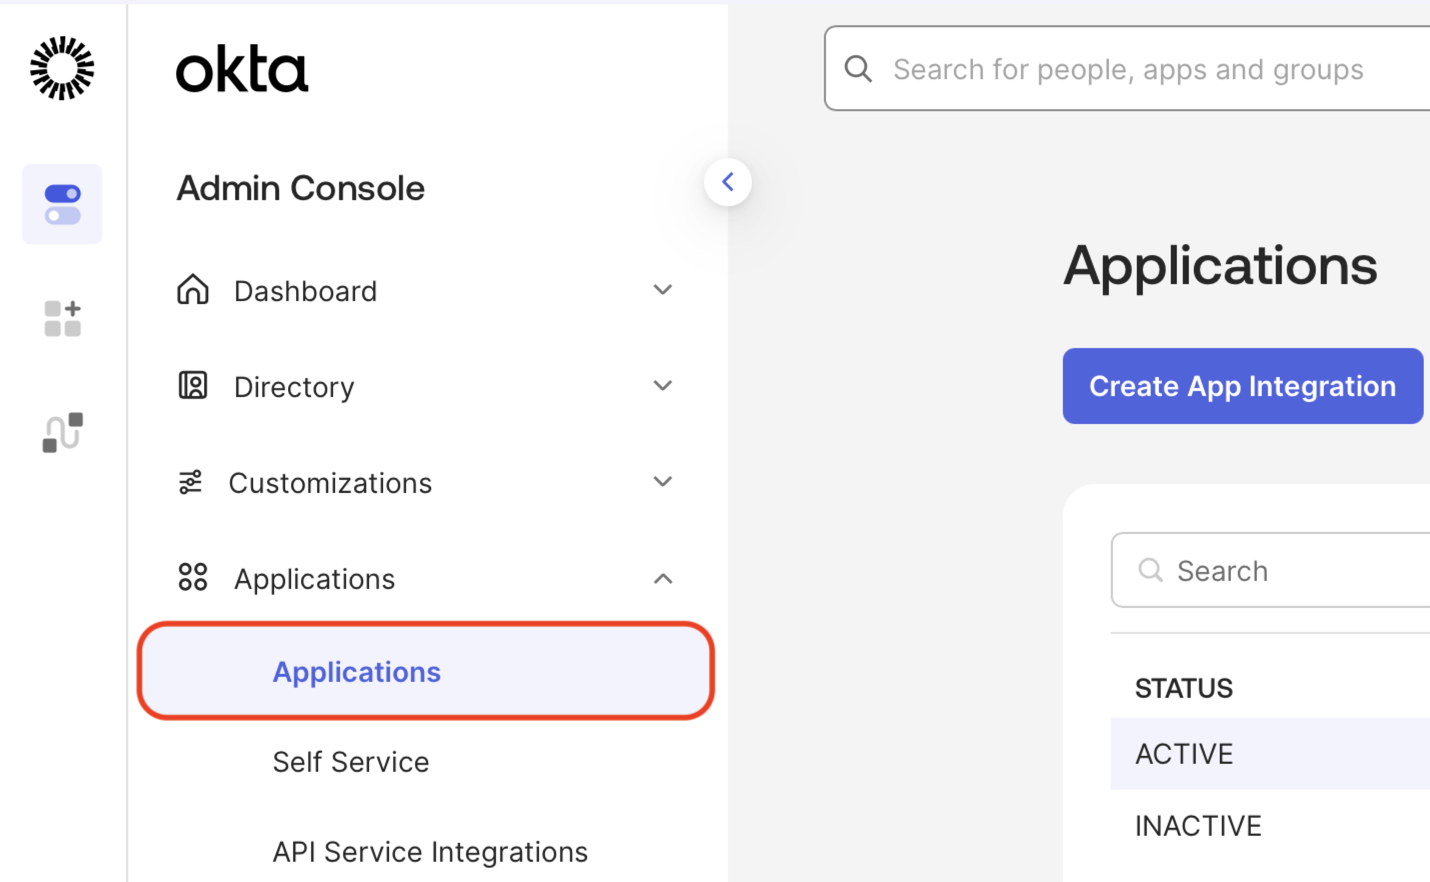
Log in to Okta, and click Applications in the left menu, then select Applications again from the expanded menu.
-
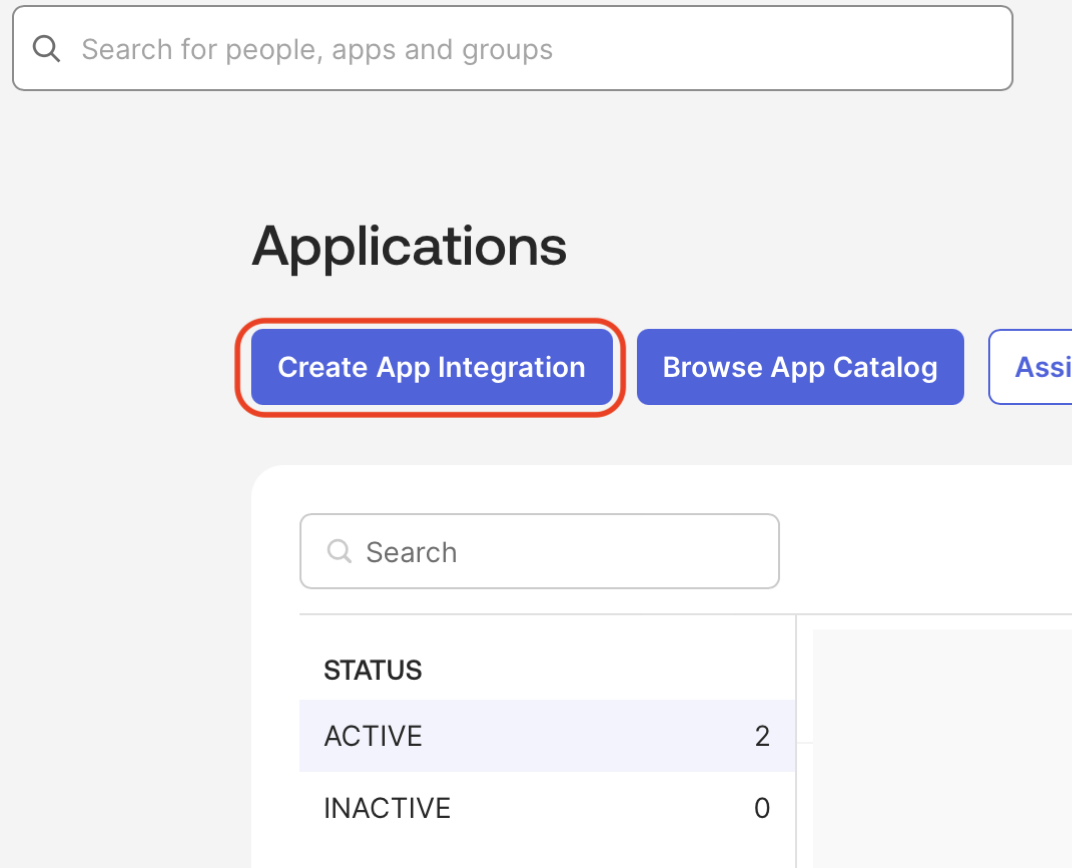
Click the Create App Integration button at the top.
-
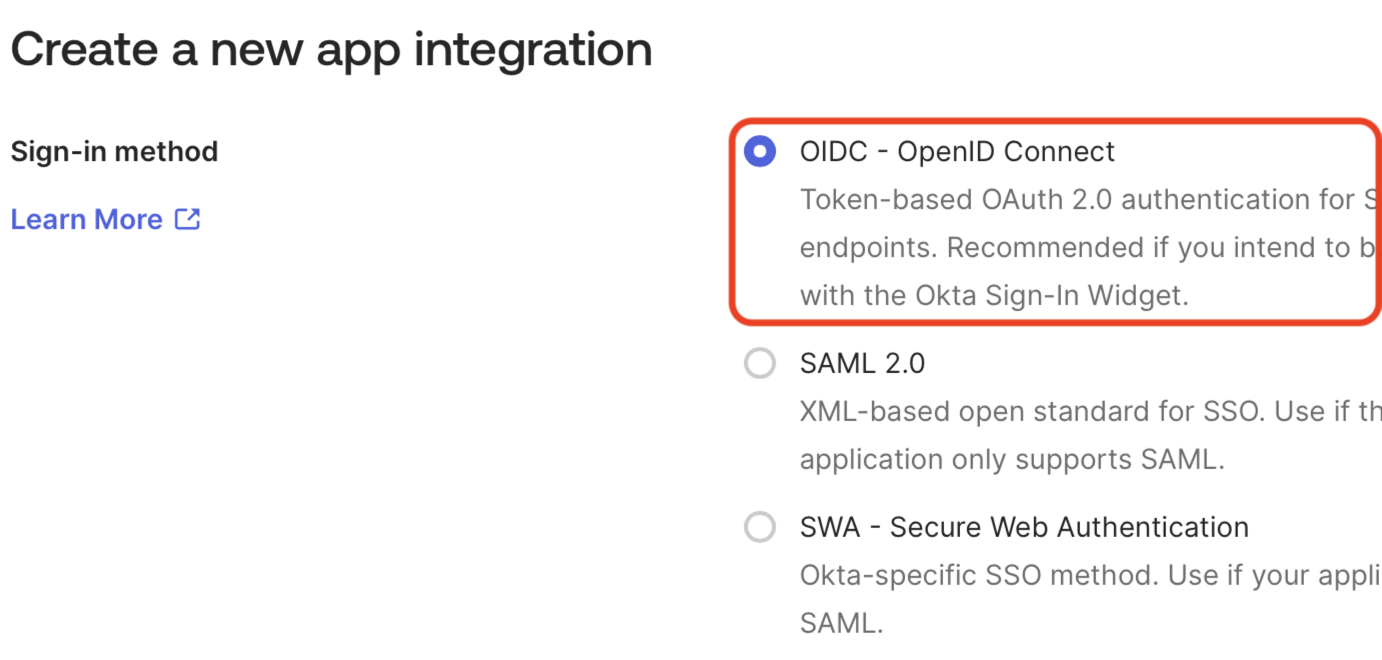
Select the OIDC - OpenID Connect radio button as the sign-in method.
-
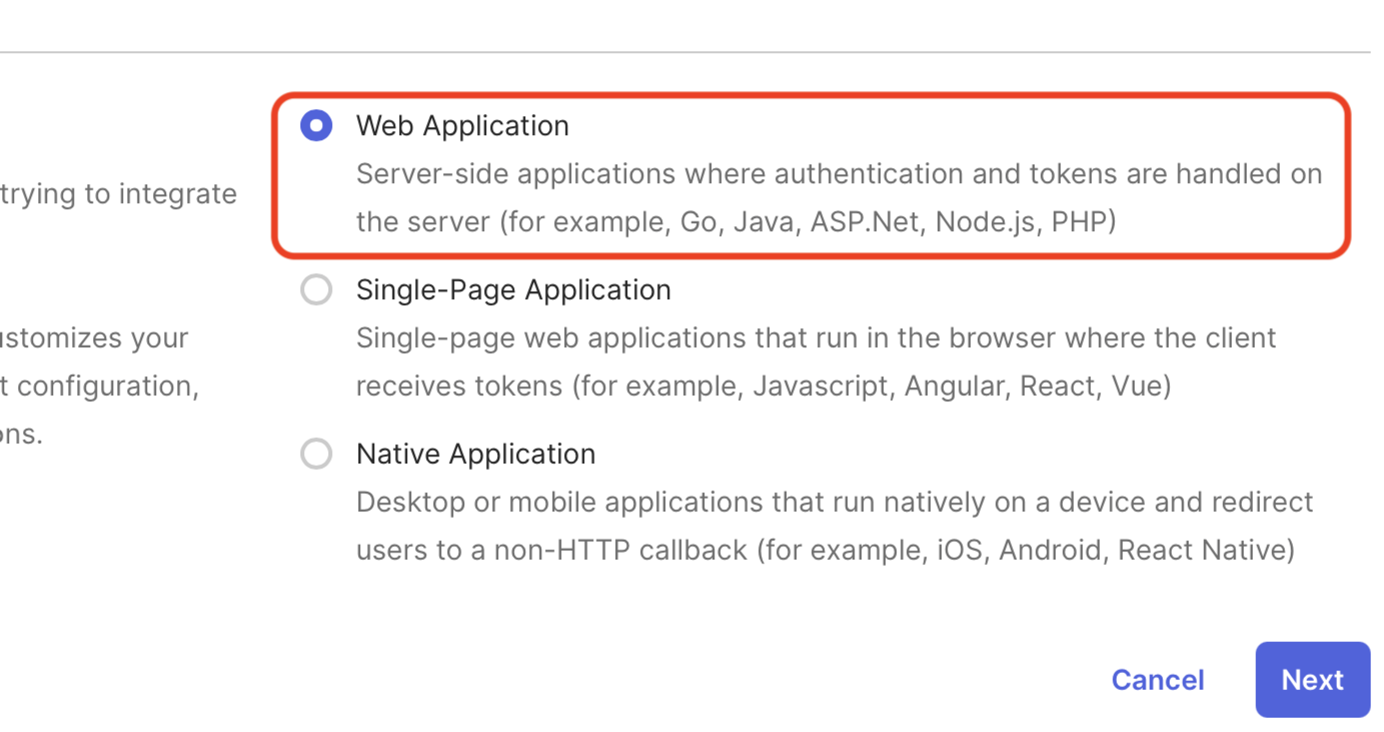
Select the Web Application radio button, and click Next.
-
Enter a name for the application, such as
Matillion.
Note
There are optional steps at the end of this document if you wish to add an icon for users. The icon for the application itself must always be hidden, as using it will attempt an IdP Initiated connection, which we do not allow for security reasons.
-
Enter
https://id.matillion.com/login/callbackin the Sign-in redirect URIs field.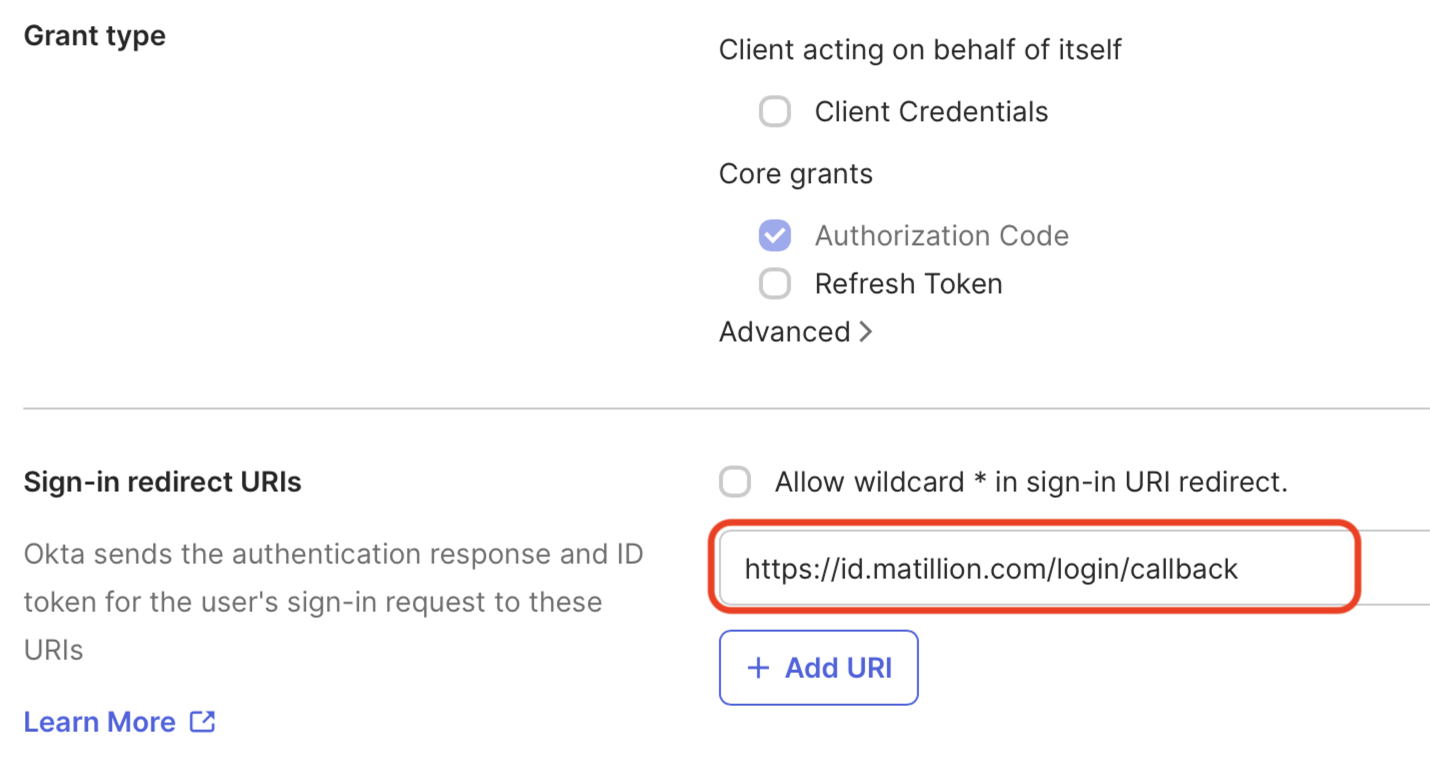
-
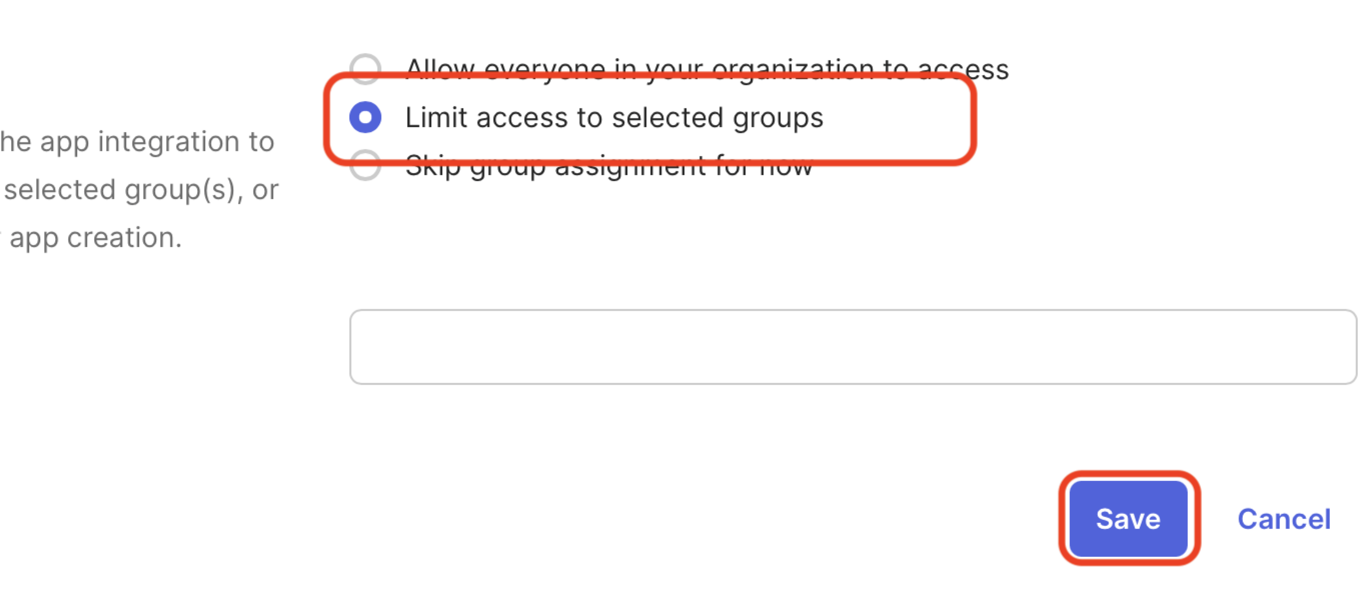
Scroll to the bottom, assign access to the users or groups you want to be able to use the application, and click Next.
-
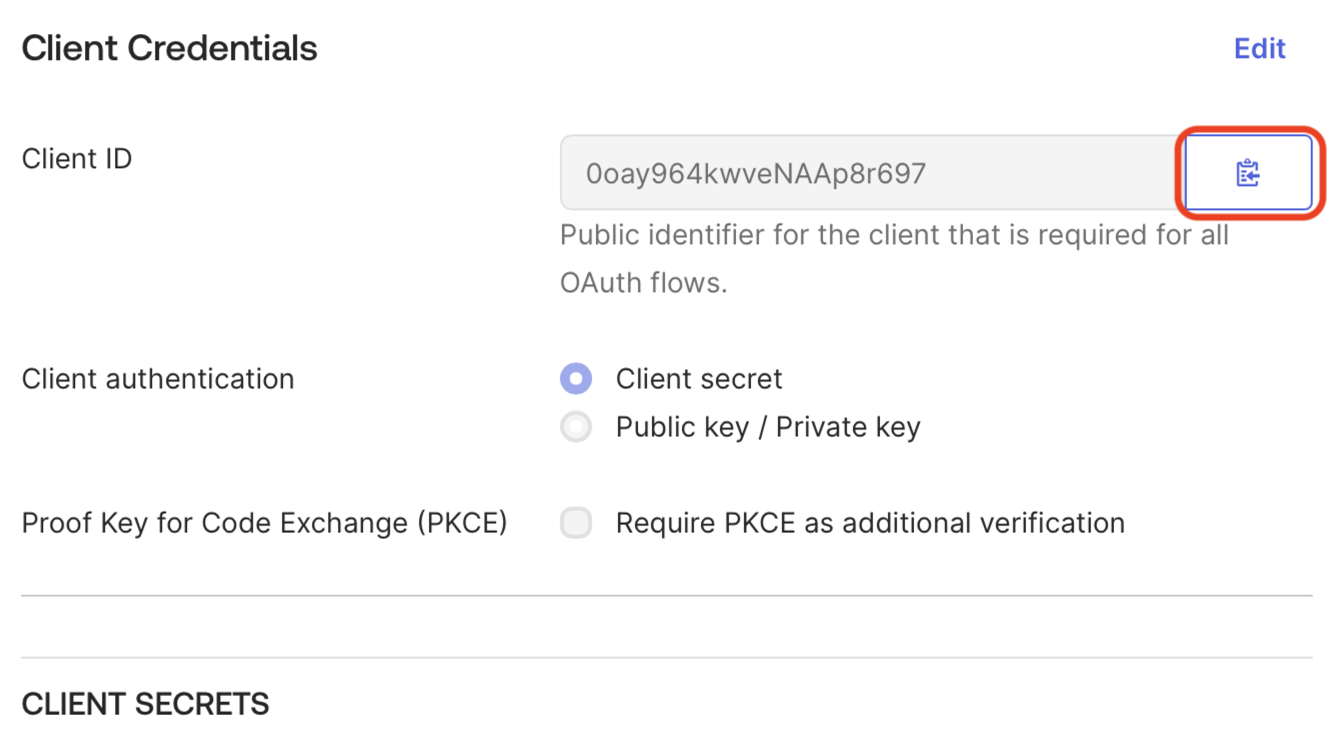
Click the button to copy the Client ID, and make a note of it for later.
-
Click the button to copy the Secret, and make a note of it for later.

Note
Contact us to arrange for the secret to be rotated before the existing one expires to avoid minimal interruption to your users.
-
Determine your OpenID Connect Well-Known URL, which is usually
https://<OKTA_DOMAIN>/.well-known/openid-configuration, and make a note of it for later. - Continue the steps in Single sign-on (SSO) setup.
Configure an Okta application icon (optional)🔗
Follow these steps to add an application icon so users can access Matillion from their Okta dashboard. If you don't require an application icon, skip this section, and continue with Single sign-on (SSO) setup.
-
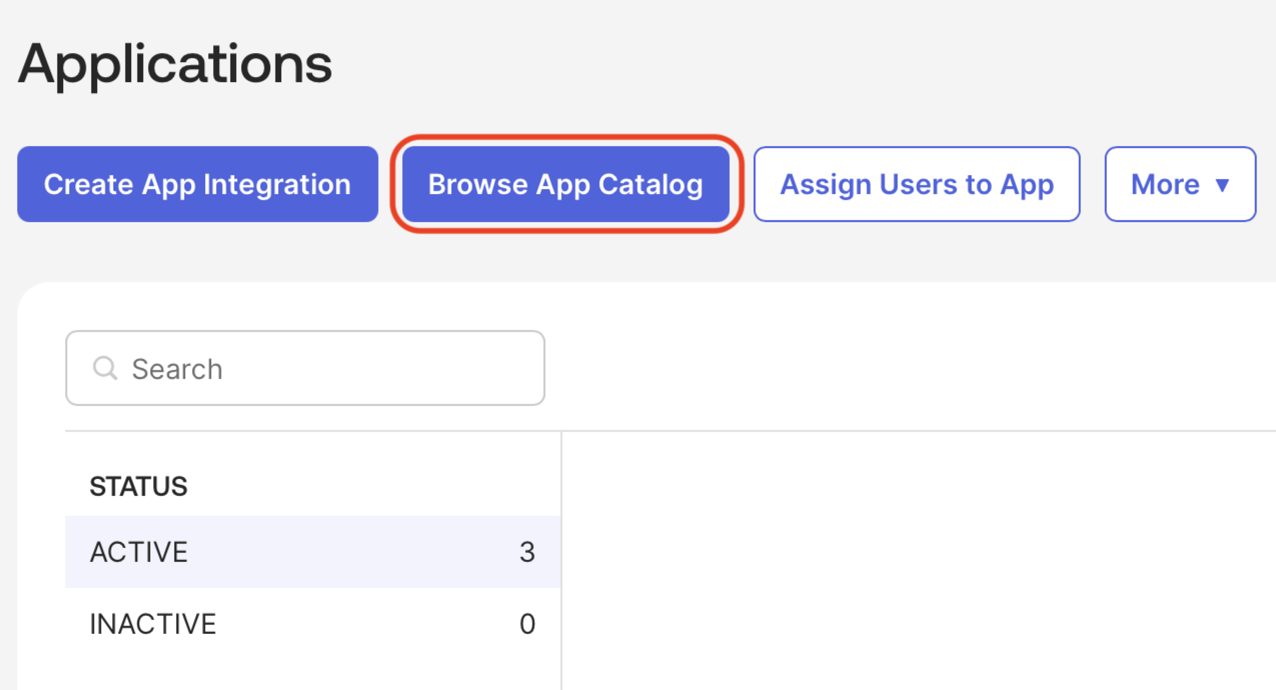
Click Applications.

-
Click Browse App Catalog.
-
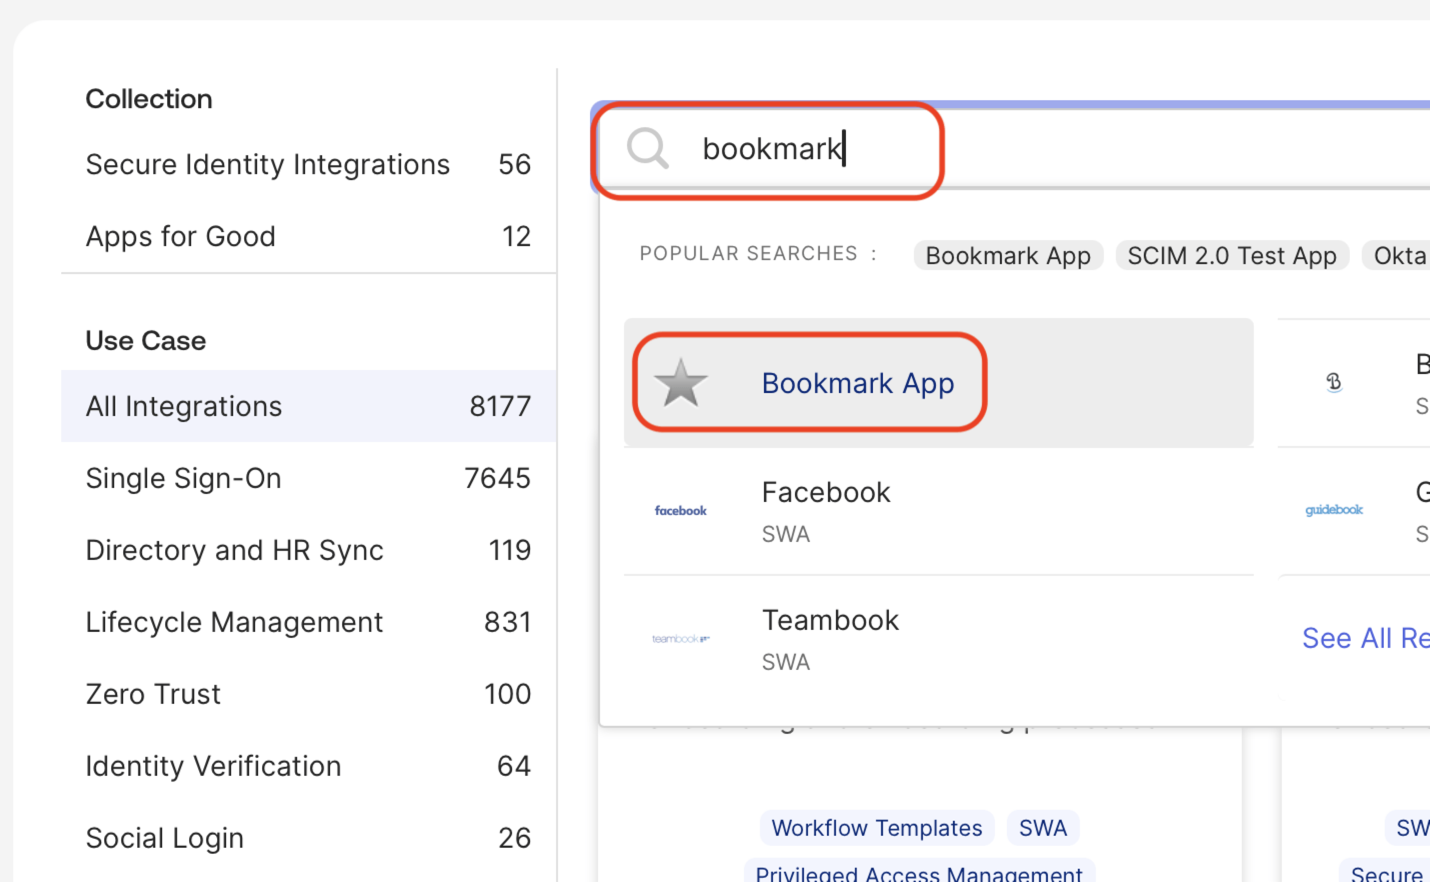
Enter bookmark in the search field, and click Bookmark App.
-
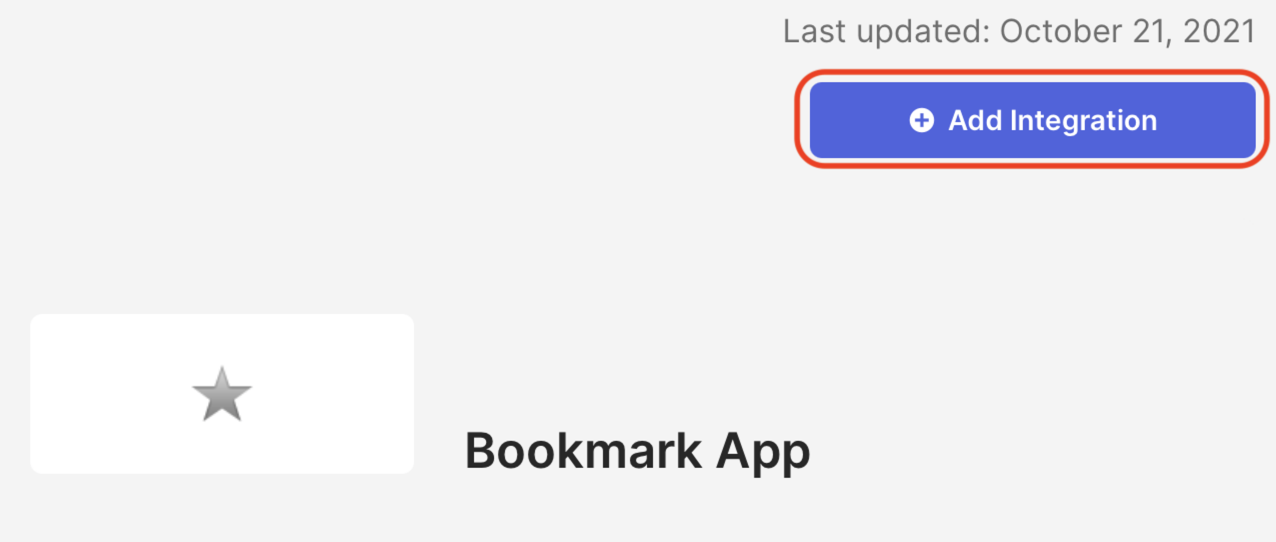
Click Add Integration.
-
Enter an Application label and the URL
https://app.matillion.com.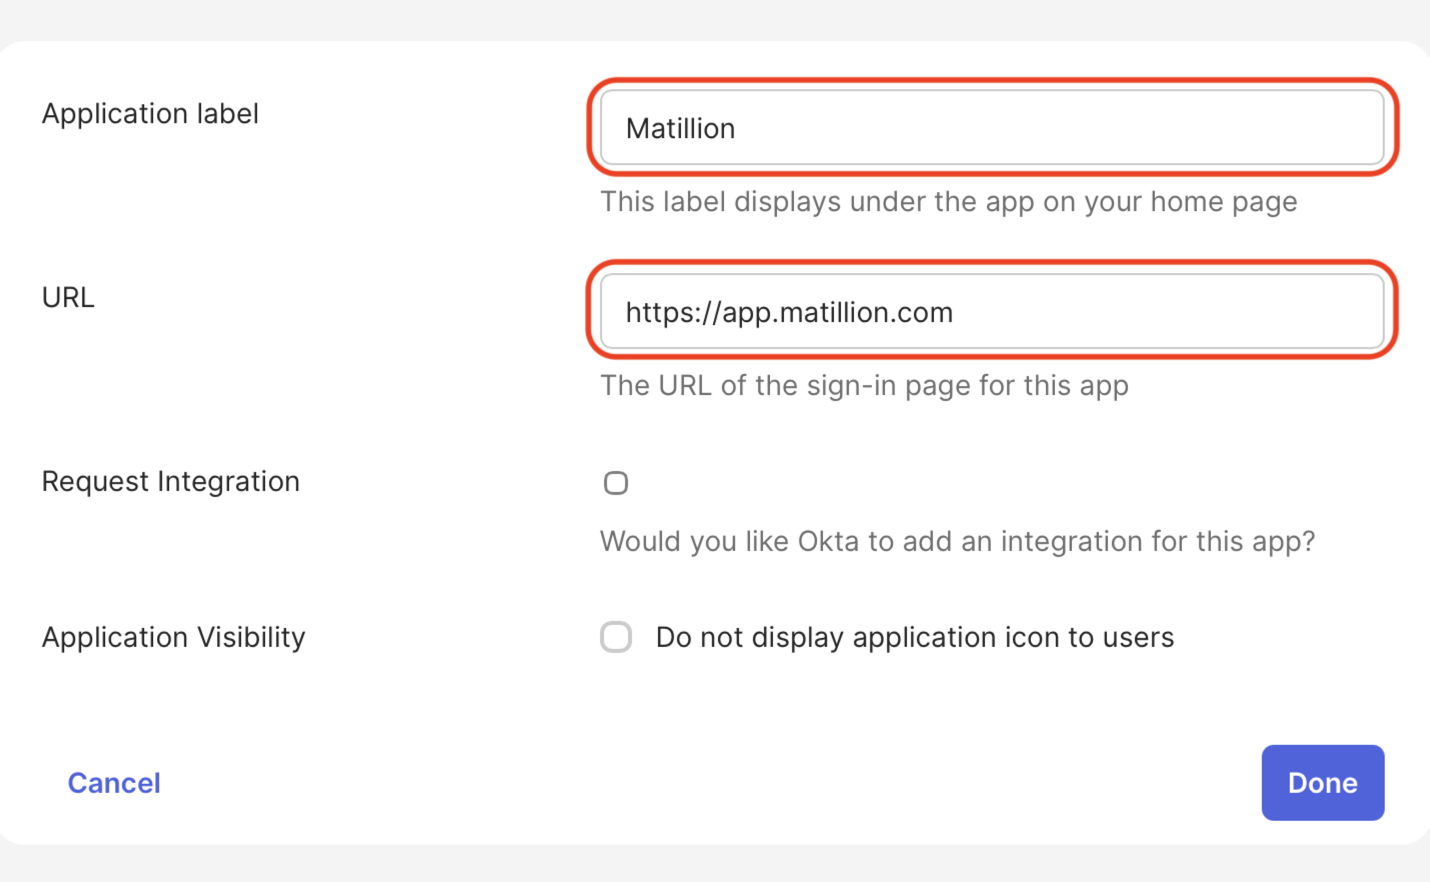
-
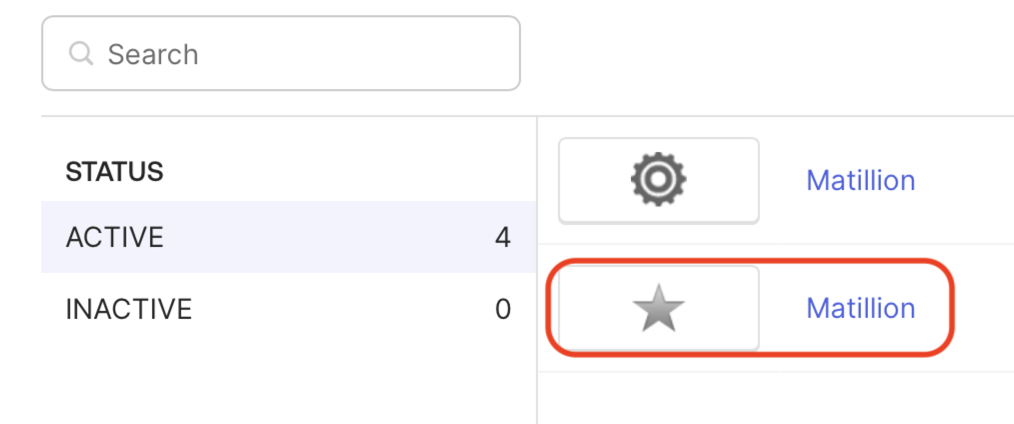
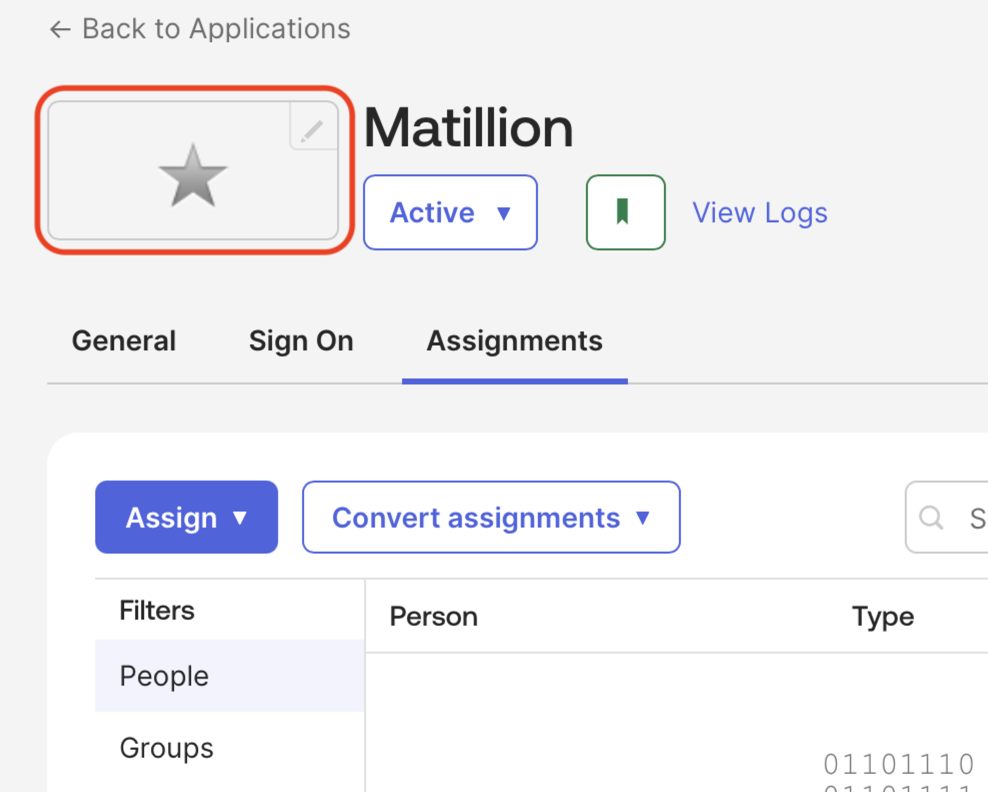
Select the bookmark from the list of applications, which will be shown with a star icon.
-
Click on the icon.
-
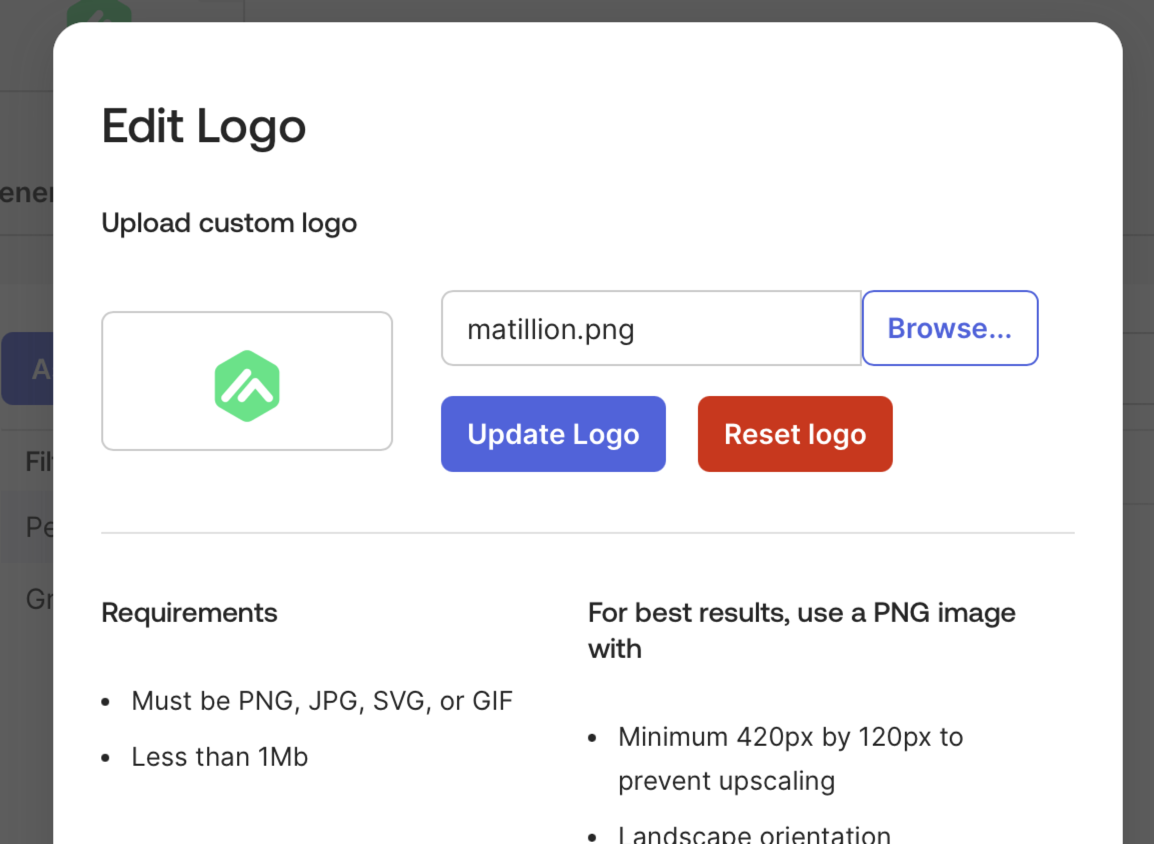
Upload an icon for the application, such as matillion.png.
-
Continue the steps in Single sign-on (SSO) setup.