Create a custom connector with Maia🔗
You can use Maia to create a custom connector for any API that has a publicly viewable documentation page. For best results, the documentation should be a static HTML page that clearly lists the available endpoints, methods, and parameters.
When you provide a link to the documentation, Maia reads the content of that page as well as any directly linked sub-pages under the same path. For example, if you provide a link such as https://api.com/docs, Maia will also access related pages like https://api.com/docs/endpoints, but it won't follow links outside that documentation path (such as https://api.com/blog or https://api.com/other).
As an alternative to providing a link, you can upload the file directly to Maia to create a custom connector. When uploading the file, note that there is a 5 MB limit.
Supported file types:
- YAML
- JSON
Warning
Processing large API specifications with many endpoints may cause a timeout after 10 minutes.
Maia also detects whether the API requires authentication. If authentication is required, Maia prompts you to choose the appropriate method (such as API Key, Basic Auth, Bearer Token, or OAuth) and to enter the required credentials.
Video example🔗
Expand this box to watch our video about creating a custom connector with Maia.
Video
How to create a custom connector with Maia🔗
This how-to guide show the steps to create a custom connector using Maia in Maia. The process is straightforward and requires no coding skills. The API used in this example is a Matillion GreenWave API, which requires an API Key for authentication.
- Log in to the Maia.
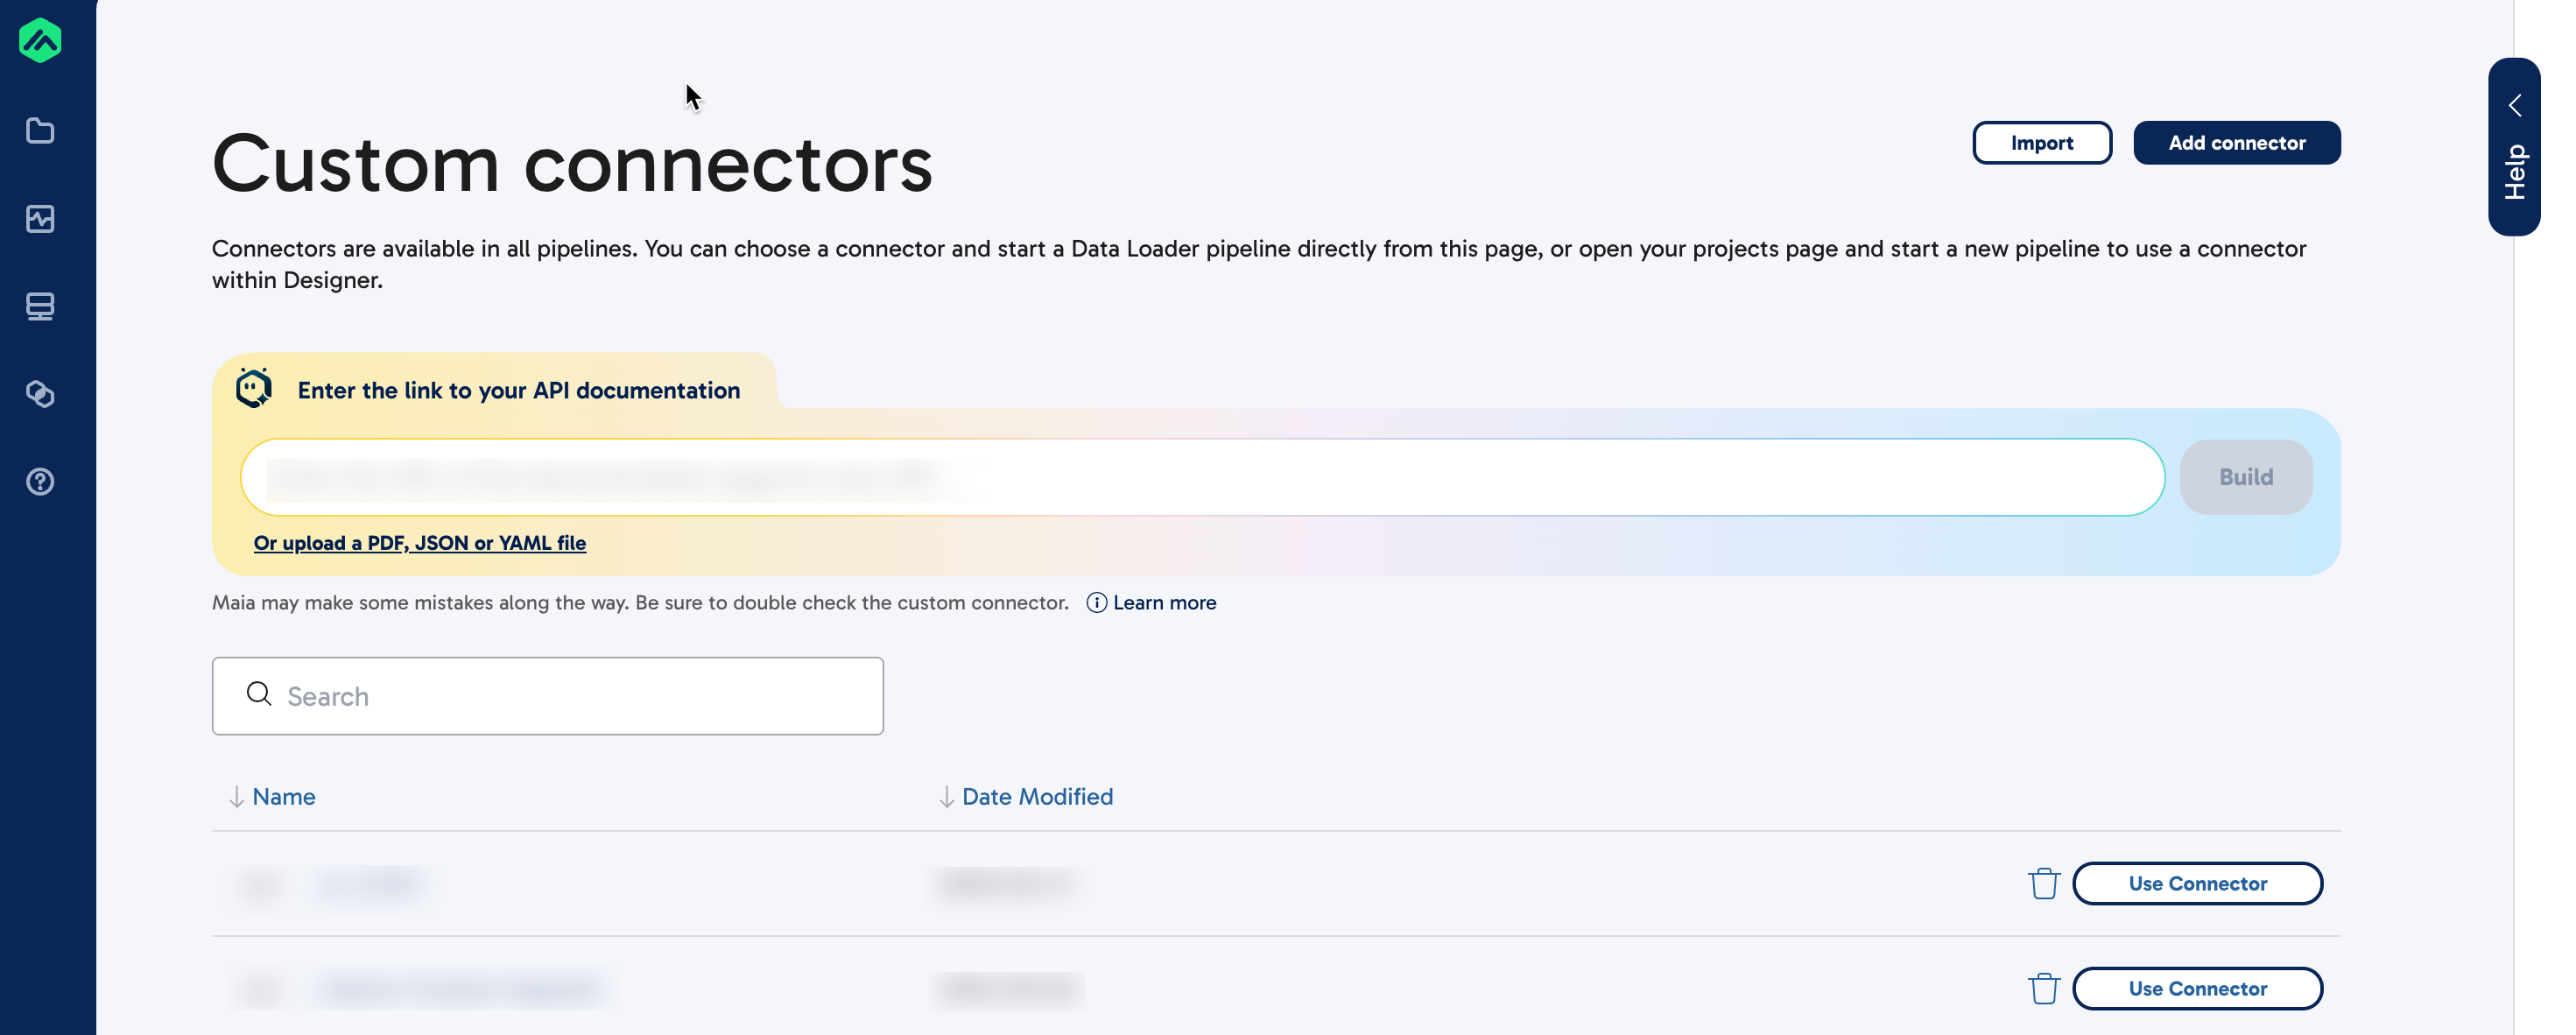
- In the left navigation, click the Custom Connectors icon
 and then click Custom Connectors.
 - Copy and paste the URL of the documentation for the API you want to connect to into the Maia URL input field, beneath the Add a custom connector with Maia message. Or, you can also upload the PDF, JSON, or YAML file.
-
Click Build. Maia will begin scanning the documentation or your uploaded file.
-
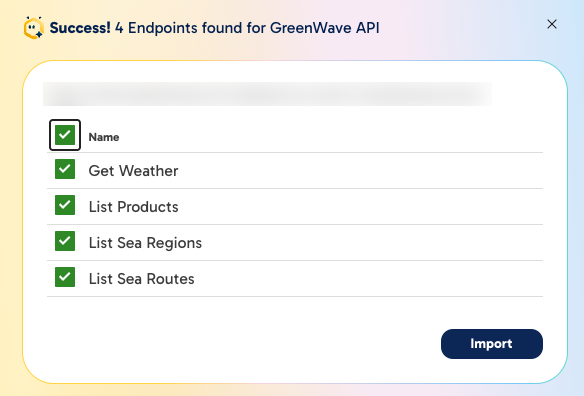
If Maia detects API endpoints that can be imported, it will prompt you to choose which endpoints to include in your custom connector. Select the checkboxes next to the endpoints you want to include, and then click Import.
- Select the top-most checkbox to select all endpoints.
-
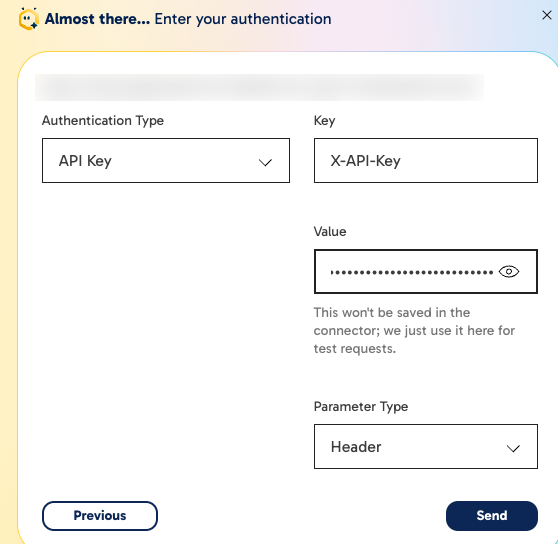
Select your authentication method and enter the required credentials. If the API does not require authentication, select No Auth.
-
Click Send.
Note
Your authentication credentials are used only for test requests and are not saved in the connector.
-
Maia will complete the following tasks:
- Import the selected endpoints.
- Apply authentication to the selected endpoints.
- Apply pagination configuration to List endpoints.
- Populate any required parameters.
- Send test requests.
-
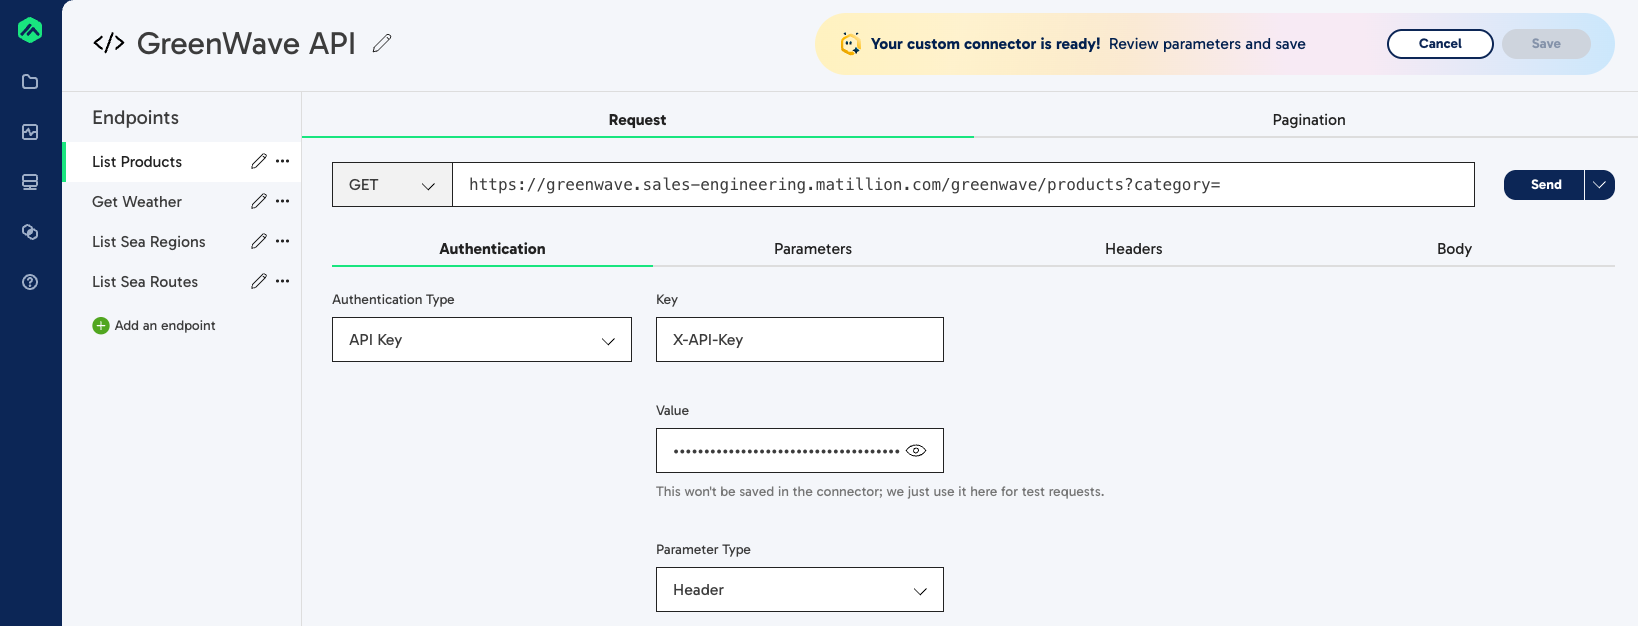
Once Maia has completed these tasks, the Custom Connector workbench will open, displaying the imported endpoints and their details. You can review and edit the endpoints as needed.
Note
Remember to refer to the third-party API documentation for details about the endpoints and their parameters.
-
Click Save to save your custom connector. If you need to make changes to the connector after saving, you can reopen it from the Custom Connectors list and edit it as needed.
