Tech note August 2024: updating Hybrid SaaS agents on AWS ECS
Note
Subsequent changes to AWS Elastic Container Service and the Matillion agent template have made this process unnecessary, and this tech note is now deprecated. See the January 2025 tech note for current details.
AWS announced a significant change to their Elastic Container Service (ECS), detailed in a blog post on July 11th, 2024. This change affects how container image tags are resolved during deployments, potentially impacting users of the Data Productivity Cloud who run a Hybrid SaaS agent deployed on AWS ECS.
Quote from the AWS blog post
"...Amazon ECS will now resolve a container image tag to its container image digest for every version (deployment) of an Amazon ECS Service. This ensures that the same container image is used throughout the lifecycle of the deployment…"
How this impacts you
As this change is rolled out, Hybrid SaaS agents for affected customers will remain on their current agent version for any services created or updated after June 25, 2024. Services that have not been deployed or redeployed since this date will continue to update as normal. However, for those impacted by the change, new features will not be available until a manual "Force new deployment" is performed in the ECS service under the Update service option in the AWS Elastic Container Service UI.
What Matillion is doing to help you
We're working on a new update process that will persist between deployments. In the meantime, below are steps you can take to ensure that your agent updates in line with updates to the Data Productivity Cloud. If you have any questions, reach out to your sales representative.
What you can do
To ensure your agents are up-to-date, you can manually restart the agent using the Force new deployment feature. This action will pull the latest tagged image. Alternatively, you can reassociate the service with the tagged image (rather than the image digest) by following the "Deploy to 0" method outlined below.
Deploy to 0 instructions
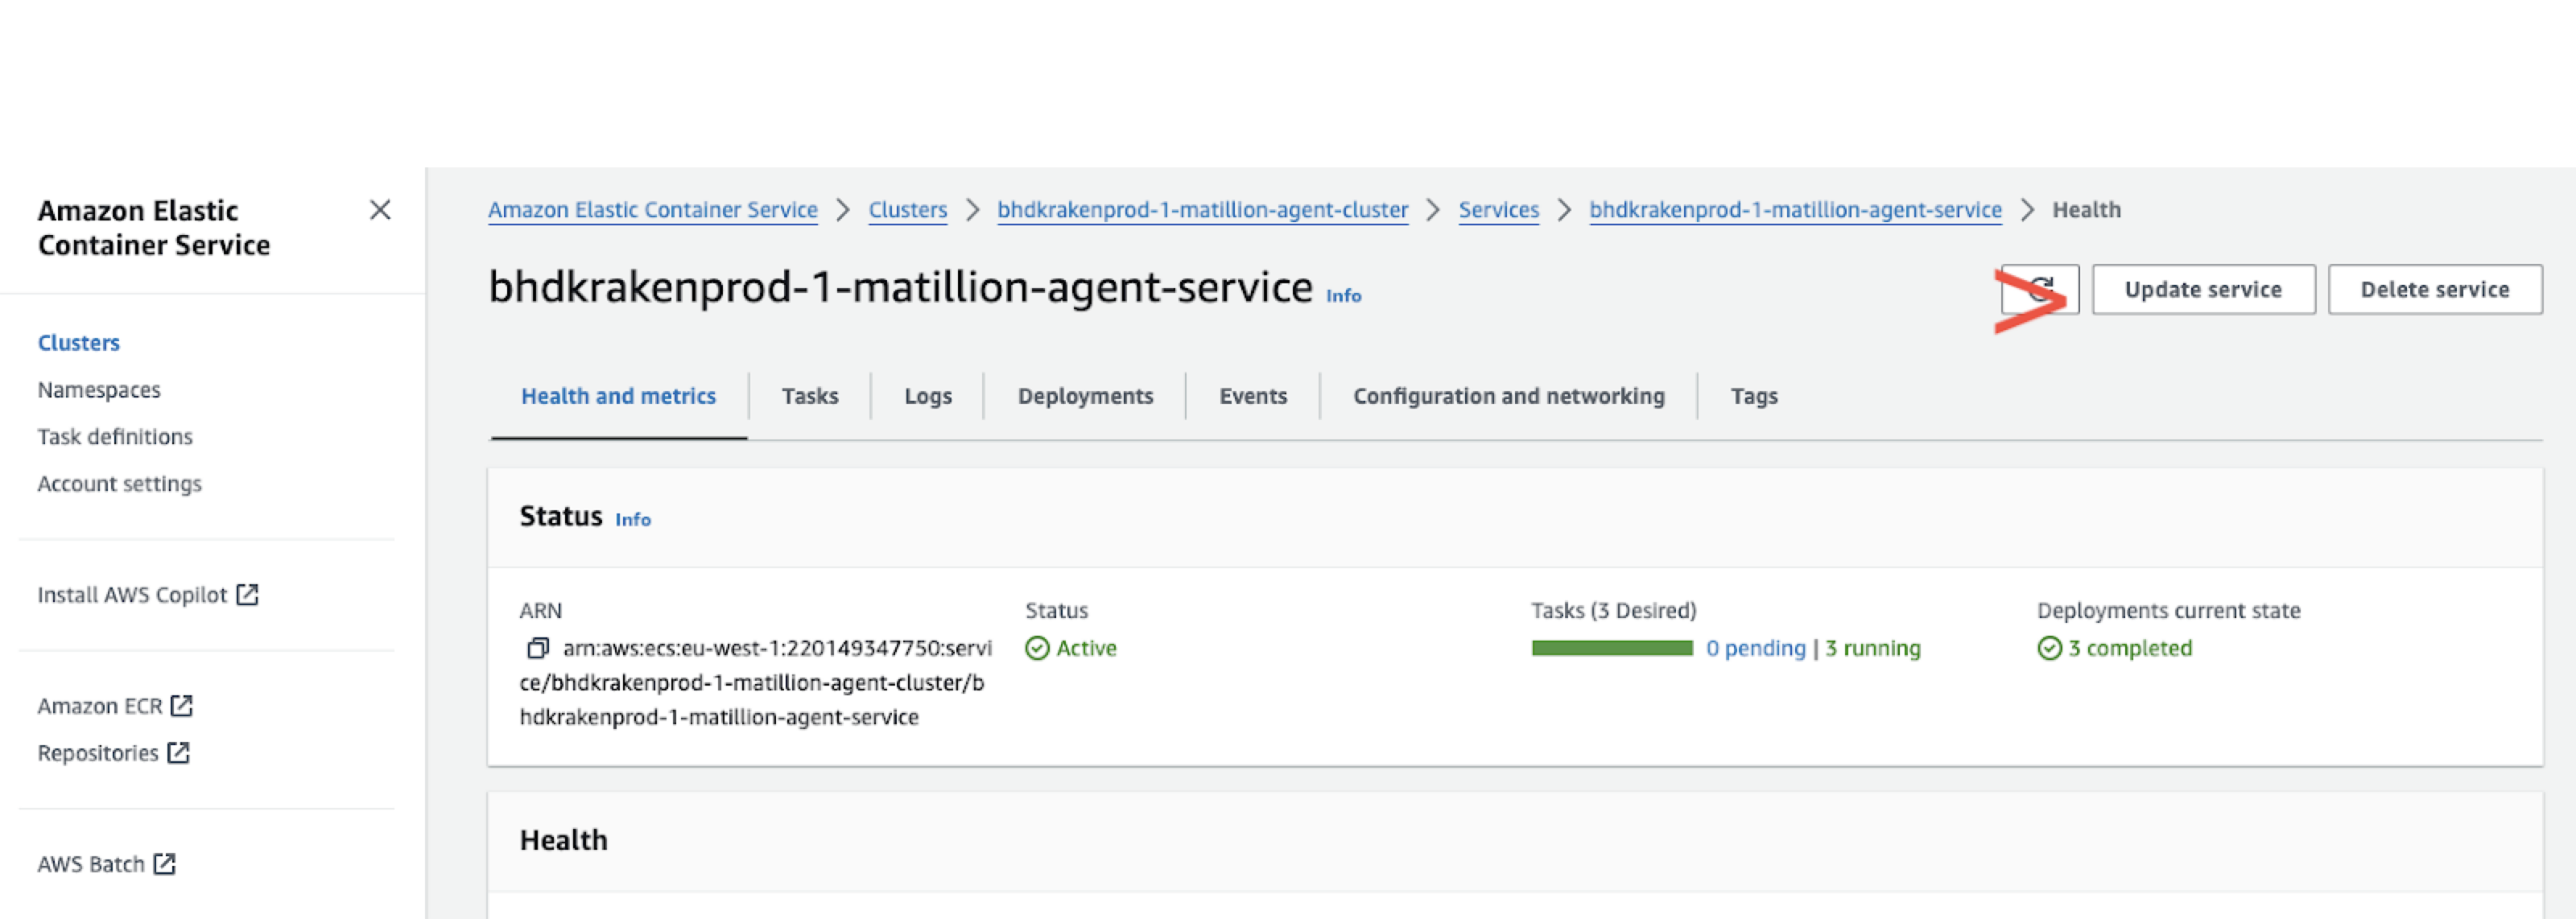
1. Access the service
-
Log in to your AWS console, locate the ECS service running your agent, and click Update service.
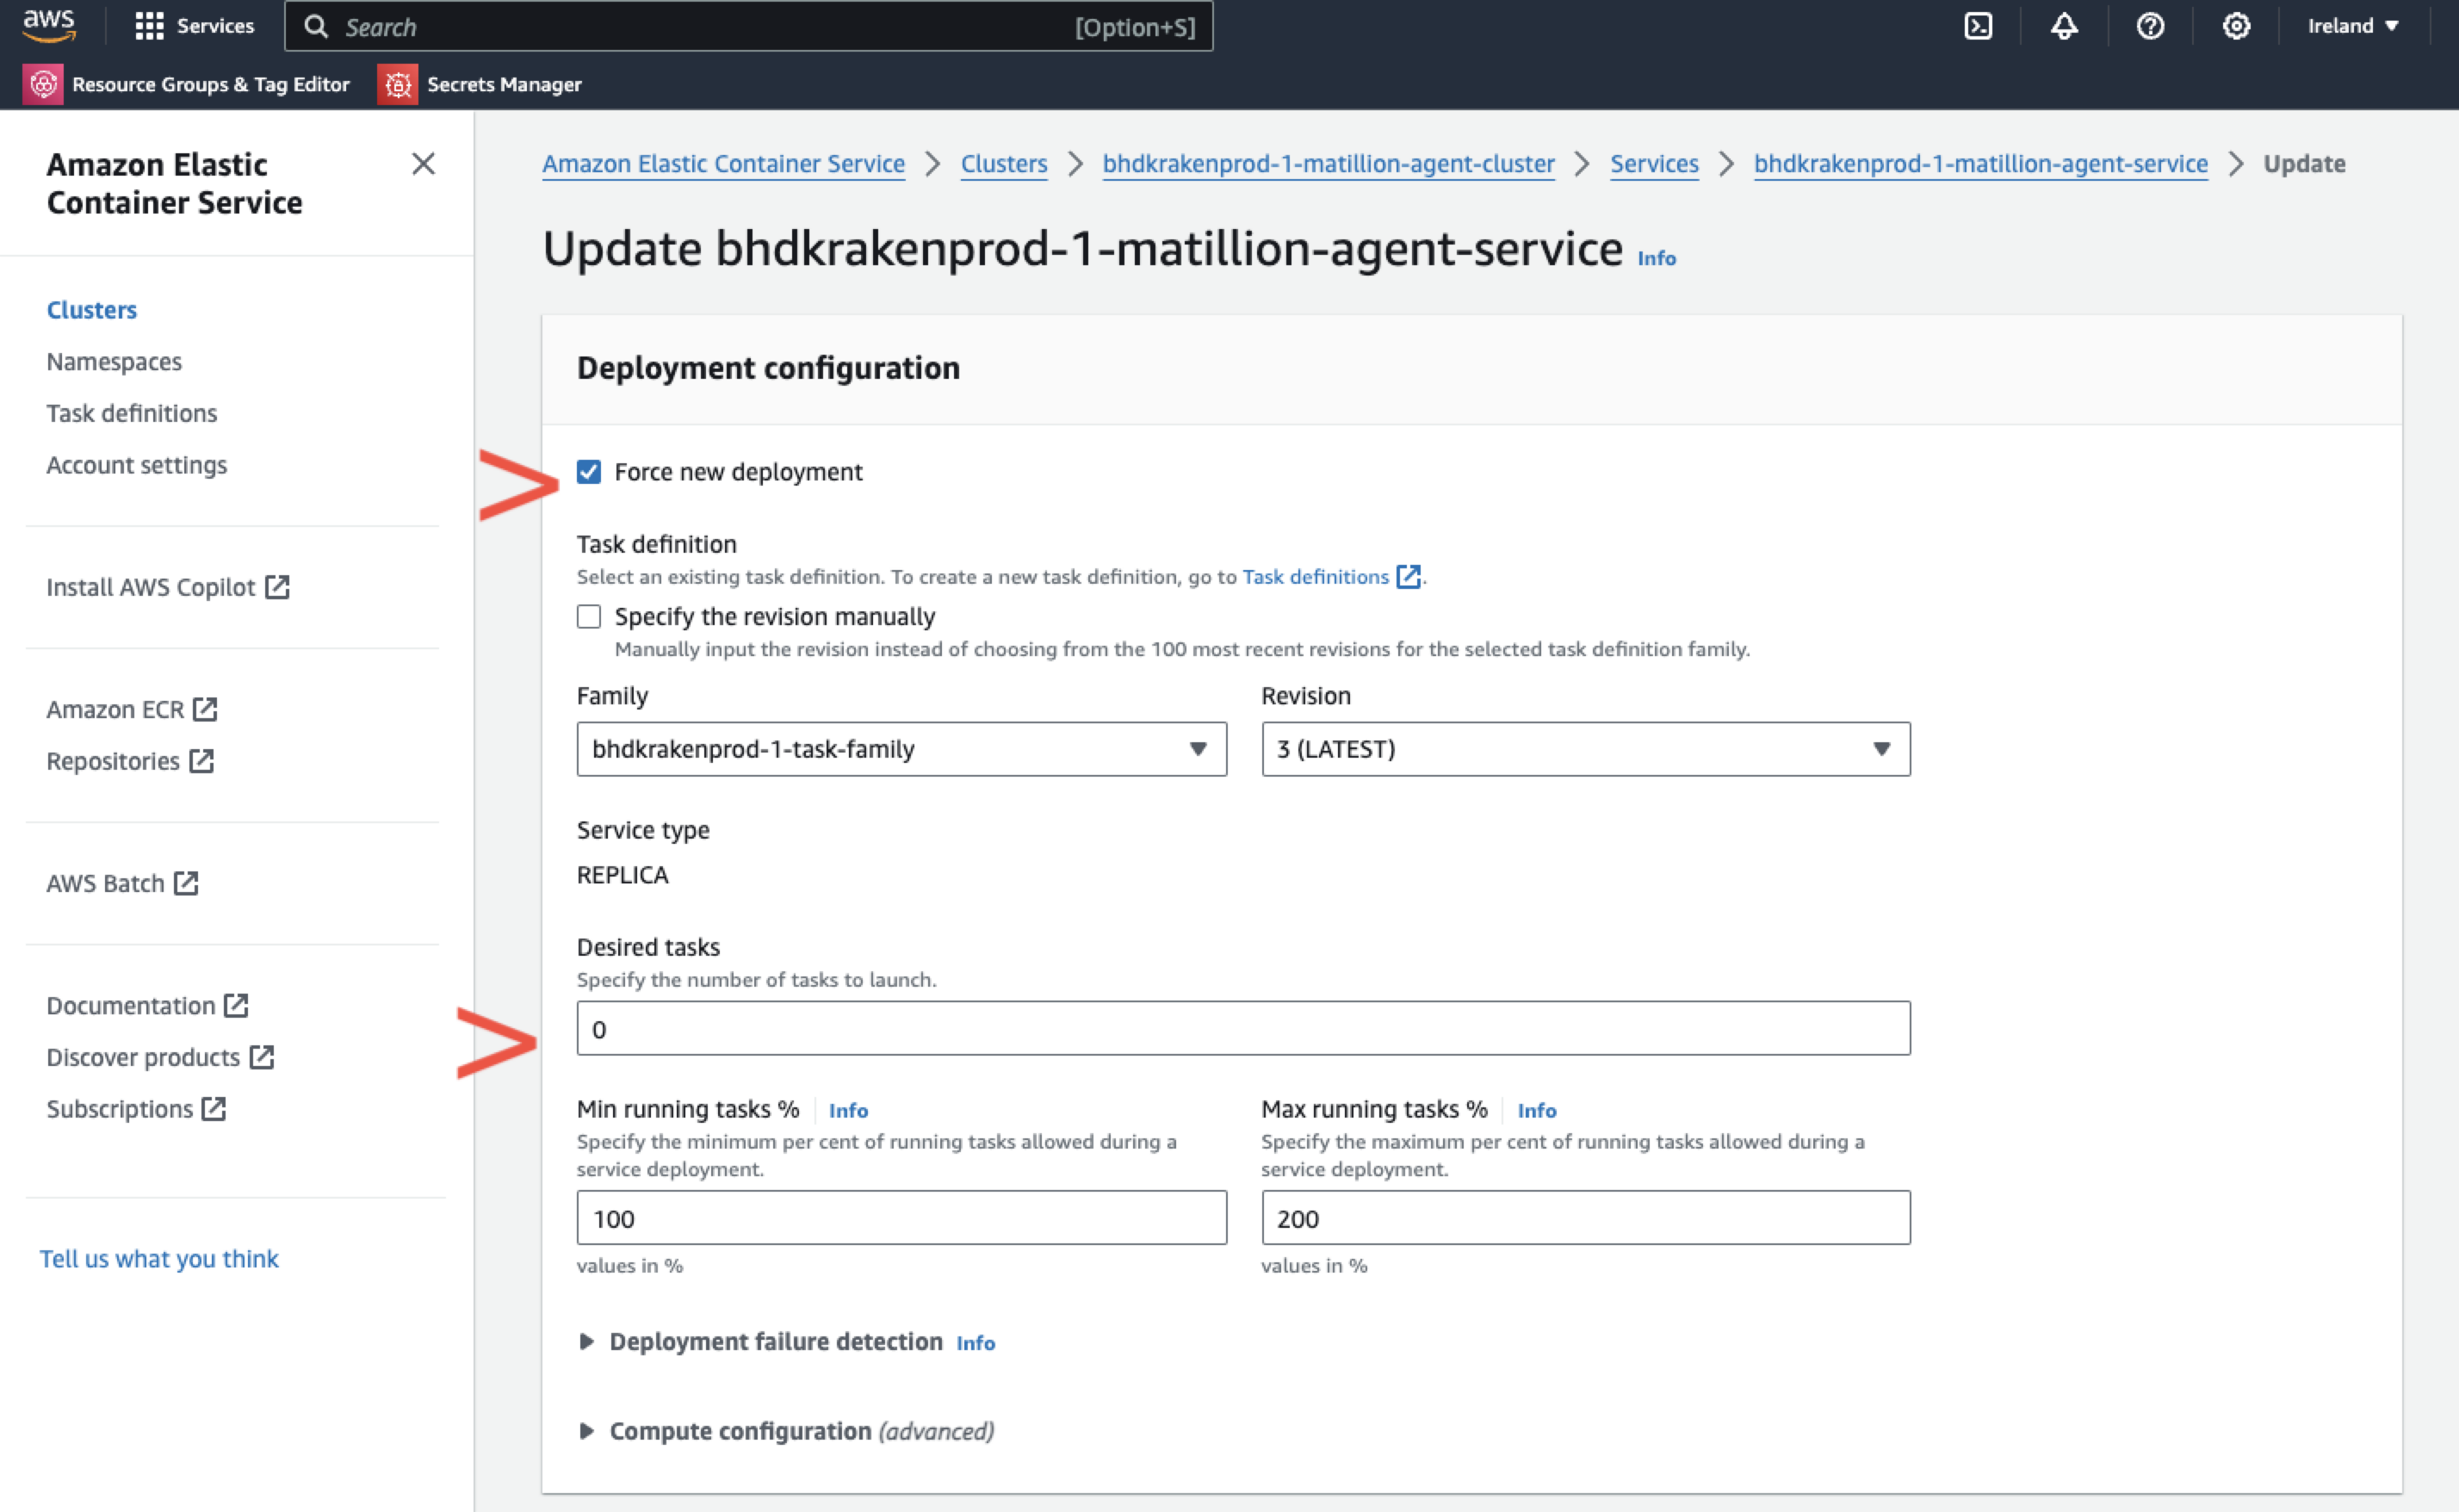
2. Force new deployment
- In the update options, select Force new deployment.
- Set the Desired tasks count to
0.
This action will break the service's reliance on the image digest and re-link it to the tagged image. This reassociation will persist until the service is redeployed with a desired task count greater than 0.
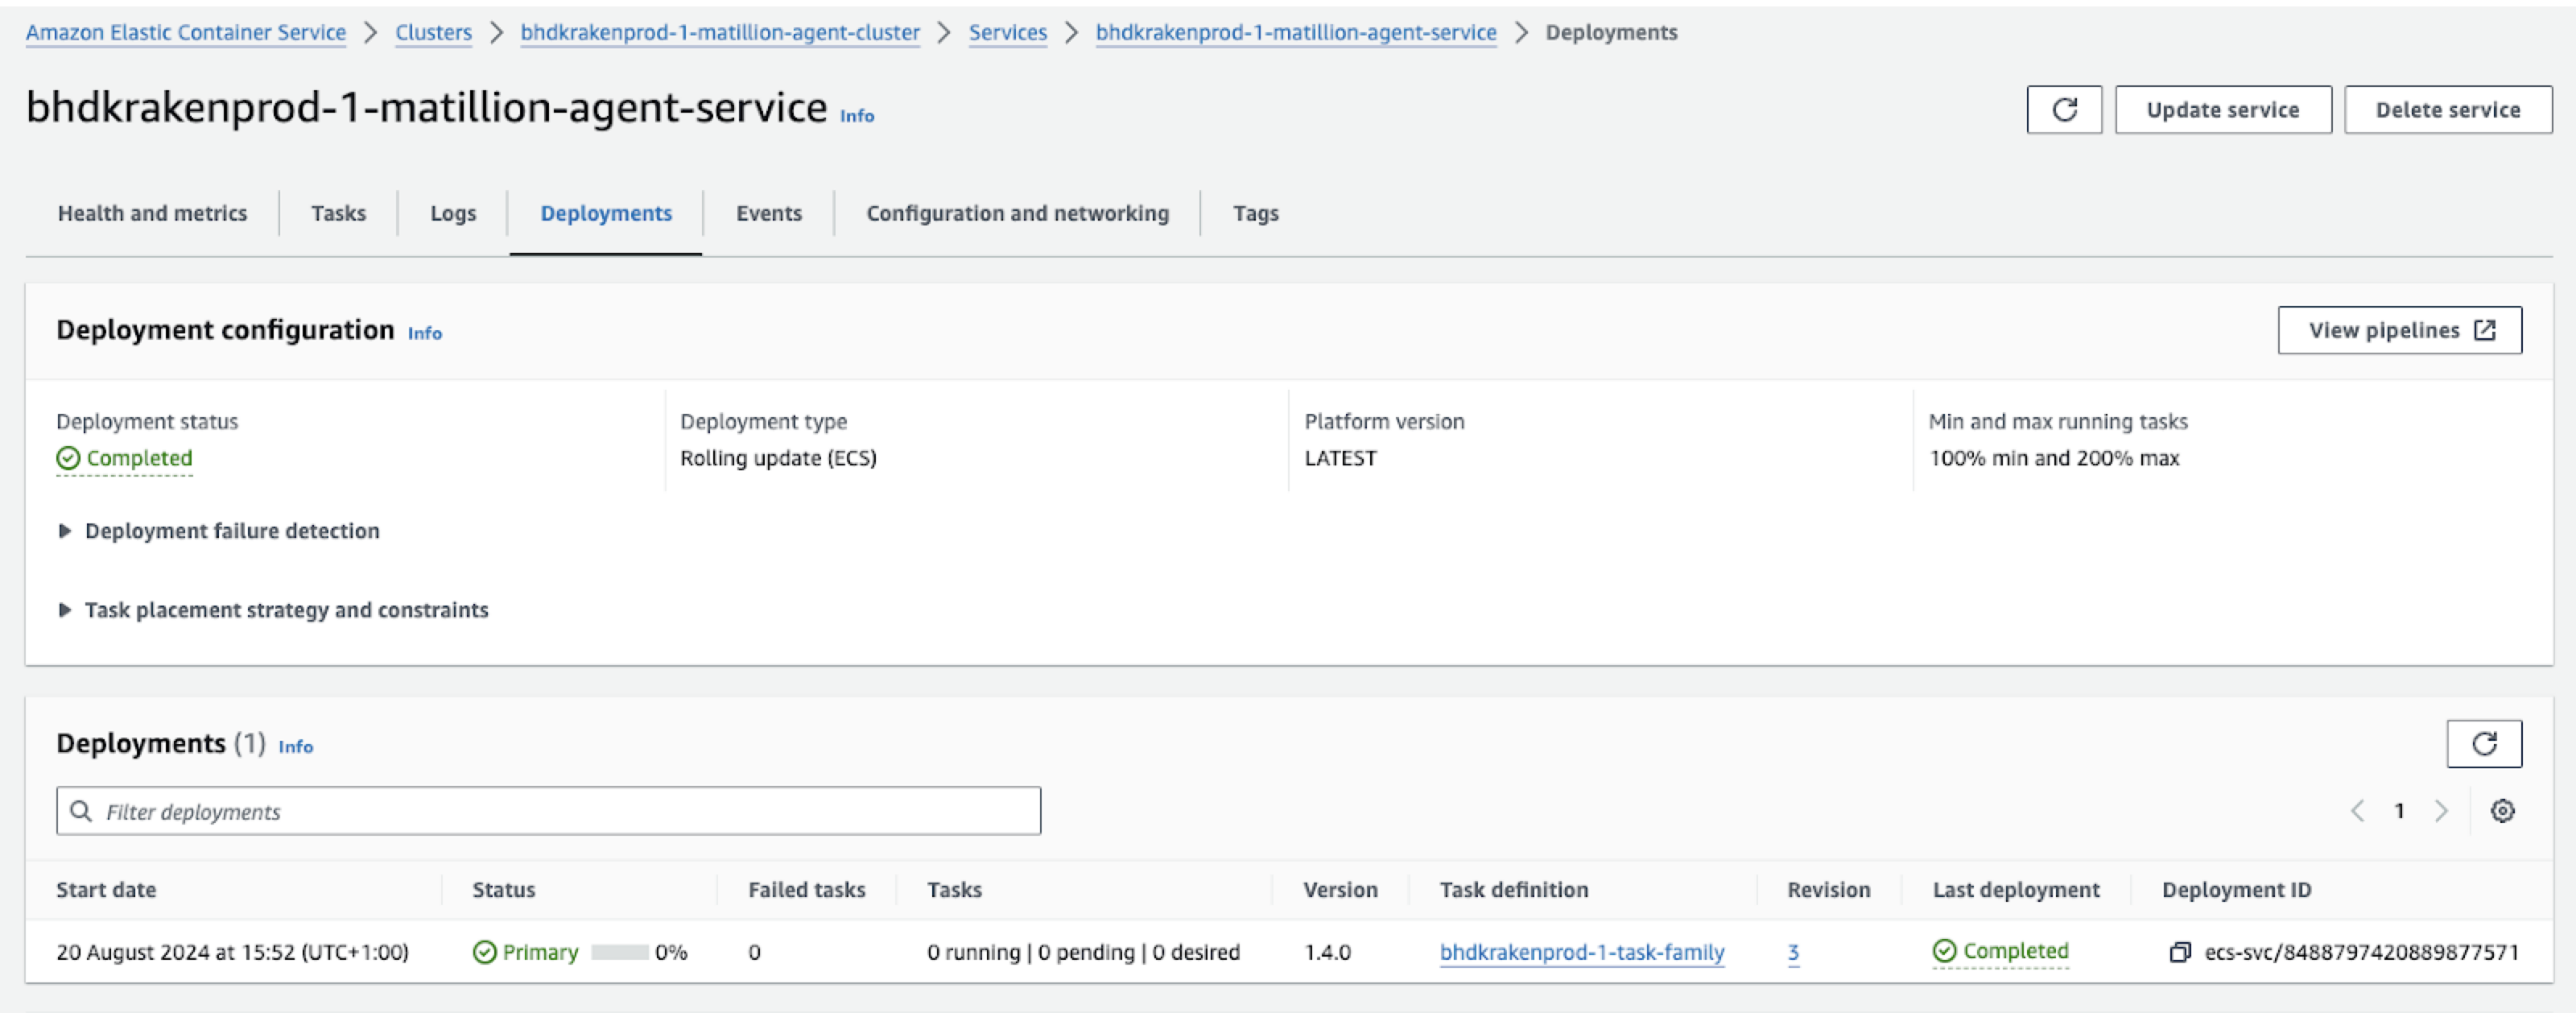
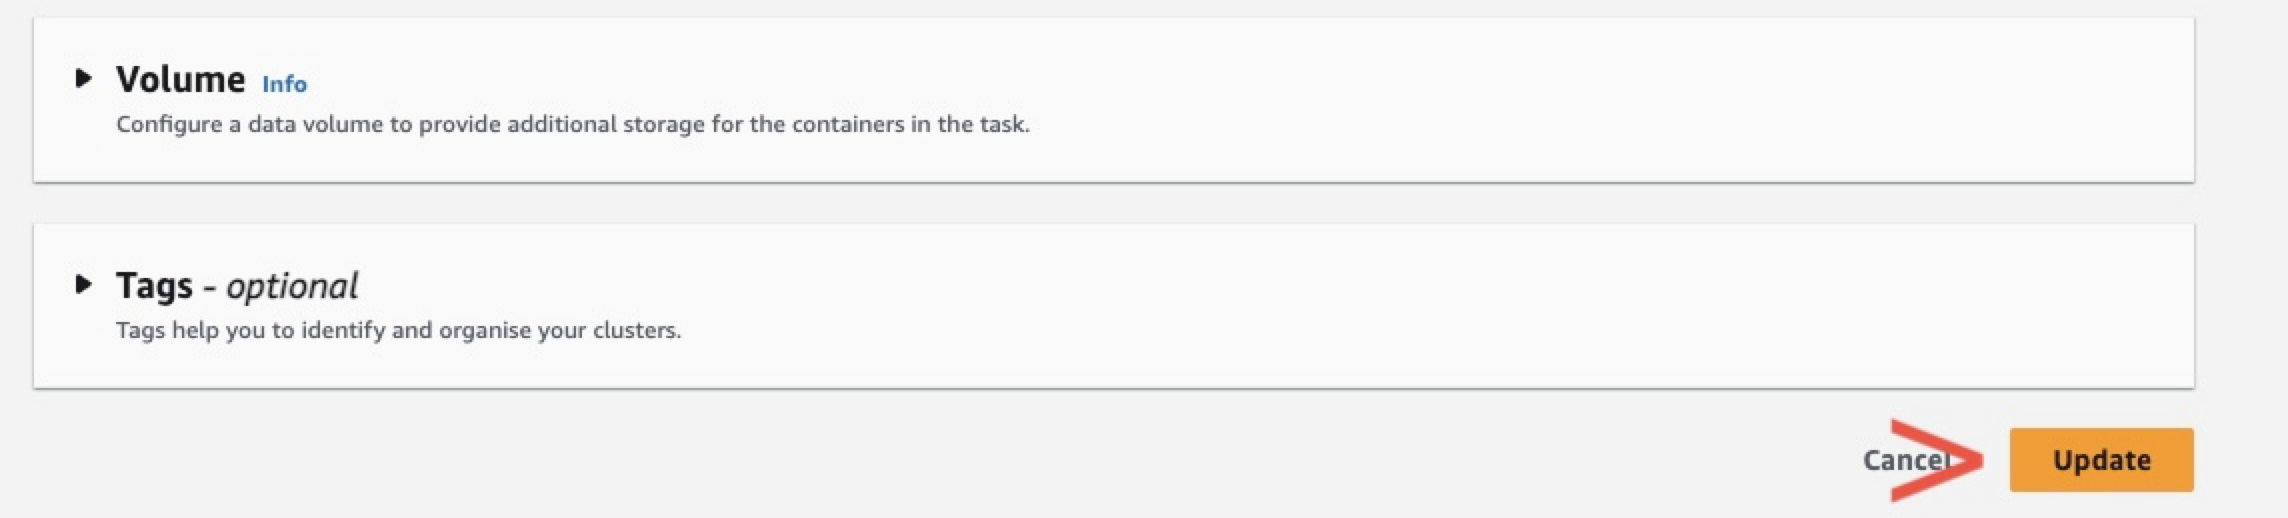
3. Apply changes
-
Click Update to apply these settings.
-
Wait for the service's Last deployment status to show as Completed.
4. Restore desired task count
- Once the deployment is complete, return to Update service.
- Set the desired task count back to your normal operational requirements.
-
Ensure that Force new deployment is not selected.
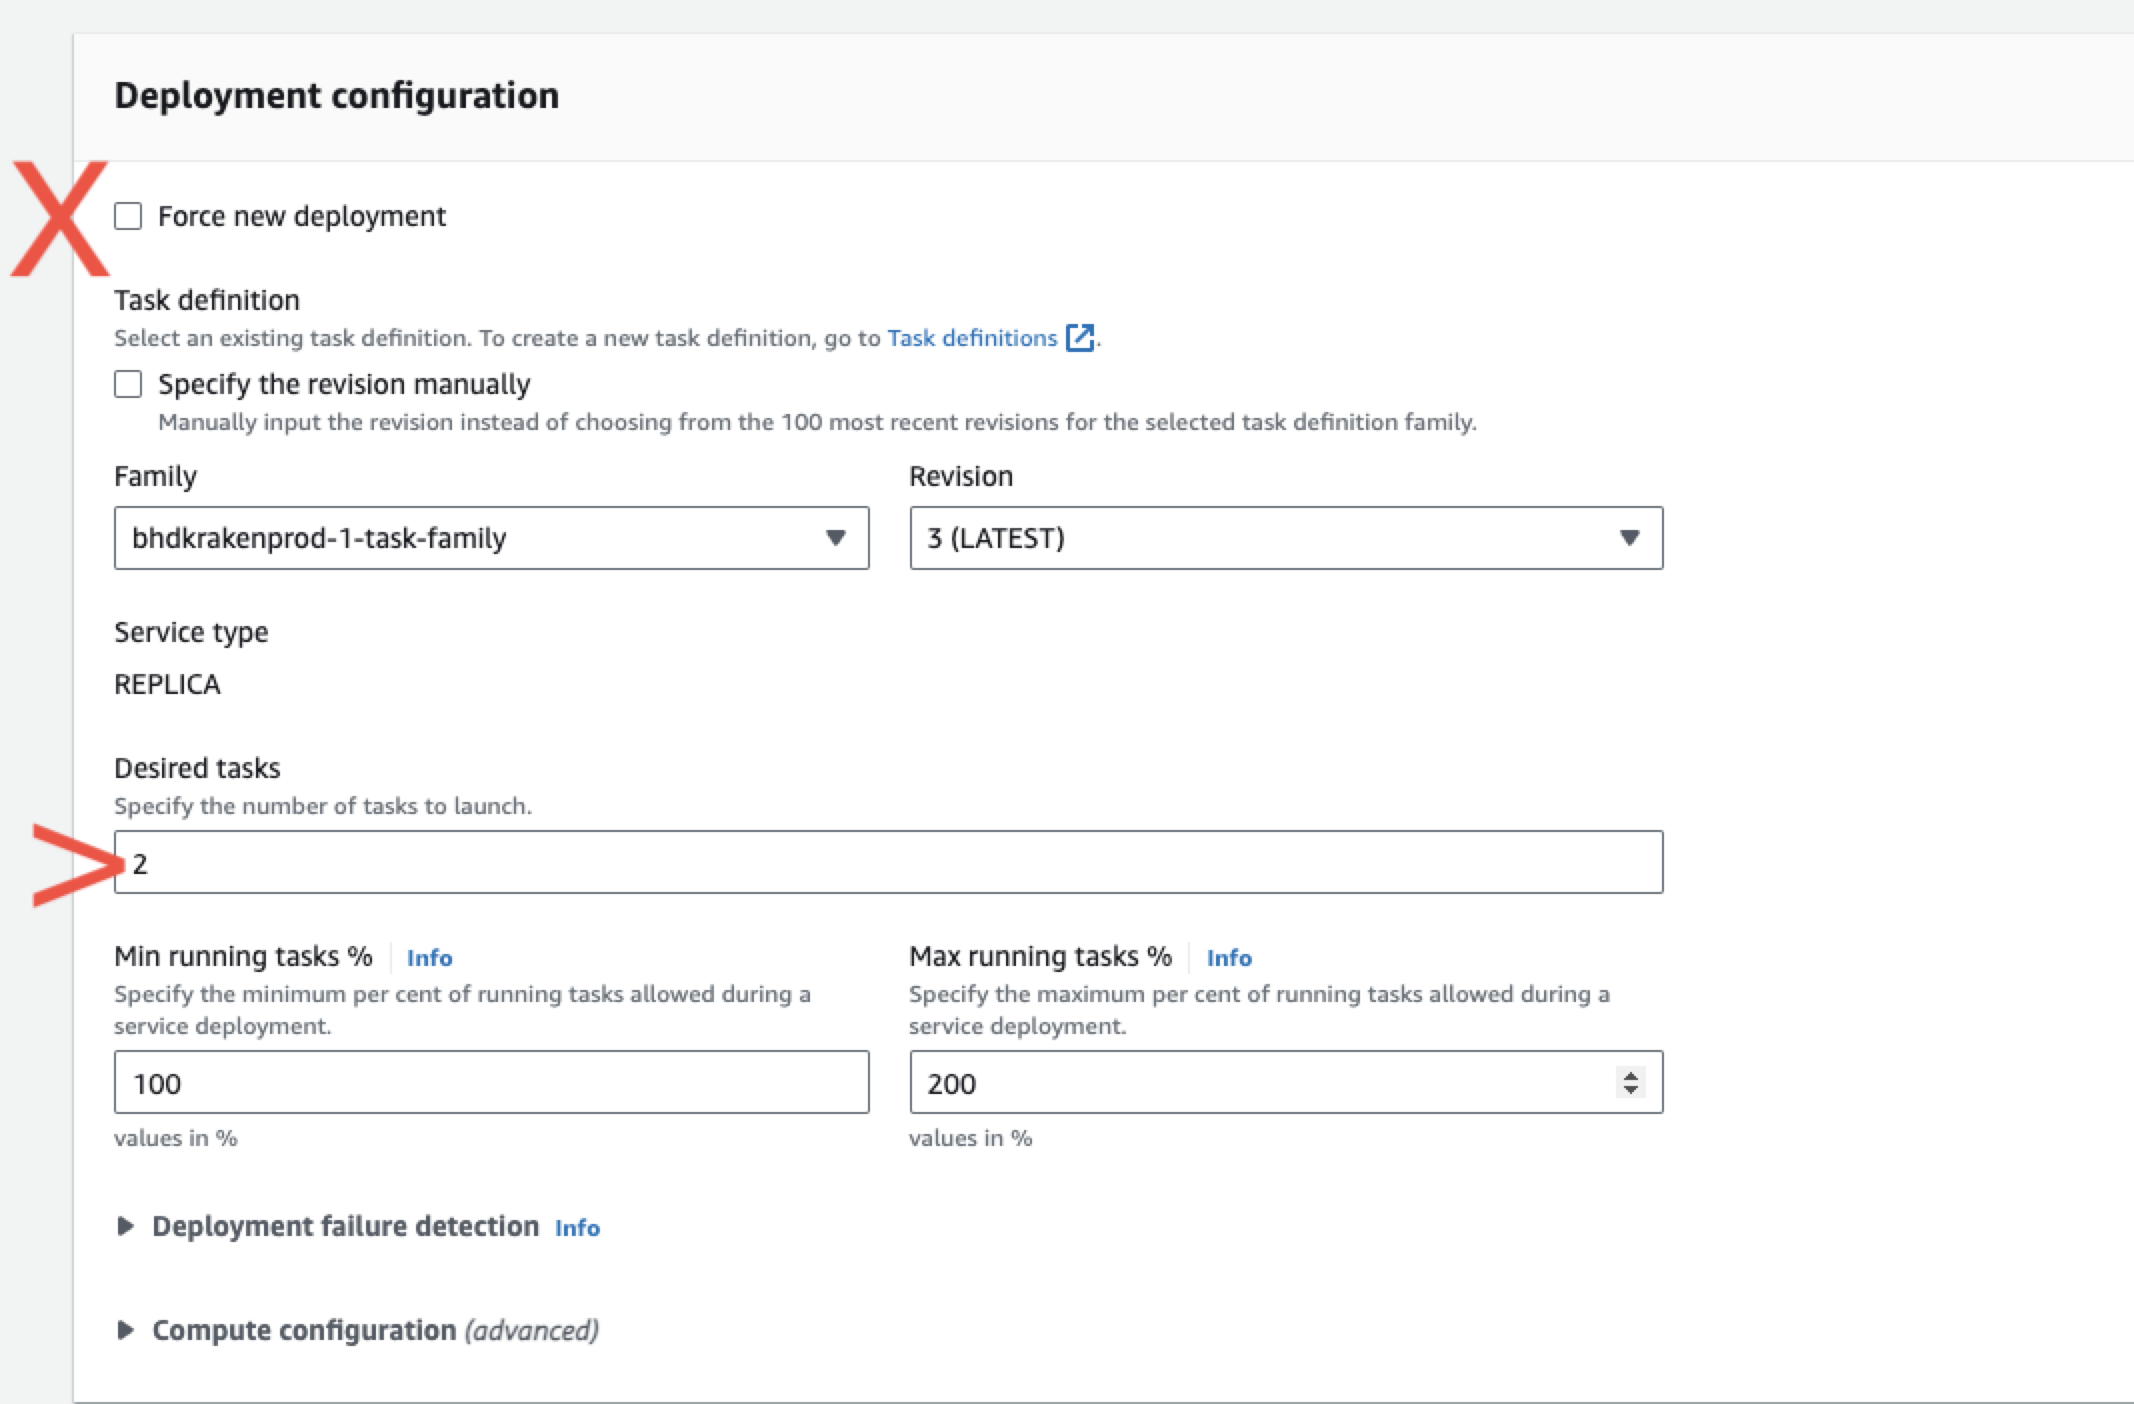
-
Click Update again.
Your agents will now start up and continue as before, with updates proceeding as normal unless a "Force new deployment" is triggered again with a task count greater than 0.