Microsoft Entra and OpenID Connect🔗
Note
This document covers step two of the Single sign-on (SSO) setup process, and shouldn't be completed independently.
-
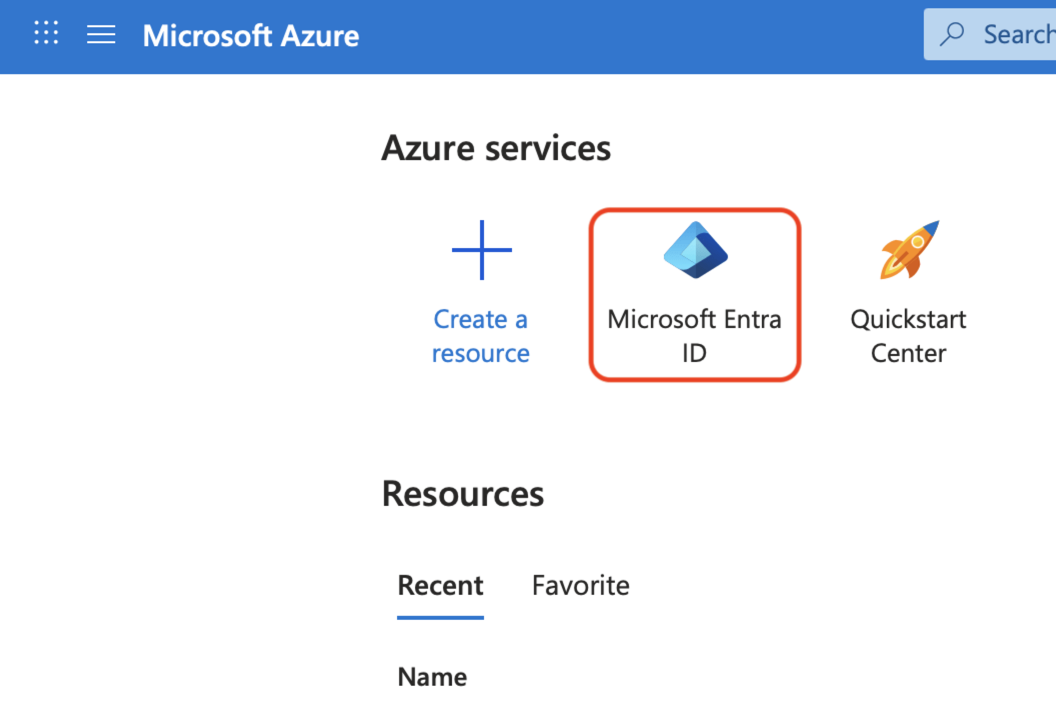
Log in to the Microsoft Azure portal, and click Microsoft Entra ID.
-
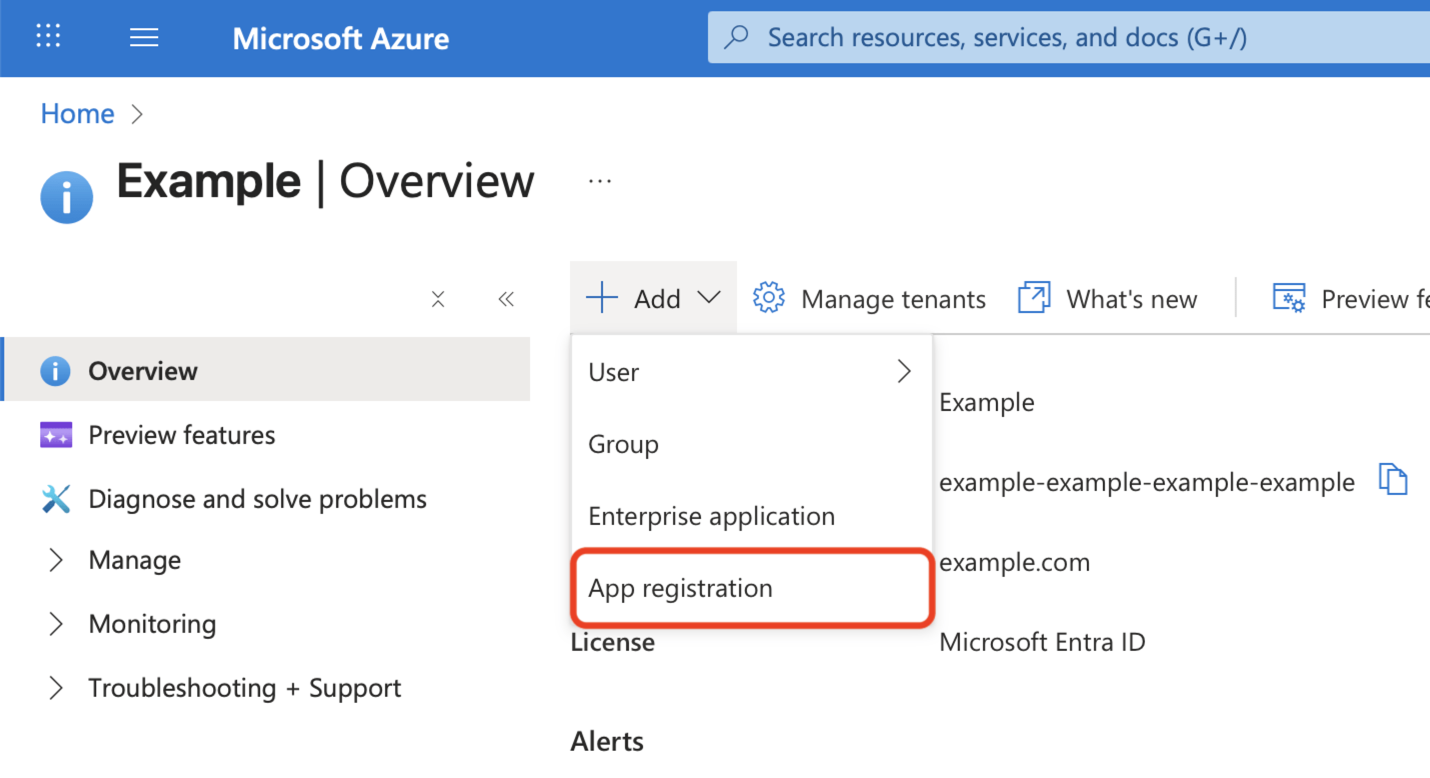
At the top of the Overview page, click the Add menu, and select App registration.
-
Enter a Name for the application, such as
Matillion.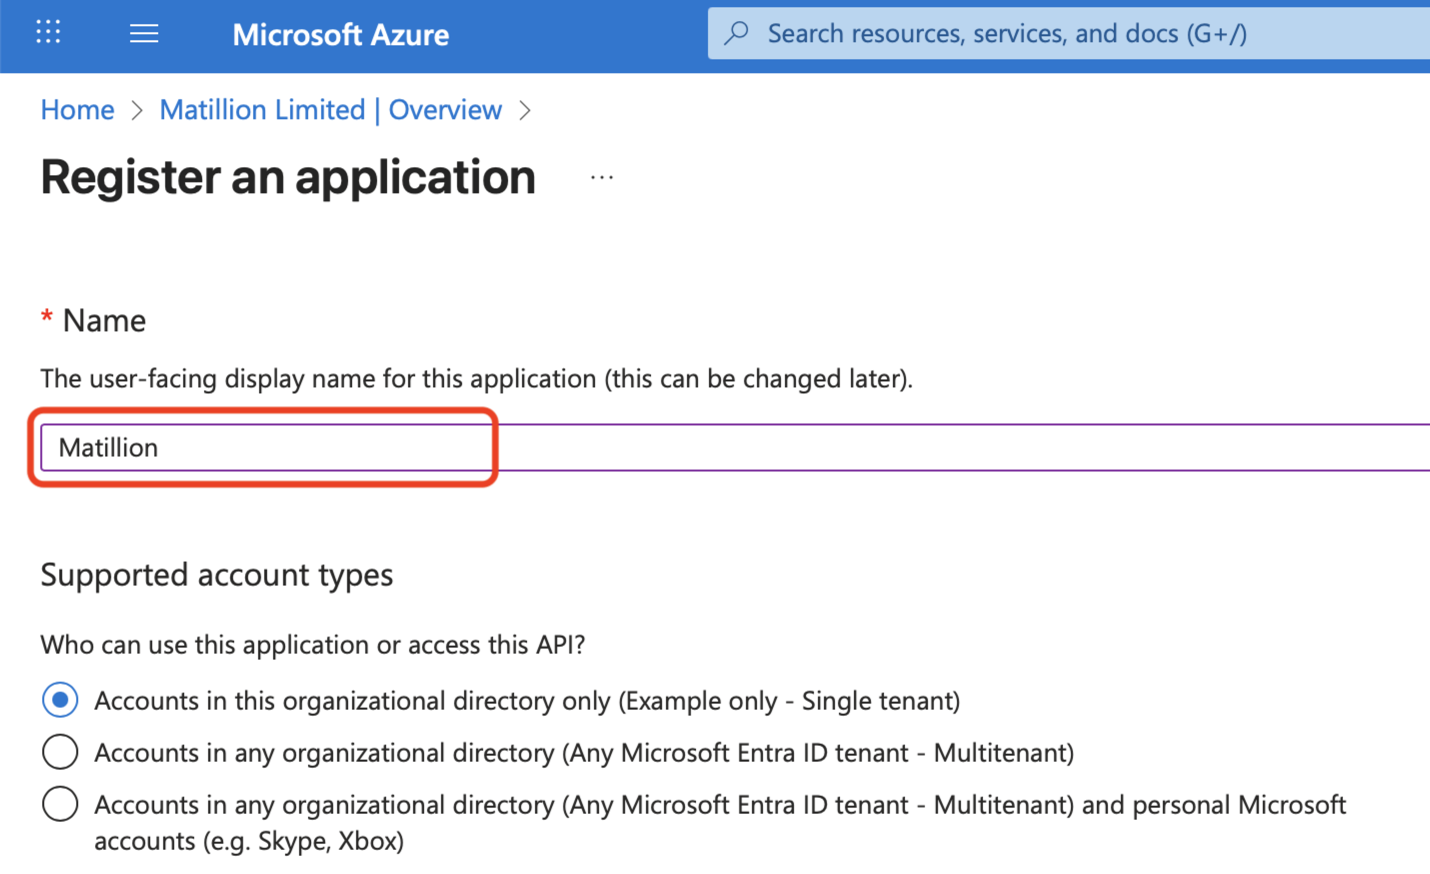
-
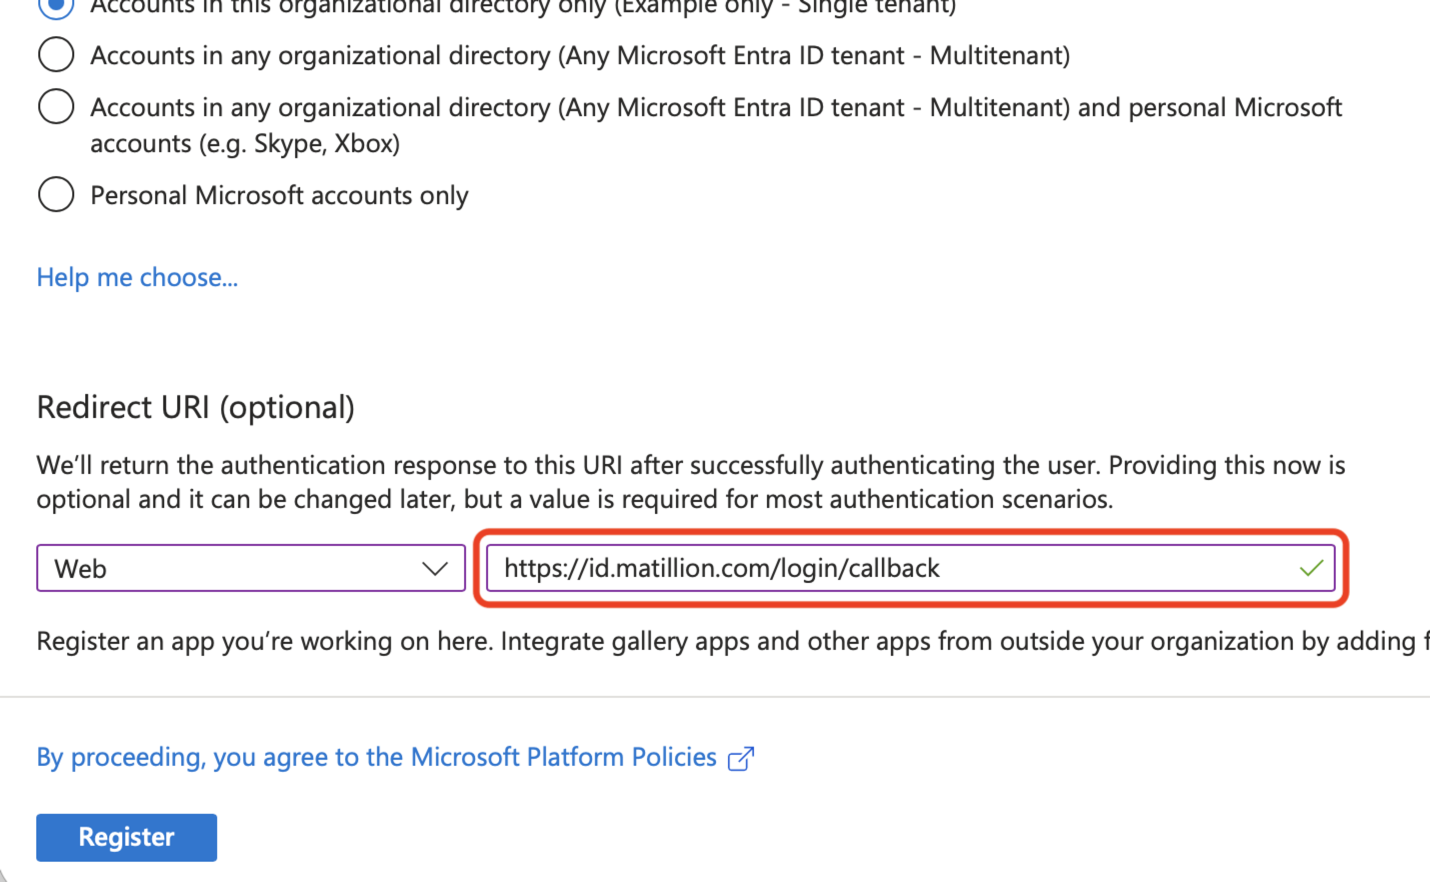
Select Web from the drop-down in the Redirect URI (optional) section, enter https://id.matillion.com/login/callback as the value, and click register.
 1. Click the Add a certificate or secret link.
-
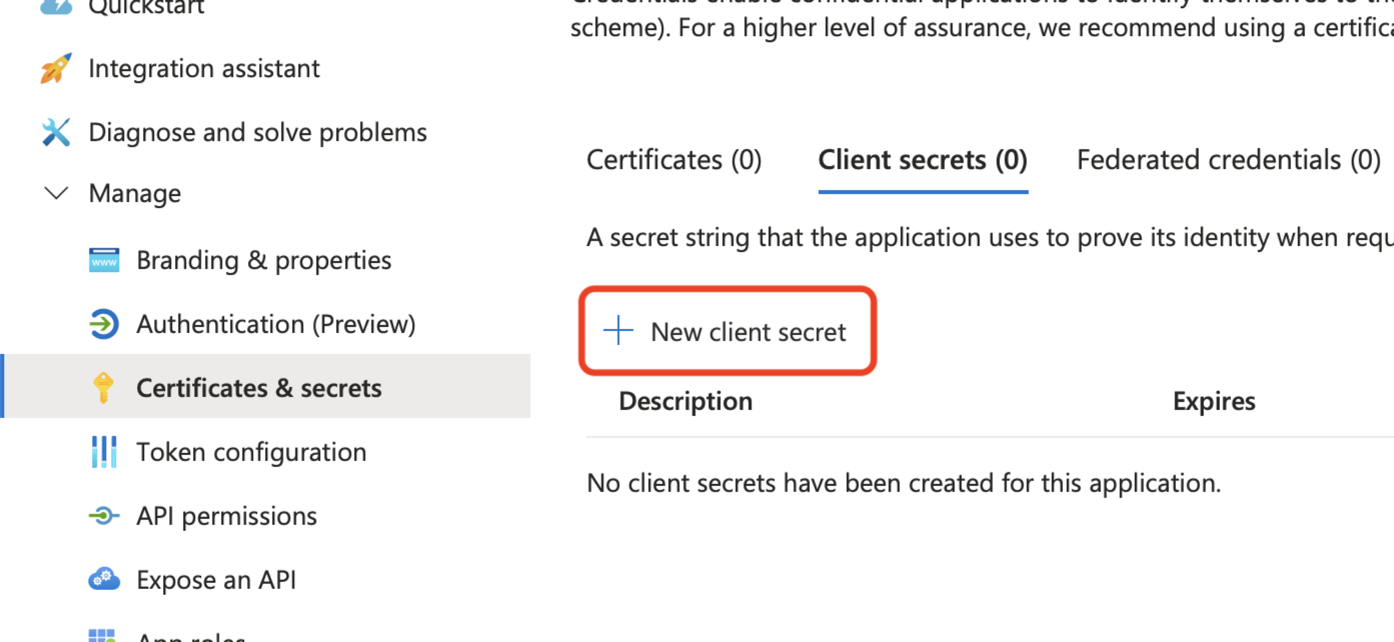
Select Certificates & secrets from the expanded Manage menu, then click New client secret.
-
Enter a description, such as
Matillion, set an expiry date, and click Add.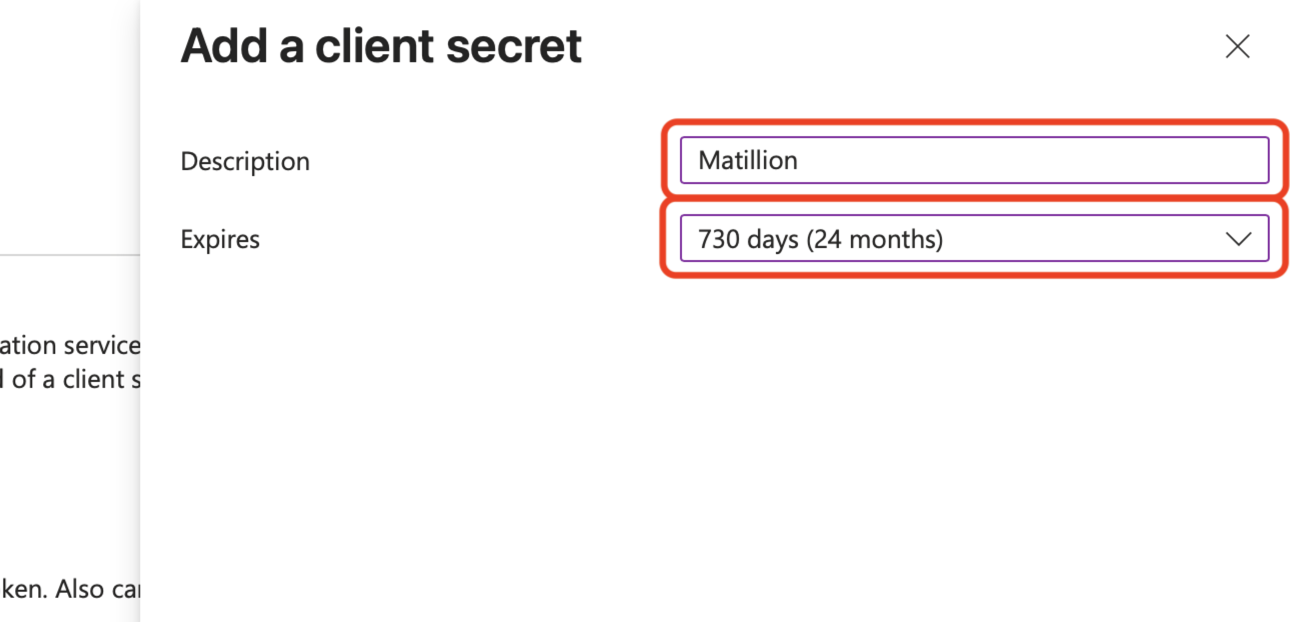
Note
Contact us to arrange for the secret to be rotated before the existing one expires to avoid minimal interruption to your users.
-
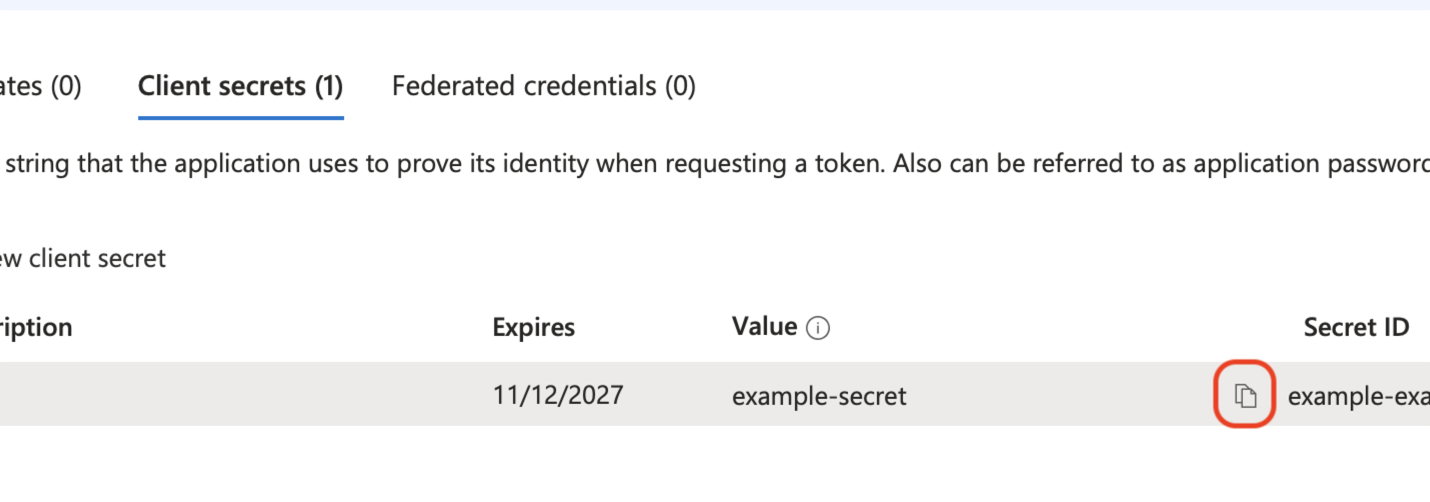
Copy the value of the Secret, and make a note of it somewhere you can refer to later.
-
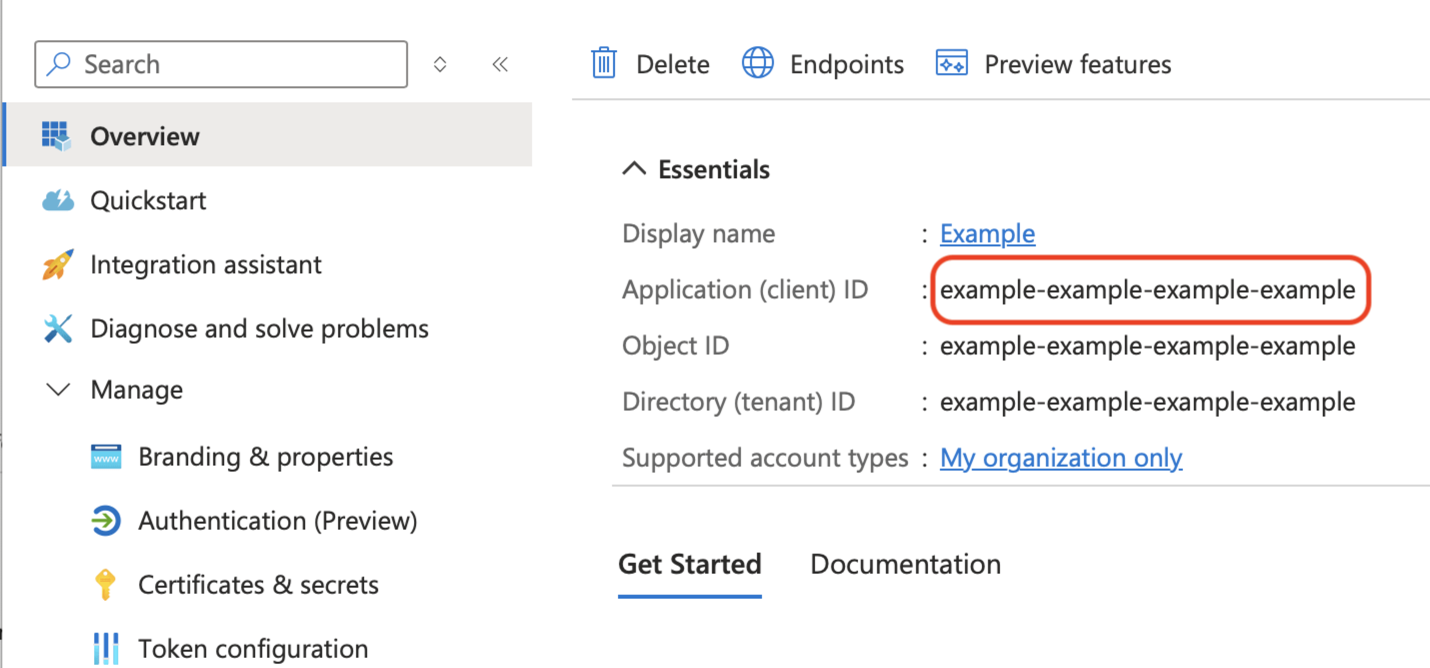
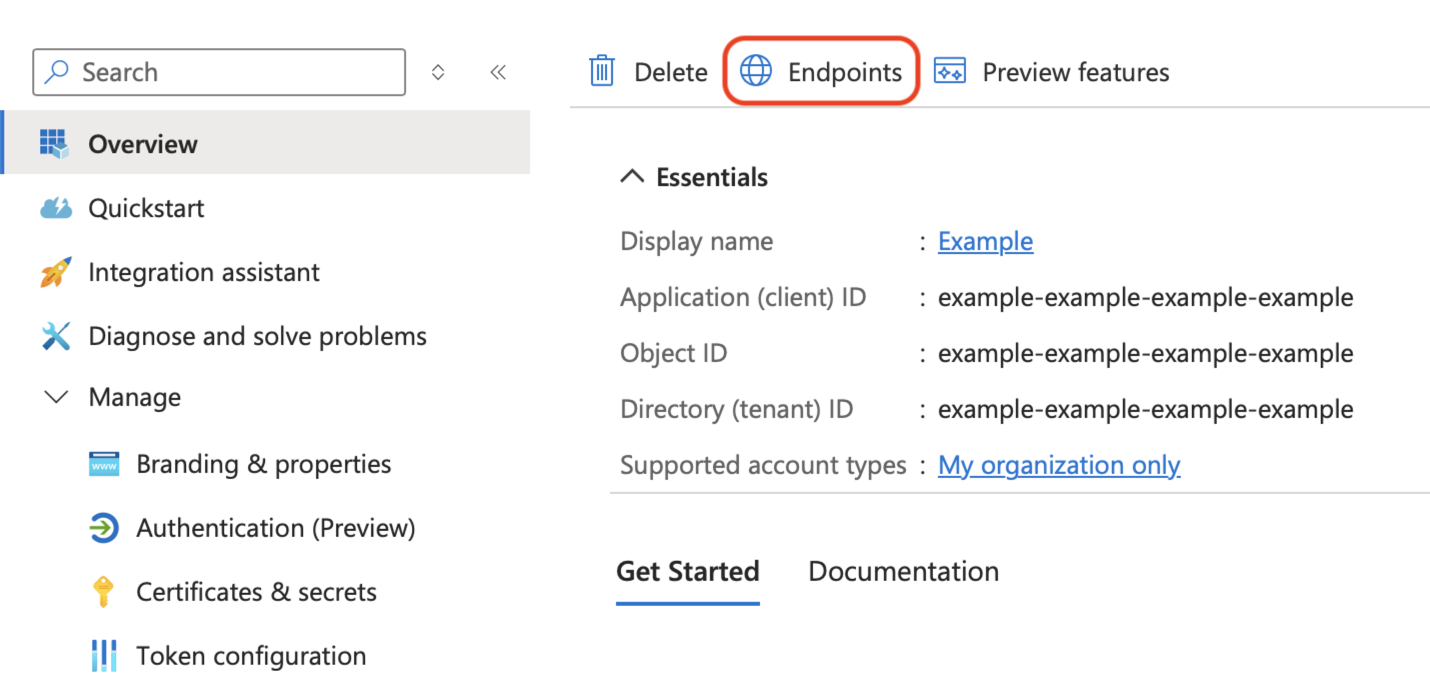
Select Overview on the left, then copy the value of the Application (client) ID, and make a note of it for later.
-
Click Endpoints at the top.
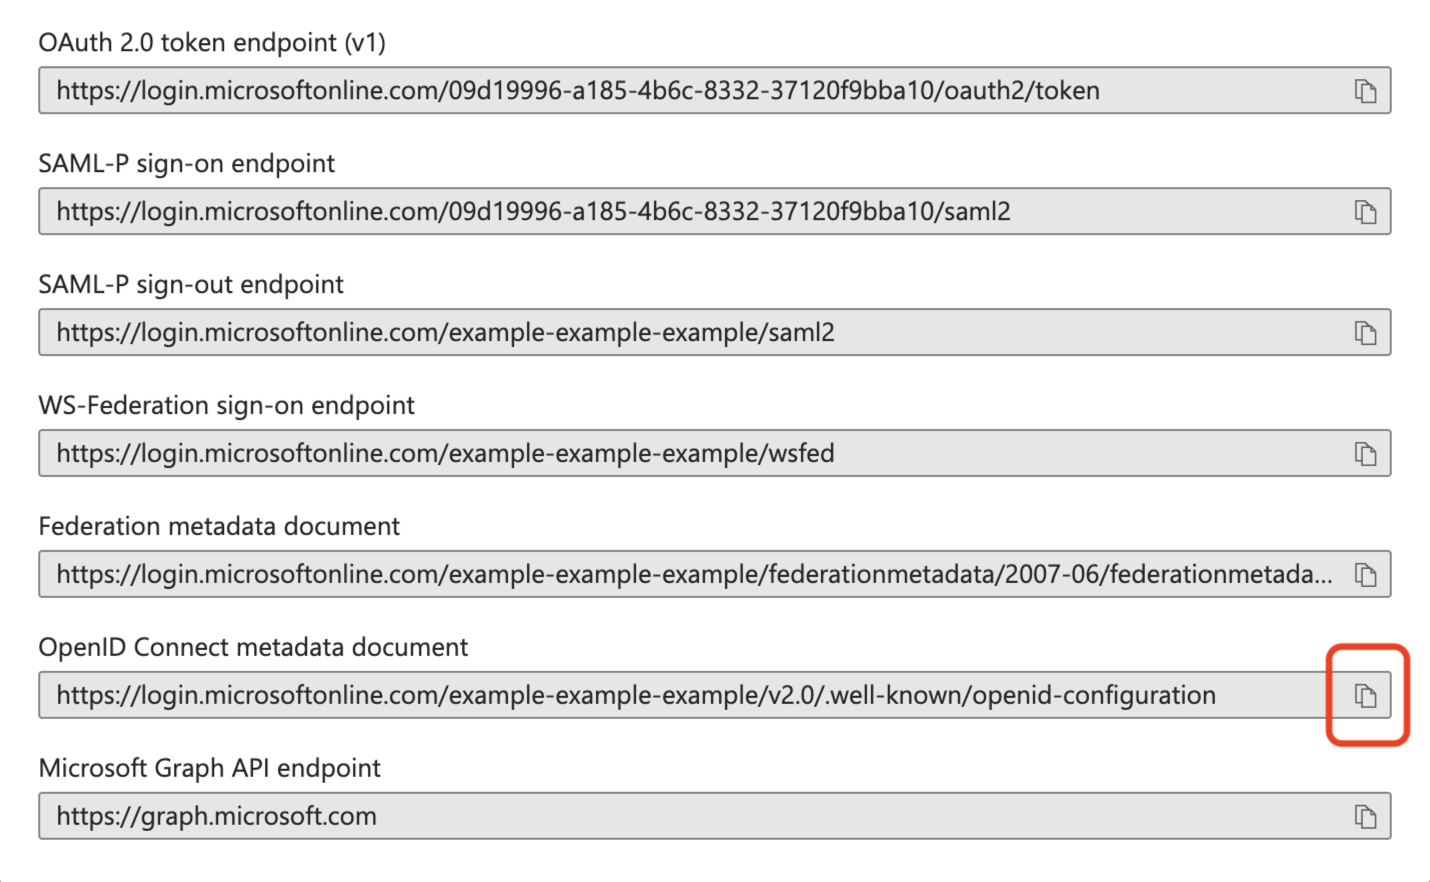
-
Scroll to the bottom of the page, and click the button to copy the OpenID Connect metadata document, and make a note of it for later.
-
Continue the steps on the main document in Single sign-on (SSO) setup.