Mailchimp Query authentication guide🔗
Overview
This is a step-by-step guide to creating an OAuth entry, acquiring credentials and authorizing the Mailchimp Query component for use in Matillion ETL.
Important Information
- Mailchimp Query uses either an OAuth or an API token for third-party authentication.
- Component properties may differ between cloud data warehouses. However, the authentication process remains the same.
- If an API token is being used to authenticate Mailchimp Query, skip to Acquiring Third-Party Credentials.
Creating an OAuth Entry in Matillion ETL
1. In Matillion ETL, click Project → Manage OAuth.

2. Copy the Callback URL, found in the Manage OAuth dialog. This URL is required for Acquiring Third-Party Credentials.

3. Click in the bottom left of the Manage OAuth dialog to open the Create OAuth Entry dialog.
4. Select Mailchimp from the Service dropdown menu and provide a Name for the OAuth, then click OK.

5. On returning to the Manage OAuth dialog, your new OAuth is added to the list of available OAuth entries. At this point, your OAuth entry is not configured. Configuration of the OAuth entry is discussed in Authorising for use in Matillion ETL.

Acquiring Third-Party Credentials
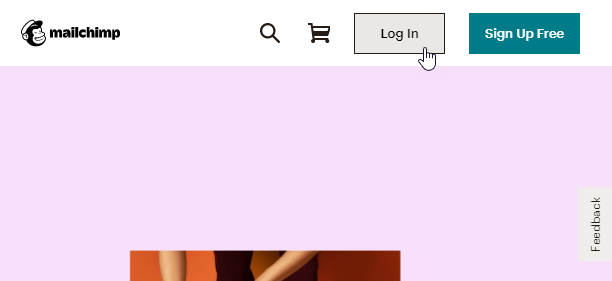
1. Navigate to the Mailchimp website and click Log In, found both on the top right of the screen or on the main body of the page. The browser will then redirect to a login dialog. Enter valid login credentials to continue.
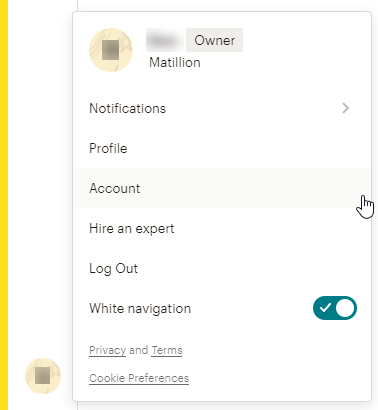
2. Once logged in, the browser will open the Campaigns dashboard. At the bottom left of the screen, click the <Profile Icon> → Account.
3. On the next page, click Extras → API keys.
Please Note
If an API token is being used to authenticate Mailchimp Query, skip to step 8.

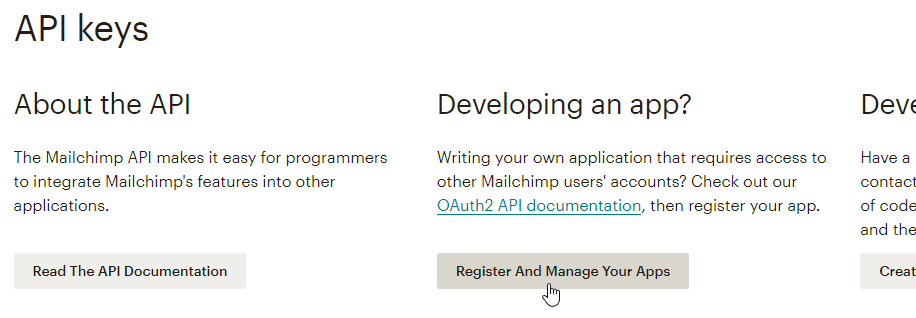
4. On the API keys page, click Register And Manage Your Apps found in the Developing an app? section.
5. On the Registered apps page, click Register An App found at the bottom of the apps list.
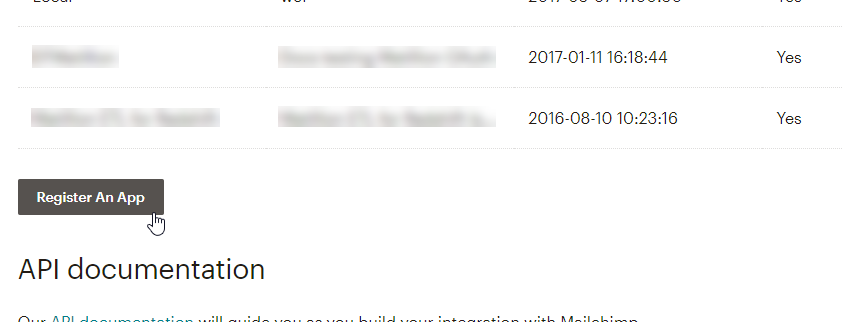
6. On the Register An App page, provide details for the following fields:
- App name: provide a name for the app.
- App description: provide a description for the app.
- Company / organization: provide the name of the company or organization that will be associated with the app.
- App website: provide a URL for the app website.
- (Optional) Upload a logo: upload a logo as part of your app. Click Browse to open a file navigator and locate your chosen file. Please note that the logo file has certain restrictions, which are specified below the field.
- Redirect URI: paste the Callback URL (copied from the Manage OAuth dialog in Matillion ETL earlier), and click Create.

7. If the details for the app are accepted, the page will refresh, and a Client ID and Client secret will be generated and appear at the bottom of the window. Copy these credentials as they will be required in Authorising for use in Matillion ETL.
Please Note
- Make sure to copy the Client Secret right away as it may appear only once.
- Additionally, when copying these credentials, some browsers may add a space to the end of the string. Watch out for this as it will cause the credentials to fail.
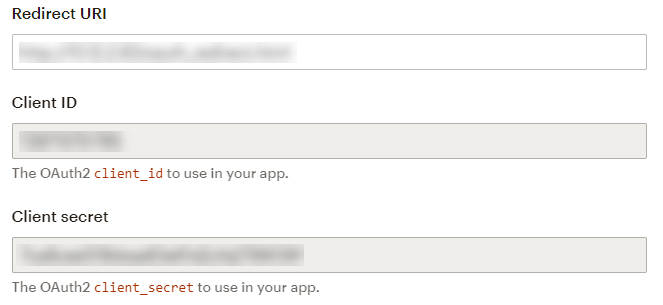
8. Return to the API keys screen by clicking Profile → Account then Extras → API keys. Then, click Create A Key, found at the bottom of the Your API keys list.

9. A new API key will be generated and appear at the top of the Your API keys list. Copy this key as it will be required in Authorising for Use in Matillion ETL.
Authorising for Use in Matillion ETL with an OAuth
1. Return to the Manage OAuth dialog in Matillion ETL and click next to the previously created OAuth entry. This will open the Configure OAuth dialog.
Please Note
If an API token is being used to authenticate the Mailchimp Query connector, skip to Authorising for Use in Matillion ETL with an API Key.

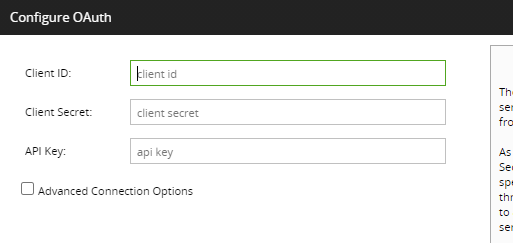
2. Using the credentials copied from the Mailchimp website earlier, provide details for the following fields:
- Client ID: enter the Client ID.
- Client Secret: enter the Client secret.
- API Key: enter the API Key, then click Next.
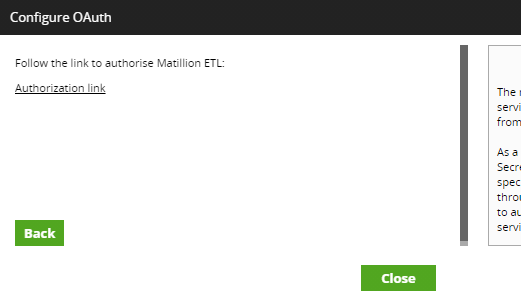
3. The next window will have an Authorization link. Click the link to authorise Matillion ETL to use the acquired credentials.
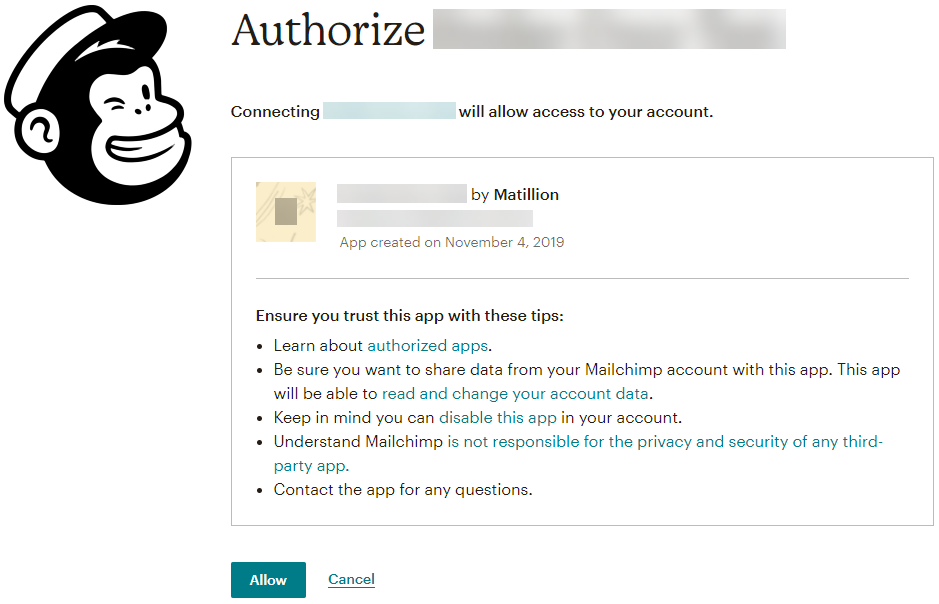
4. The browser will then redirect to a login page to connect the Mailchimp account to the app. In the respective fields, enter the username and password (used to log in to the Mailchimp website earlier). Then, click Allow to confirm the connection.
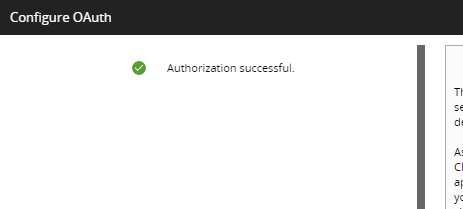
5. If all is successful, the browser will return to Matillion ETL and the Configure OAuth dialog will clarify "Authorization Successful".
Authorising for Use in Matillion ETL with an API Key
1. If a Mailchimp Query component has not already been dragged onto the job canvas, search "Mailchimp" using the Components panel search field, or find the Mailchimp Query component under Orchestration → Load/Unload → CRM & Marketing Automation.
Please Note
An Orchestration Job must be open on the job canvas within Matillion ETL to ensure the Mailchimp Query component is searchable within the Components panel.
2. Then, click and drag the Mailchimp Query component onto the job canvas.
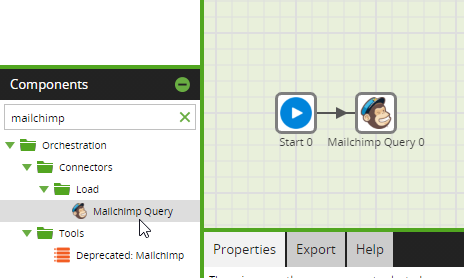
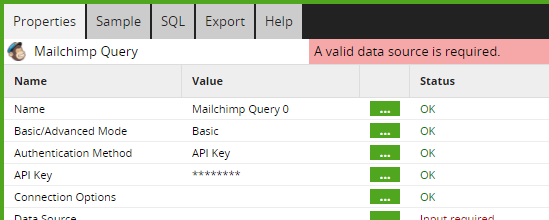
3. Click the component icon on the job canvas to open the Properties panel at the bottom of the screen.
4. Then, click ... next to the API Key input.
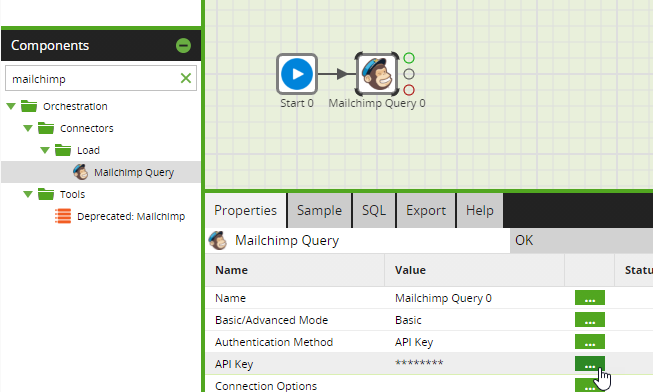
5. In the API key input dialog, paste the API key (copied from the Mailchimp website earlier) into the Store in component field and click OK.
Please Note
Passwords and other credentials can also be saved using the Matillion ETL Password Manager. To learn how to do this, please read Manage Passwords.

6. If the API Key is entered correctly, the component should be authenticated and the status of the input will be displayed as OK.
