LinkedIn Query authentication guide🔗
Overview
This is a step-by-step guide to creating an OAuth entry, acquiring credentials and authorizing the LinkedIn Query connector for use in Matillion ETL.
Note
- The LinkedIn Query connector and LinkedIn Ads Query connector both use an OAuth for third-party authentication.
- The process in this article should be used when creating OAuths for either LinkedIn Query or LinkedIn Ads query authentication. There are minor differences between the two, which will be noted at the appropriate points.
- While connector properties may differ between cloud data warehouses, the authentication process remains the same.
- The callback URL, and therefore the Matillion ETL instance, must be HTTPS, not HTTP.
Creating an OAuth entry in Matillion ETL
1. In Matillion ETL, on the top-left of the screen click Project, then Manage OAuth.

Please Note
If a LinkedIn Query connector has already been added to an Orchestration Job, the Manage OAuth window may also be accessed using the following method:
- Click the connector icon to open the Properties panel at the bottom of the screen.
- Click next to the Authentication property, and click Manage in the pop-up window.
2. In the Manage OAuth window, copy the Callback URL in the field at the top of the window as this will be required in Acquiring Third-Party Credentials.
3. Click in the bottom left of the window to open the Add OAuth Entry window.

4. Provide a name for the OAuth in the Name field. Click the Service dropdown menu and select either LinkedIn if creating a LinkedIn Query OAuth or LinkedIn Ads if creating a LinkedIn Ads Query OAuth. Then click OK.

5. On returning to the Manage OAuth window, check the list of OAuths to make sure the new entry is listed.
Please Note
This entry is Not Configured. Configuration of the OAuth entry will be discussed in Authorizing for use in Matillion ETL, after you have acquired third-party credentials.

Acquiring third-party credentials
1. Navigate to the LinkedIn Developers site, click My apps on the menu in the top right, and enter valid login credentials.
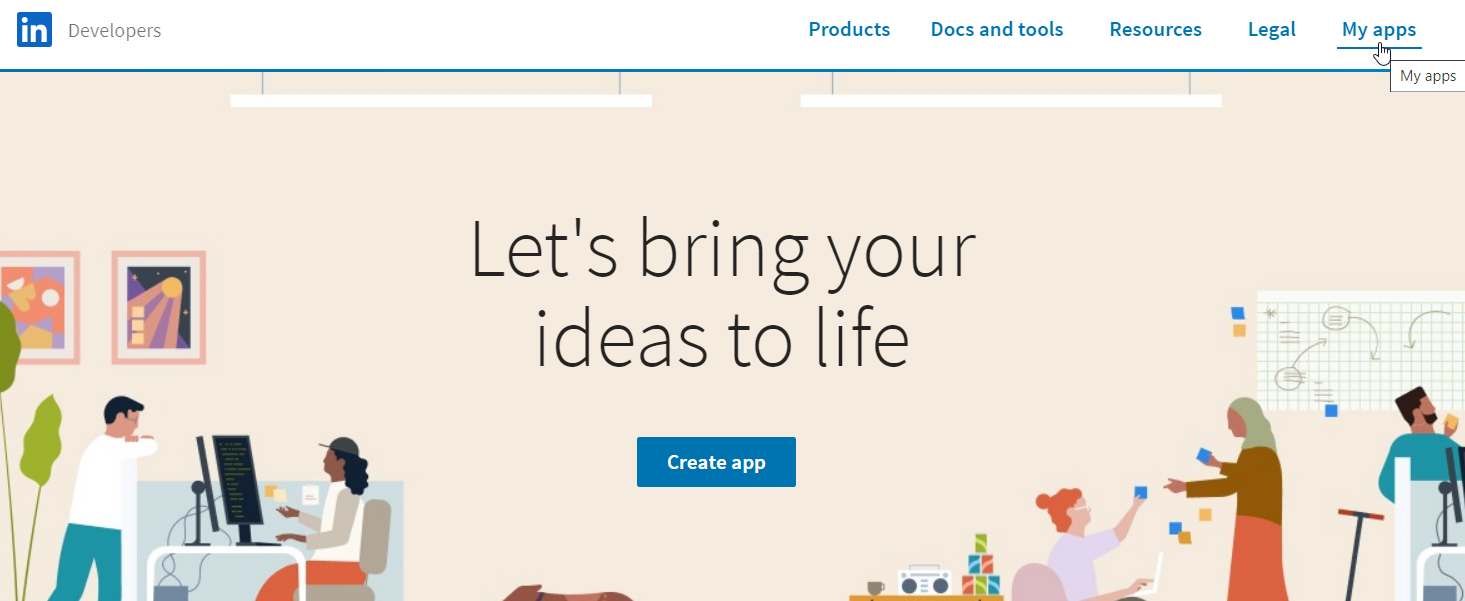
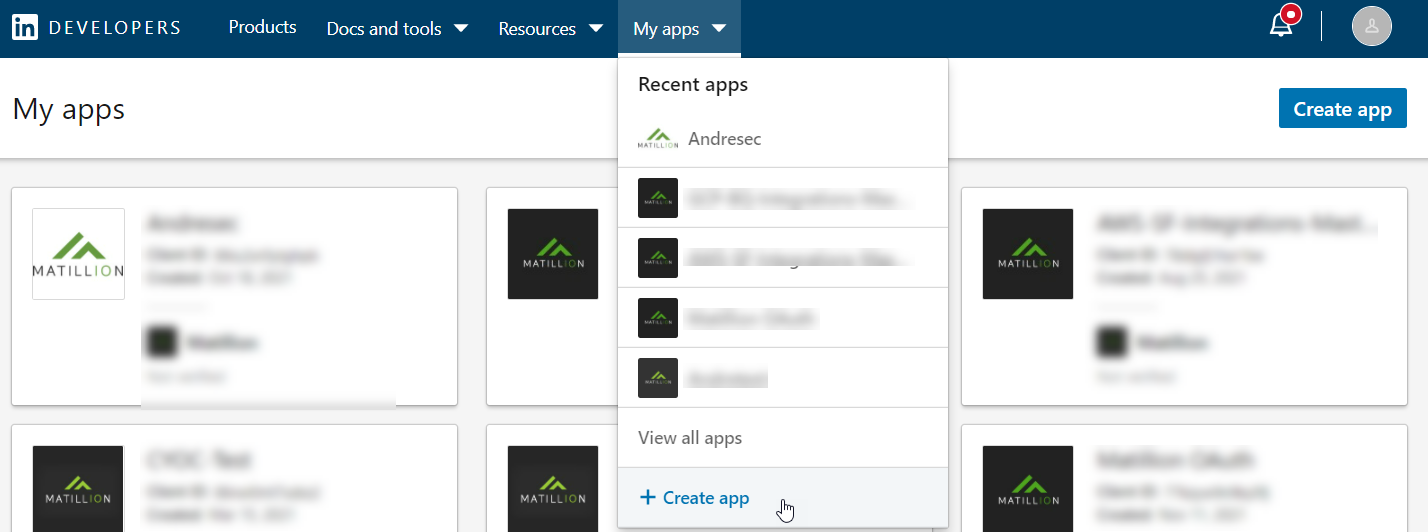
2. Once logged in, the browser will show the My apps page which will display tiles for any apps you have previously created. Click My apps, then + Create app from the top menu, or click Create app in the top-right of the screen.
3. On the Create an app page, provide details for the following required (*) fields:
- App name – provide a name for the app.
- LinkedIn Page – enter your company's LinkedIn page URL or name. The page you select will associate your company with the app.
- Privacy Policy URL – provide the URL to your company's privacy policy. This is optional.
- App logo – upload a logo to be displayed to users when authorizing with the app.
Please Note
The company associated with the app cannot be changed at a later stage.

4. Once the required fields have been filled, scroll down to the Legal agreement section. Read the API Terms of Use before ticking I have read and agree to these terms, then click Create app.
Please Note
Once the app has been created, it will require company verification, which can be initiated by clicking Verify in the Settings tab and following the on-screen instructions. However, this can be done at a later stage.
5. Click the Auth tab at the top, then copy the codes from both the Client ID and Client Secret fields, as they will be required in Authorizing for use in Matillion ETL.
Please Note
- In order to copy the Client Secret, 👁 must first be clicked to make it visible.
- When copying the codes, some browsers may add a space to the end of the code. Watch out for this as it will cause the credentials to fail.

6. Scroll down to the OAuth 2.0 settings section. Click the pencil icon next to Authorized redirect URLs for your app, then click + Add redirect URL.


7. Paste the Callback URL (copied earlier from the Manage OAuth window in Matillion ETL) into the field, then click Update.

8. Click the Products tab at the top, and click Select next to the product that will be used by the OAuth app.

9. In the Add ... pop-up window (in our example, the pop-up title is "Add Marketing Developer Platform"), read the Legal Agreement before ticking I have read and agree to these terms, then click Add product.

10. The products you have selected will now be displayed under the Added products section of the Products tab. If you see the products here, you can return to Matillion ETL and complete the Authorizing for use in Matillion ETL process.
Please Note
Some products will require LinkedIn approval before they are added. In this case, you will also need to complete an Access Request Form by following the View access form link before the product shows under Added products.

Authorizing for use in Matillion ETL
1. Return to the Manage OAuth window in Matillion ETL and click ⚙ next to the previously created OAuth entry. This will open the Configure OAuth window.

2. Using the codes copied from the LinkedIn Developers site earlier, provide details for the following fields:
- Client ID – enter the Client ID.
- Client Secret – enter the Client Secret, then click Next.

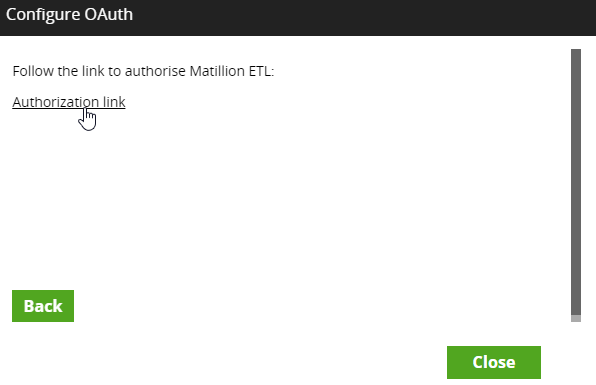
3. The next window will have an Authorization link. Click the link to authorize Matillion ETL to use the acquired credentials.
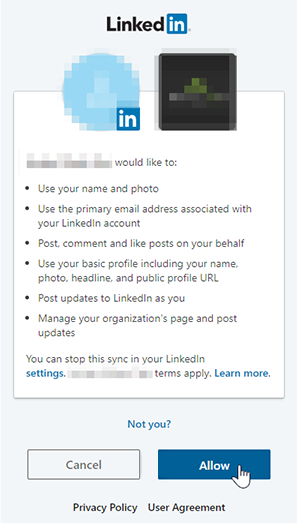
4. The browser will then redirect to a LinkedIn screen requesting access to a number of LinkedIn features. Click Allow to confirm.
5. If all is successful, the browser will return to Matillion ETL with a window stating, "Authorization Successful".
